It's exciting to see your garden blooming with the colors that you planted yourself. That's why I love to preserve the seeds of my favorite flowers, particularly zinnias.
It's easy, enjoyable, and a great way to ensure that those cheery, vibrant blooms return year after year. Plus, this means that you don't have to spend extra money.
I'll walk you through the process of how to save zinnia seeds right in this article!
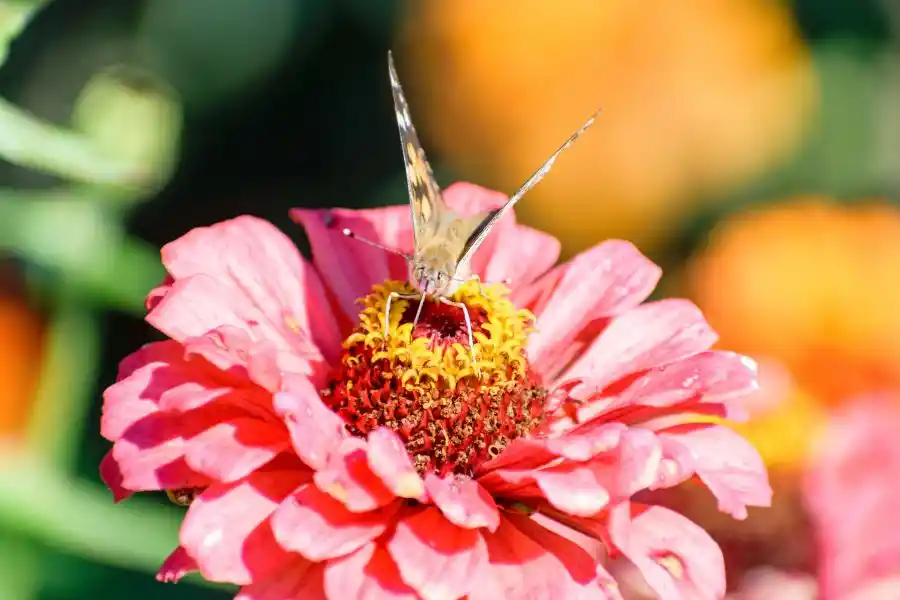
| Interesting Fact: Pollinators (such as butterflies and bees) love zinnia flowers very much. This makes any garden look extra amazing! |
What Should You Consider Before Saving Zinnia Seeds
There are a few things you should know before starting to collect zinnia seeds.
The zinnia is an open-pollinated variety
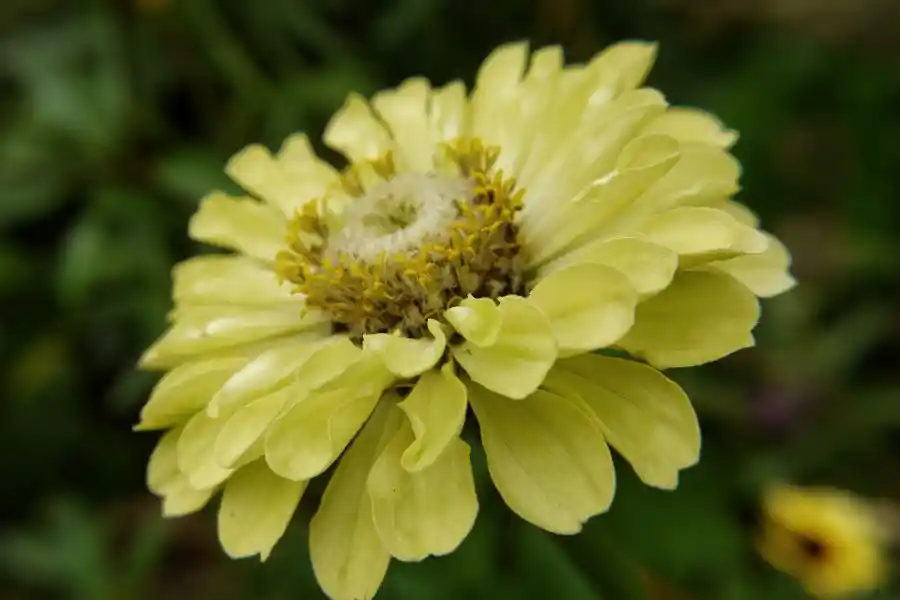
Confirm that you are cultivating an open-pollinated variety rather than a hybrid.
While hybrid plants can surprise you with something completely different from their parent plants, open-pollinated zinnias will carry on their traits to the next generation.
I’ve learned this the fun way — not every bloom turns out like you’d expect!
The following are some open-pollinated zinnia varieties:
- Green Envy
- Cut and Come Again
- Cactus Bright Jewels
- California Giant
- Canary Bird
- Candy Cane
- Jazzy Mix
- Lilliput
- Red Spider
- State Fair Mix
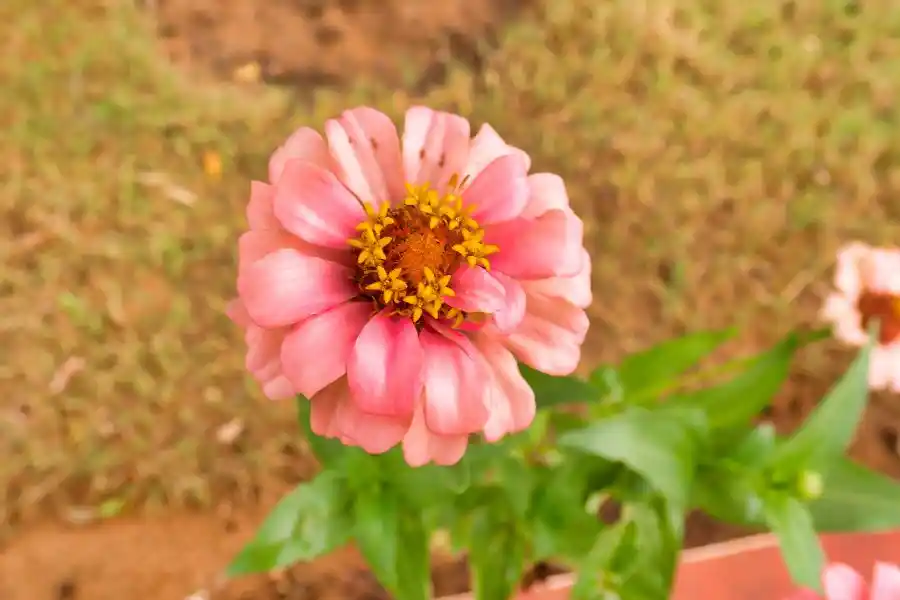
Select the healthy zinnia plants
Make sure to choose healthy zinnia plants. For example, don't keep seeds from diseased plants with powdery mildew because it might spread to the seeds.
Label your zinnias
Why? It's so easy to forget that variety is by the end of summer. So, some simple tags or markers will save you a lot of guesswork when it comes time to gather seeds.
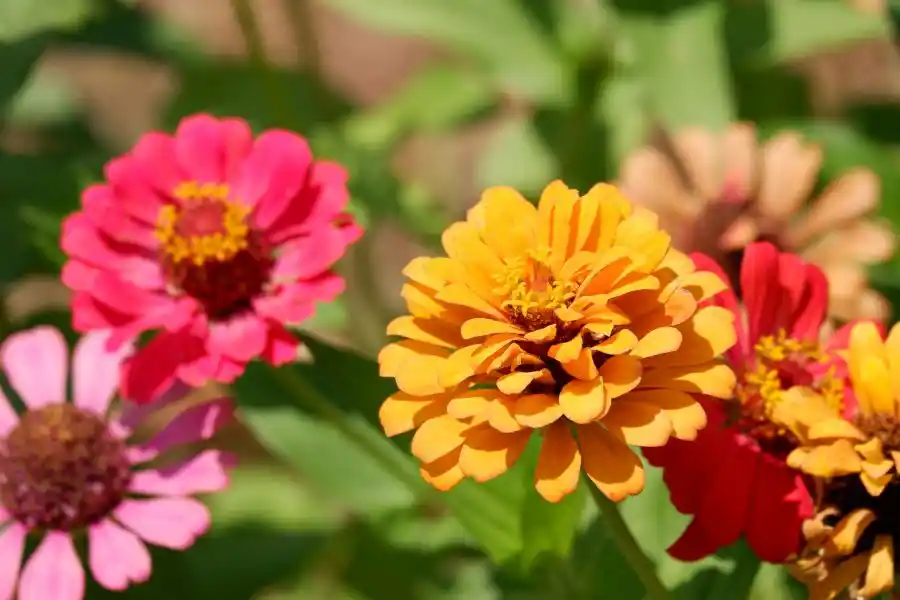
Keep an eye on cross-pollination
Remember that zinnias enjoy interacting with one another. If you grow different varieties of zinnias close together, they will be easily pollinated by insects.
But honestly, I don't mind a few surprise blossoms the following season. It gives the garden a bit more excitement!
| Useful Tip: Place zinnias at least half a mile apart if you want to keep the seeds pure (if your yard is large enough) |
Step-by-Step Guide on How to Save Zinnia Seeds
Saving zinnia seeds – It feels like a great bonus from my blooms. And the more important thing is that it's free. It will take you a little time, but it'll be very enjoyable and easy.
You will have dozens of seeds from each head, even if you only keep the seeds from a few of the zinnia flowers! Here’s exactly how to save zinnia seeds:
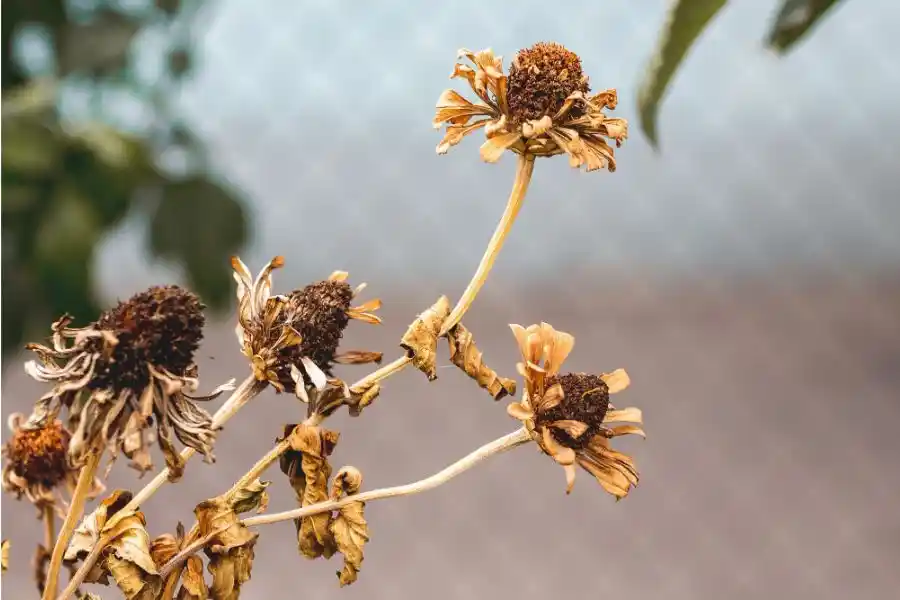
Wait Until The Zinnia Flowers Get Dry Completely
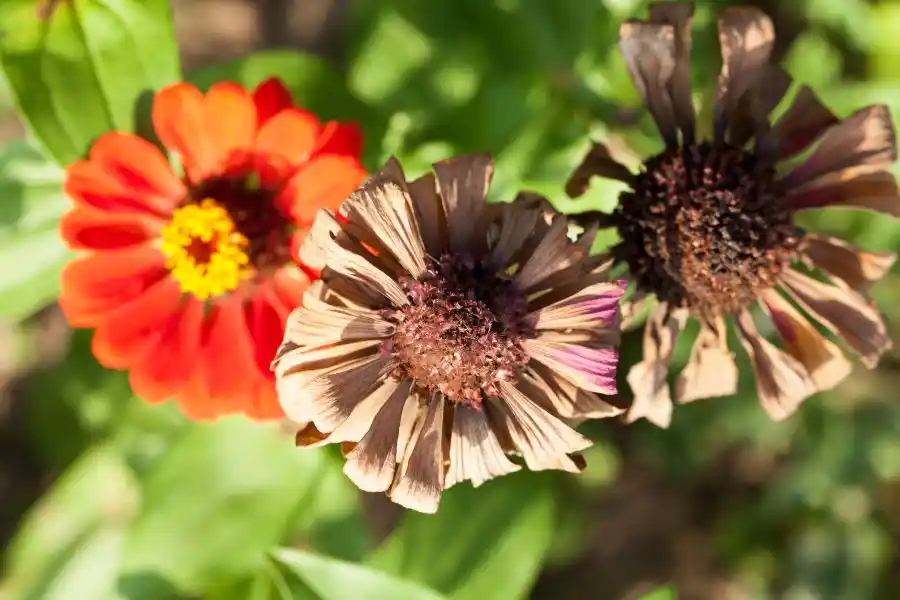
Patience is the key. I leave zinnia flowers on the plant long after they've bloomed their brightest. The clue is when the petals begin to wither, turn brown, and feel crispy to the touch.
Doing this will help to enable the seeds within to reach their full maturity and have the best chances to grow later.
Do not water your flower bed before collecting zinnia seeds. Otherwise, you will need to wait longer for them to dry.
| Do you know? Zinnias are stunning for bouquets. A vase of colorful zinnia flowers can brighten any corner in your home! |
Get Rid Of Flower Petals

I cut the flowers off when they're crumbly and dry, then I carry them to my desk (or kitchen counter, or anywhere there's good light). I carefully remove any remaining petals.
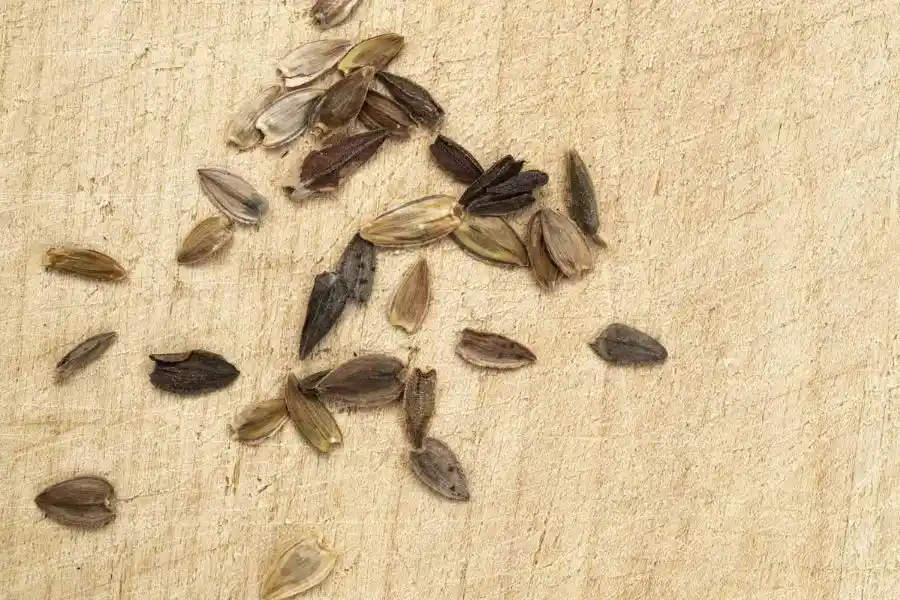
You may notice seeds still stuck to the base of each petal if you look at it closely. They resemble tiny arrowheads in shape and are little, dark grayish-brown in color.
The good news is that you usually need a handful of zinnia seeds for an average-size garden. The remaining blossoms can be cut off before they become unsightly.
Get The Zinnia Seeds From The Flower Heads
The pleasant part is about to begin. Use your fingers to break up the dried flower heads and transfer the mixture onto a clean plate or tray. Most of the seeds are nestled inside the bloom's core.
Sort the seeds from the papery blossom fragments, also called “chaff”. Once you've done it a few times, you can easily identify the seeds because they resemble small spears, which are thin and pointed.
Be sure to keep different zinnia varieties separate. But if you want a garden filled with mixed zinnia blossoms, don’t need to do that.
| Pro tip: Gently rub the seeds between your fingers to free them if some are still hidden in the shell or chaff. |
Let The Seeds Get Dry
Even though the flower heads were dry on the plant, it’s smart to give your harvested seeds a little extra drying time to prevent any mold during storage.
You should keep the seeds in an area with good airflow, such as spreading them in a single layer on a plate or the lid of a container.
Remember to gently shuffle them every few days to ensure they're drying evenly. You can leave your seeds like that for about one week, depending on the moisture level.
Store The Zinnia Seeds
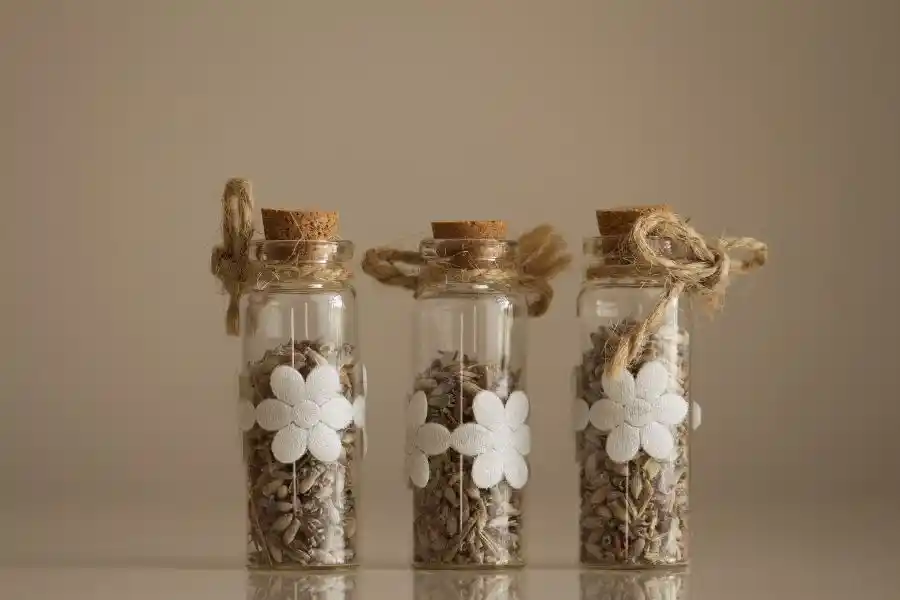
When the zinnia seeds are completely dry, it's time to store them. You can place them in zippered bags or glass jars with tight-fitting lids for best preservation. Then, leave them in a cool, dry spot and out of direct sun, like your cupboard or a drawer.
Make sure to label everything so that you can easily manage it in the future. Plant name, the year, and the variety are some important information you need to record.
For best results, you should use your zinnia seeds within 5 years. Just keep in mind to sow those little zinnia seeds when the last frost has gone away. They can’t stand the chilly weather.
| Bonus Tip: If you've got extra zinnia seeds, they can make thoughtful gifts for gardening enthusiasts. Or else, you can swap flower seeds with them. |
Final Thoughts
And this is the end of my guide on “How to save zinnia seeds”. It's easy to grow zinnias as well as save their seeds for next season. My friends always feel very excited to receive some zinnia seeds from me.
If you haven't tried to save them before, just do it.