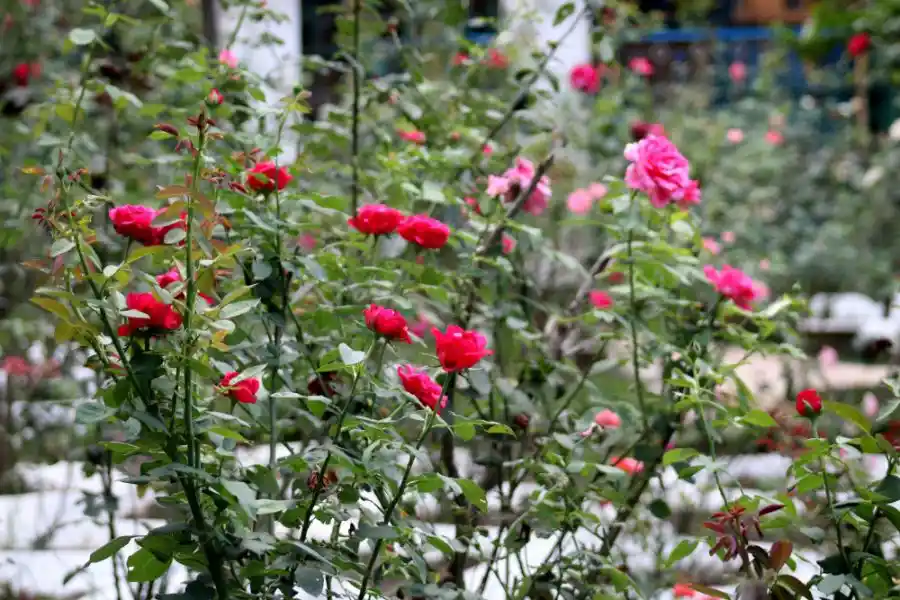
A simple rose bush can easily steal the show in any garden. But have you ever wondered: Why do my roses give only a few flowers? I used to. But do you know the secret behind that gorgeous rose display? It's pruning.
Pruning is an easy way to help your roses burst with color. And if you're not sure about how to prune roses, I'll show you right away!
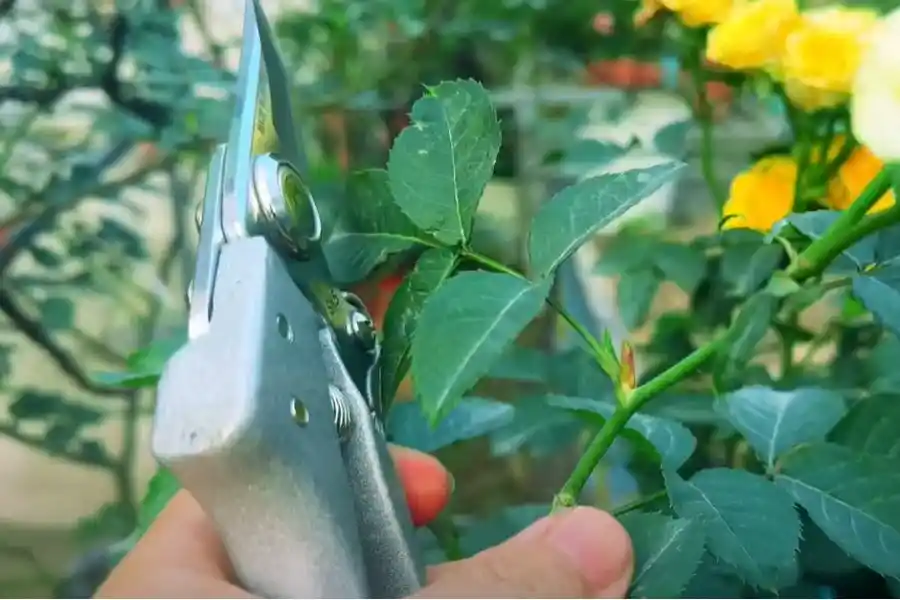
Which Tools Do You Need To Prune Roses?
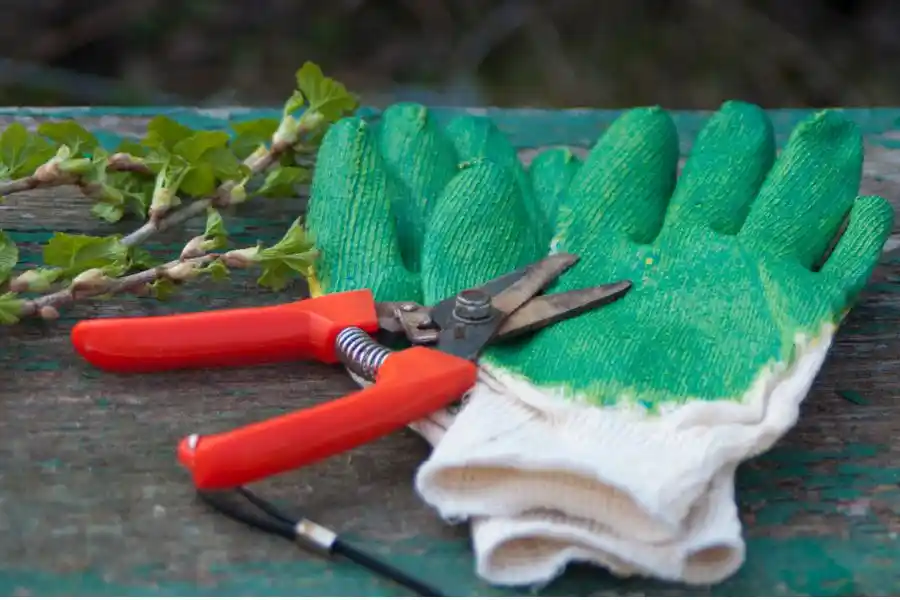
You need some tools to make your pruning task easier. They are just some familiar tools that may be available in your warehouse:
- Sharp pruning shears: These are perfect for cutting small to medium-sized stems.
- Loppers: You need loppers to prune thicker and older branches. A good pair will save you much effort.
- Gloves: You need a pair of thick gardening gloves. You don’t want those rose thorns to scratch your hands, right?
| Don’t Forget to Suit Up! Don't forget to wear gardening gloves, long-sleeved shirts, & sturdy jeans when pruning. Rose thorns can cause painful and uncomfortable infections if you are scratched. |
Step-by-Step Guide on How to Prune Roses
Alright — all necessary tools are ready now. It’s time to get pruning! Let's learn how to prune roses correctly. This task will take you approximately 15 to 45 minutes, depending on the size of your garden.
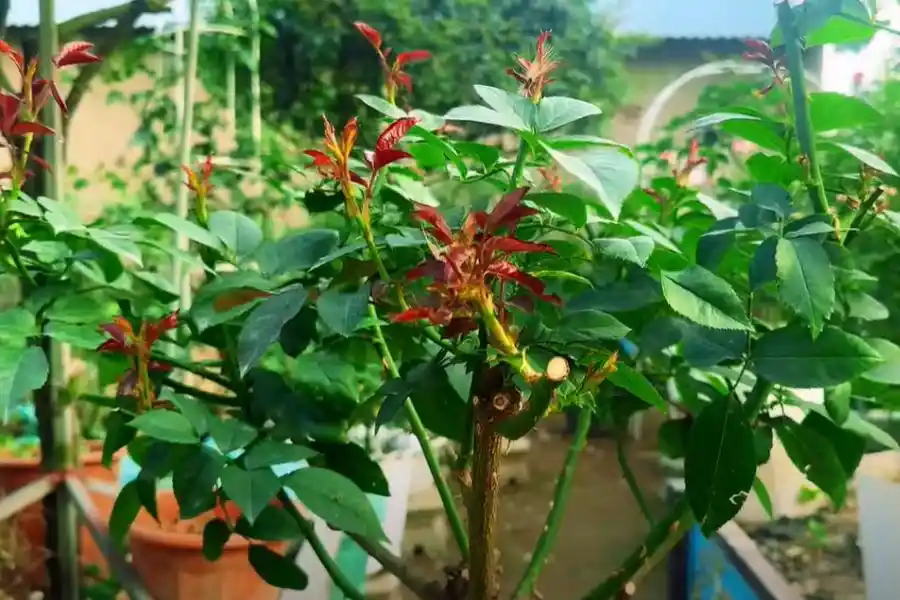
Step 1: Begin From The Base
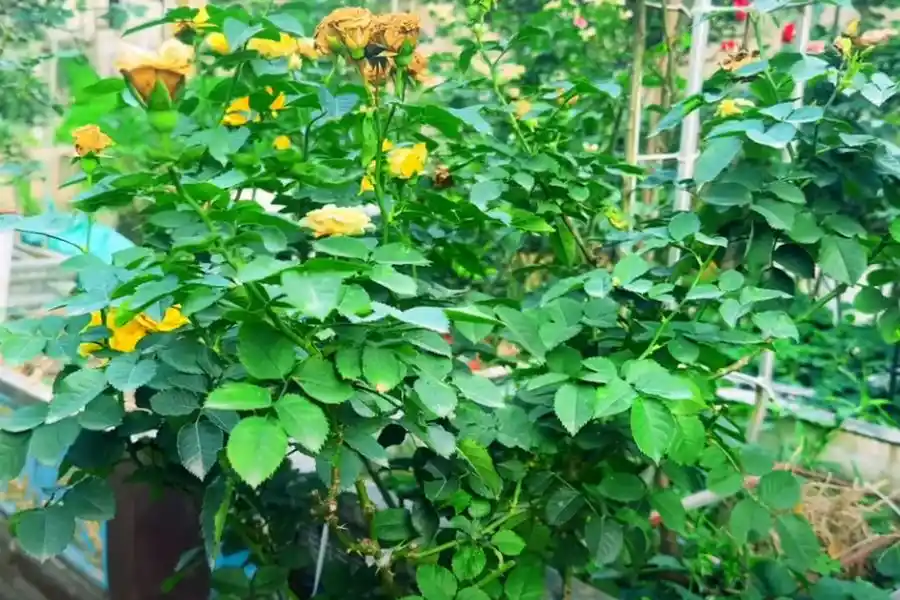
I always begin by carefully examining my rose shrub from the ground up. Roses love sunlight and air, so I always cut off old, dead canes at the base. This helps avoid illnesses like powdery mildew and black spots.
Pruning in this way will also open up the plant to allow light and air to circulate through the center.
| Quick Tip: Dead stems are often brittle, dark, & occasionally appear shriveled. Use your fingernails to give them a quick scratch test; if the inside is brown, cut it off. |
Step 2: Remove Damaged, Broken, & Diseased Stems
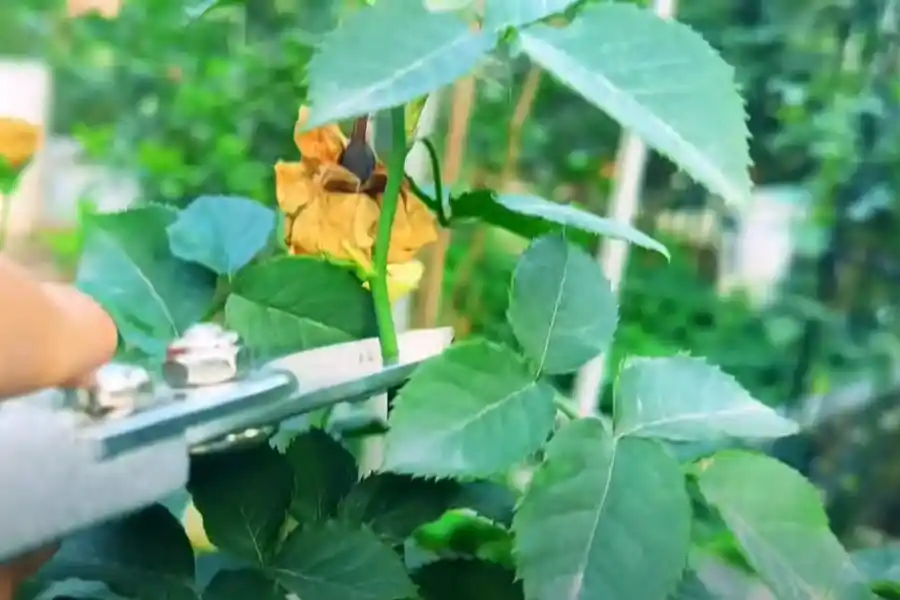
I then search for any stems that are weak, cracked, or diseased. Begin at the top of the stem and work down to identify the strong and healthy wood.
Then, give it a sharp and clean cut. You should cut about ¼ inch above a healthy outward-facing bud.
| Important: Check if the flesh where you cut is white or creamy on the inside. If it looks brown or gray, continue cutting slightly lower until you reach healthy tissue. |
Step 3: Remove Too-Thin Canes

A little trick I learned: Any cane thinner than a pencil is a waste of space. These stems often grow weakly and produce fewer blooms. Cut those off entirely to redirect the plant's energy to stronger and thicker canes.
Tip: Hold a pencil next to the cane if you're not sure. Cut it if it's thinner!
Step 4: Cut About Half of The Stems
The actual shaping part is here. Cut each good stem about halfway back. My rule again: cut around ¼ inch above an outward-facing bud.
This bud will keep the plant open and airy by guiding new development out from the center.
Step 5: Prune The Stems Again For Balanced Shapes

After making those main cuts, remember to take a look at the overall shape of your rose plants. If it still looks awkward or unbalanced, keep trimming a little bit.
I will continue pruning until I have a well-balanced, rounded rose plant. No overcrowded center and generous space for your rose plant to breathe.
| What I learned: You can snip off some buds while pruning your roses. Don't worry. This will result in more beautiful flowers than that. |
Rose Pruning Tips
After many times of pruning and pruning, I finally mastered those skills. Let me share with you those tips:
Care For New Roses
A new rose plant in its first year doesn’t need too much pruning. You just need to give it a light pruning for the best growth.
Get Rid of Sucker Growth
These are fast-growing, skinny shoots. They sprout from the base of the plant or the main stems. Those suckers steal energy from your rose bush, and either won’t bloom at all (or very small flowers). So, remove them all if you notice some.
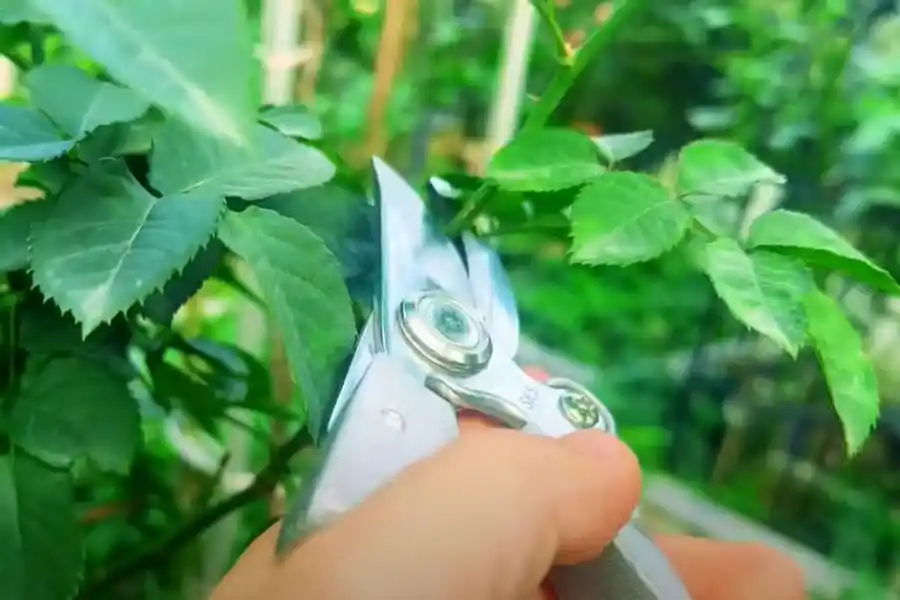
Sterilize The Pruners
After trimming a plant, you should clean your pruners with isopropyl alcohol before continuing with another. Trust me – This is a trick to avoid spreading disease or contaminants among your rose plants.
Singularly Blooming Roses
Some roses, such as Alba, Damask, and Gallica varieties, only bloom once on old wood. I usually snip off thin or spent wood to shape the rose plant after flowering.
In-season Maintenance
During the growing season, I often examine and prune any suckers and deadhead spent blooms. This helps my garden always look fresh and tidy.
Use White Glue
If there are can borers in your place, you need to seal any big cuts with white glue.
Clean Up
Many people just leave all leaves and cut branches at the base after pruning. It’s not good. You need to clean up them all. This will prevent diseases or pests from reaching other healthy plants.
The Right Time to Prune Roses
Early spring or late winter is the best time for pruning your roses. Depending on your local climate zone and the type of rose you have, the timing can vary slightly.
How Do You Know It’s Time?
You can check easily by looking at the leaf buds on the rose plants. My cue to get pruners is when they start to swell and have a hint of pink or reddish color.
It's crucial to get in there after the last hard frost has passed and before those buds open.
Some picky rose varieties like to be pruned while still dormant. So if you’re unsure, a quick check of your specific rose type will help.
| My advice: Always prune your roses well once a year. Skipping a year can lead to weak stems and fewer flowers. |
You can start to prune your rose plants based on regions as below:
- Zones 3 & 4 – May
- Zones 5, 6, 7 – March
- Zone 8 – March
- Zone 9 – February
- Zone 10 – January
Sum Up
How to prune roses – It isn’t as tricky as it seems. Just remember to start from the base, remove dead and weak stems, shape your plant, and prune at the right time of year.
Don’t skip the gloves and a sharp pair of pruners – they will help a lot!