Hello everyone,
In today’s article about roses, I will share with you a very simple method to propagate rose cuttings without using any chemicals or rooting hormones. This method can be applied to almost all types of roses. Especially, the rooting medium used for rose cuttings is very easy to find—almost anywhere you go.
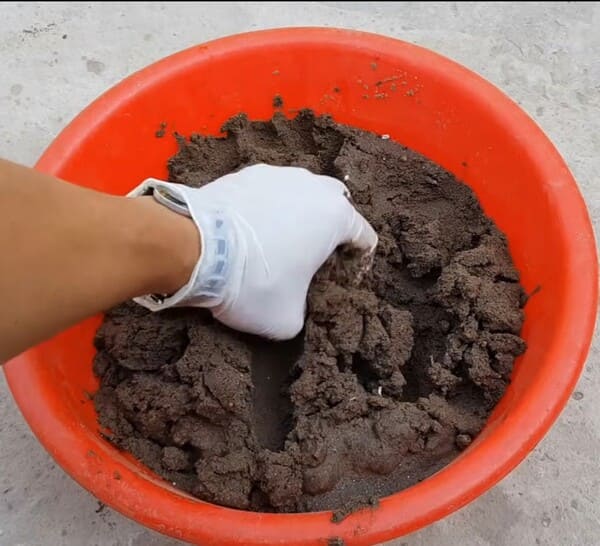
This is the medium I use to propagate rose cuttings: construction sand.

This is the kind of sand mixed with cement for building houses. Construction sand usually comes in two types: fine grains and coarse grains. In this guide, I am using the fine-grain type. Using construction sand for rose cuttings is very easy, and it rarely causes the cuttings to turn black.
Please note that you should only use construction sand and not any other types of sand.
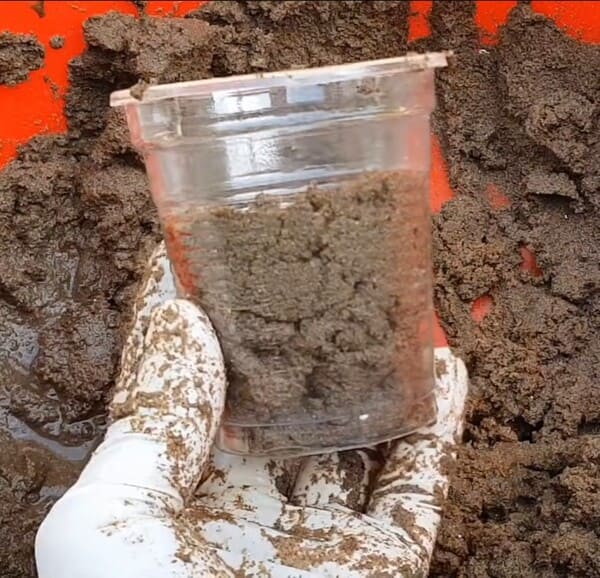
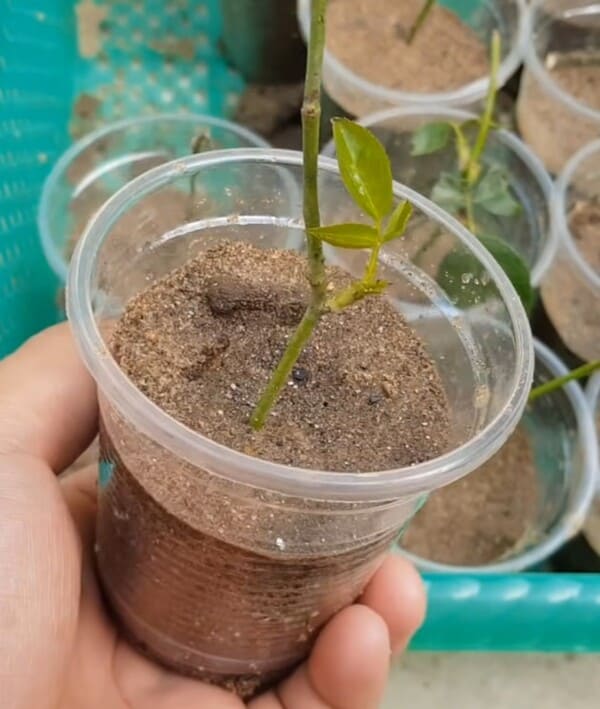
For the container, I use plastic cups like this one because it’s easy to observe the roots of the rose cuttings.
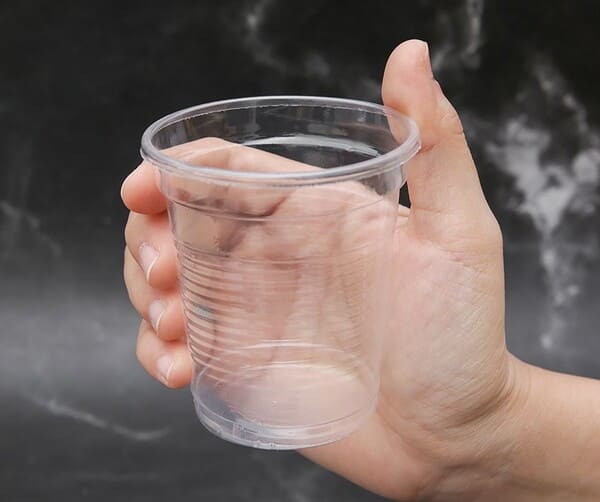
This is a small plastic cup with a capacity of 190 ml. If you don’t have these, you can also use regular pots.
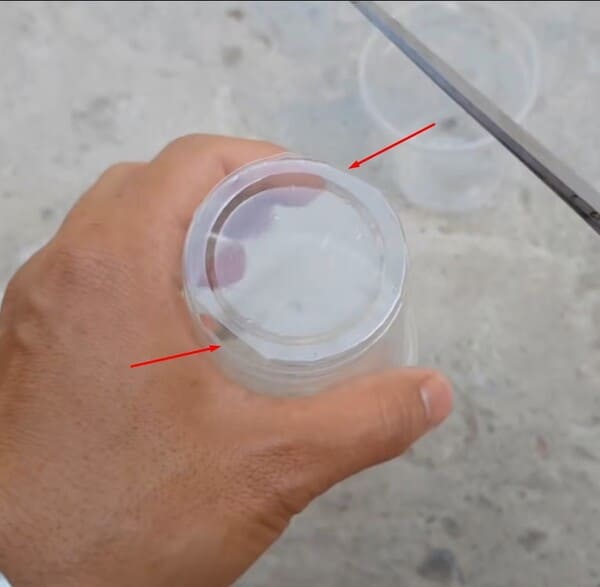
I cut drainage holes in the plastic cup—just two holes on the sides are enough.
After cutting the holes, I add sand into the cup to propagate the rose cutting. Before adding the sand, I wet it by pouring a small amount of water gradually until the sand is moist but not soaked.
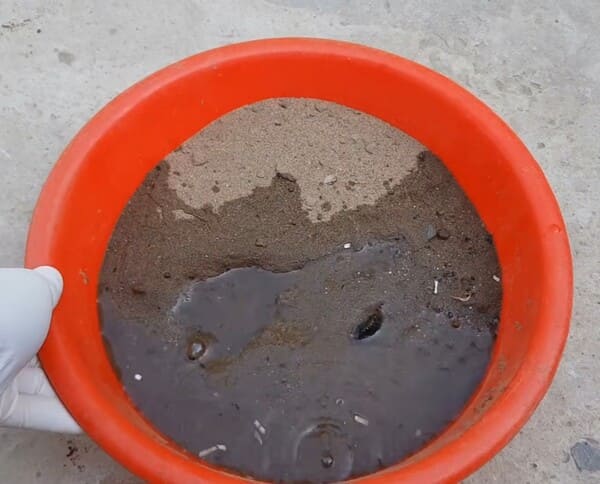
Make sure not to pour too much water. If some spots are still dry, add a bit more water until the sand is damp enough. Avoid putting dry sand in first and then pouring water, as the sand will flow out through the drainage holes.
I fill the cup with sand about halfway or up to two-thirds full; you don’t need to fill it to the top.
Then, I place the cup in a square basket to prevent it from tipping over.
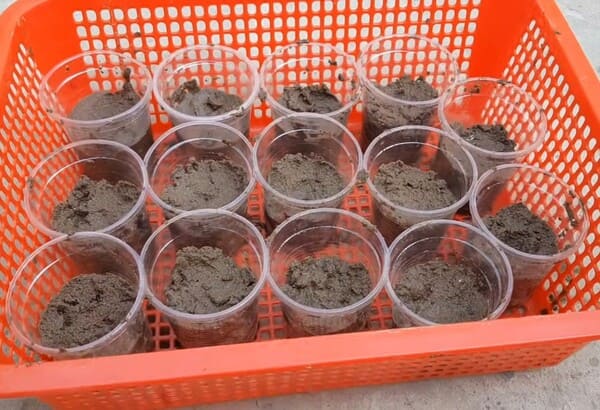
This completes the preparation of the rooting medium, and it’s ready for propagating rose cuttings.
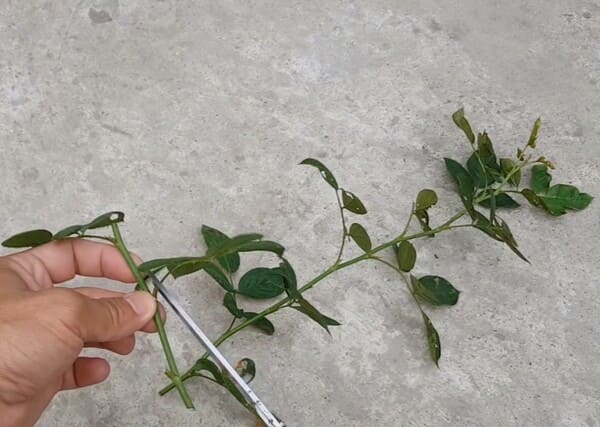
When the flowers have wilted or are almost done blooming, I cut the stems for propagation.
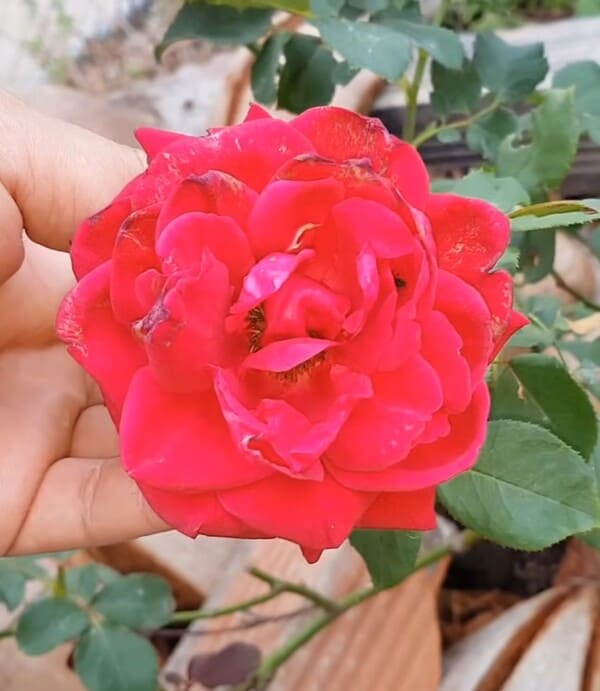
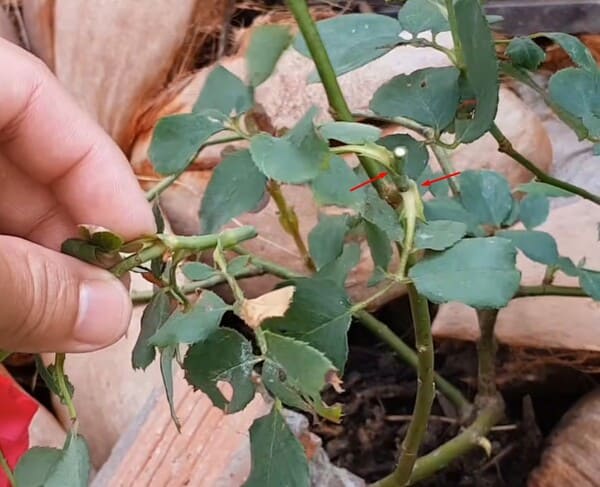
I leave about two leaf nodes below the cut to allow new shoots to grow later. I remove the young, soft parts above. I cut the stem below the flower, leaving two leaf nodes.
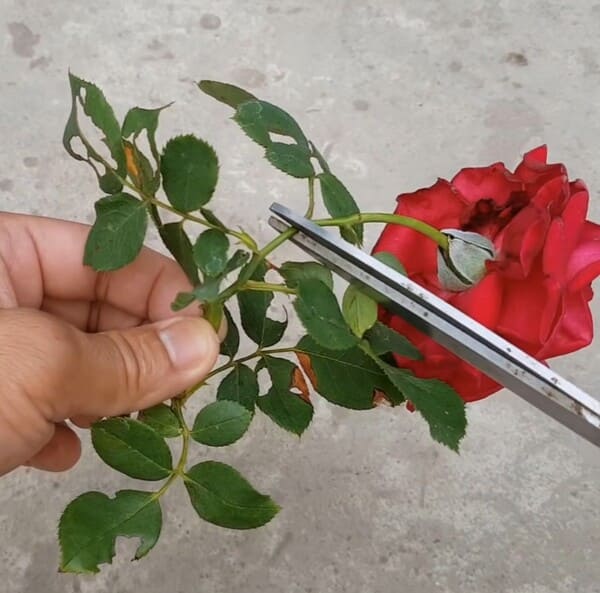
The cutting should be about 7 to 8 cm long. If the branch is longer, you can cut it into several sections. Since this branch is short, I didn’t cut it further.
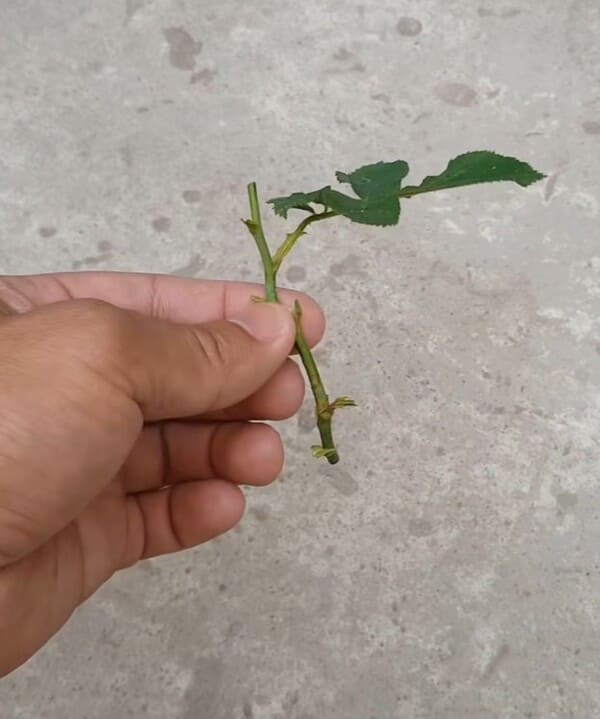
I leave one leaf on the cutting.
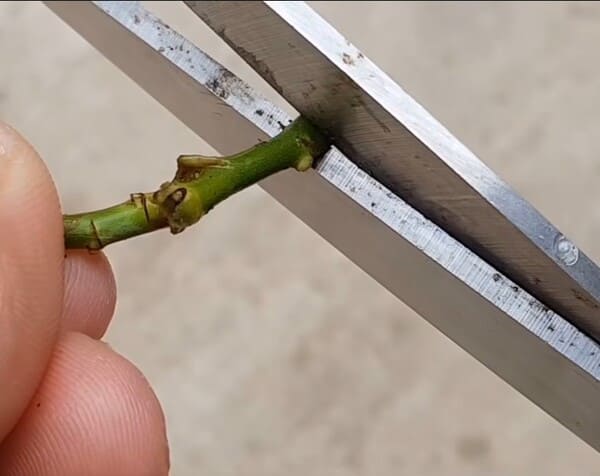
Remember to cut right below a leaf node like in the picture, so it will root more easily.

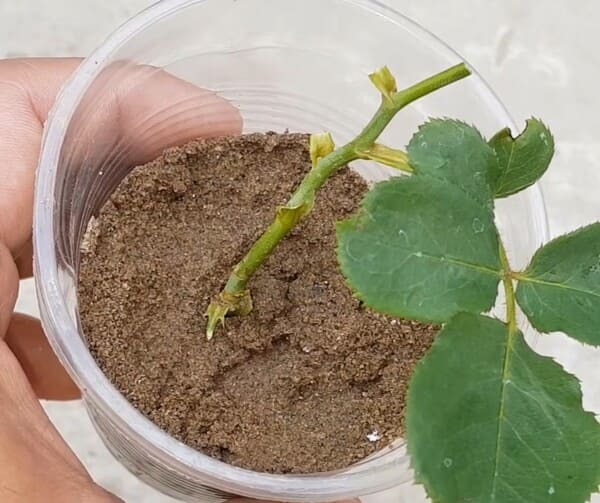
I insert the cutting into the sand in the cup, but do not push it in too deep—about 1 cm is enough for it to stand. That’s it! If you find a long, healthy branch, you can cut and propagate it.
The stem should not be too old or too young. I usually cut from the middle, as shown in the picture. Because the branch is long, I divide it into several segments, each about 7 to 8 cm long, leaving one leaf per segment.
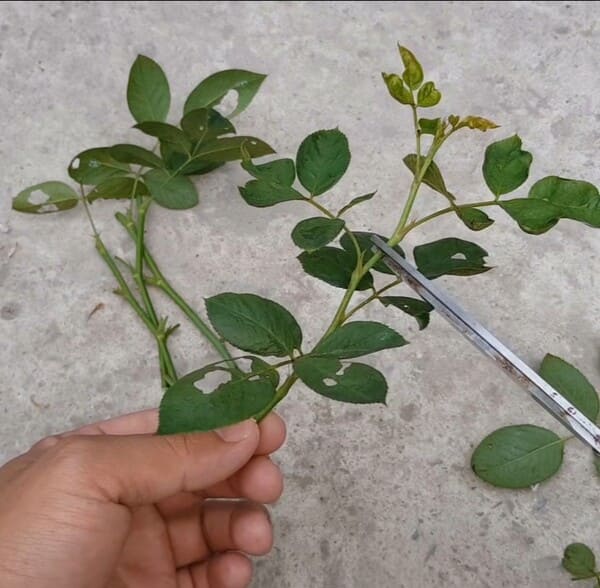
The young part at the top is removed. I cut below the top, leaving two leaf nodes. The longer the branch, the more cuttings you can get.
If successful, each cutting will grow into a new plant.
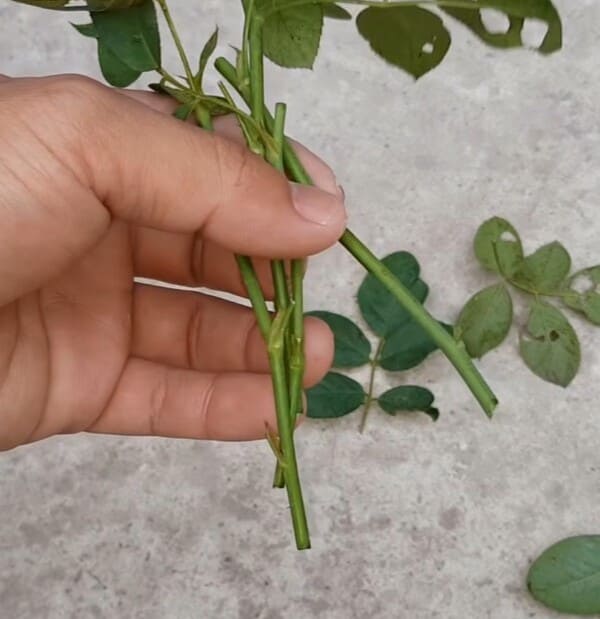
I repeat: always cut right below a leaf node for better success. Insert about 1 cm deep
So far, I’ve only applied this method with a few easy-to-grow hybrid roses in my garden. For some difficult hybrid roses, you may need to use rooting hormones.
When propagating cuttings, choose stems that are neither too young nor too old. You can tell by the color and firmness of the rose stem.
After planting the cuttings, spray them with water mist two to three times a day to keep moisture. Avoid overwatering, as too much water will wash the sand out through the drainage holes.

Place the cuttings where they get mild sunlight—for example, under tree shade or covered with a sunshade net. Do not place them in dark areas without light or in places with too much direct sun.
These are rose cuttings that I propagated a while ago.
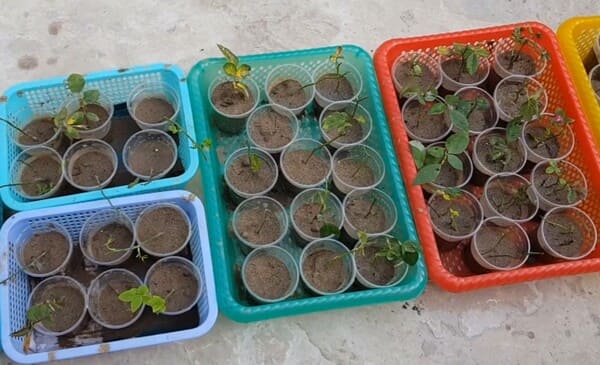
I find propagating rose cuttings using construction sand very easy. Previously, when I used other media, I wasn’t as successful as with construction sand.
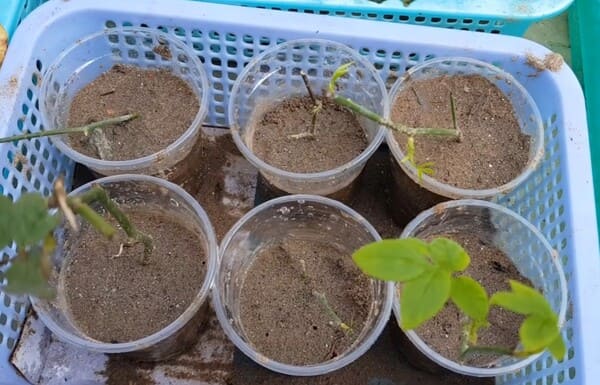
Rose cuttings that have grown leaves like these are not guaranteed to succeed.
Only when they sprout roots can you be sure they’ve taken. These are the cuttings from my first batch, and none of them turned black.
They sprouted roots well.
In this tutorial, I removed the cuttings from the sand just to show you. When roots have formed, do not pull them out like this, as it can damage the cutting and cause it to die.

I washed the sand off so you can see the roots better. The roots have grown very well.
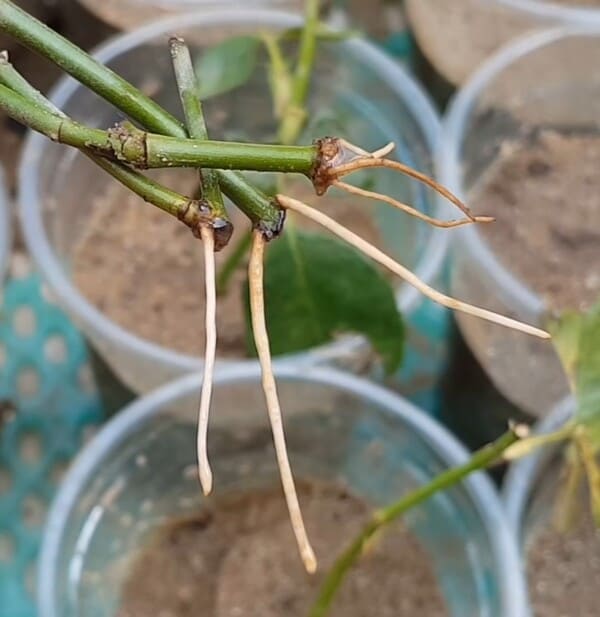
Pro tip: Again, I only removed the cuttings to show you. When the roots have grown, do not pull them out.
When the roots look like this, just wait until they grow more before transplanting into a larger pot.
When the roots have filled the pot and grown down through the bottom, I will transplant them. Because the plastic cup is transparent, I can easily monitor root development. When the roots are abundant, I will cut along the side of the cup, remove the cup while keeping the root ball intact, and then plant it in a bigger pot.
Pro tip: You don’t have to wait for roots to appear to know the cutting is successful. If bumps appear on the stem base, it means success.
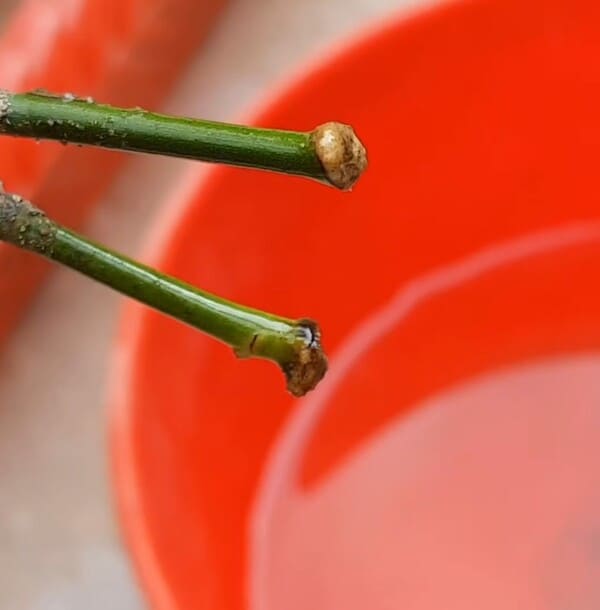
See these bumps at the base? They will definitely grow roots. While propagating, remember to mist daily, 2 to 3 times a day, to keep moisture and prevent drying out.