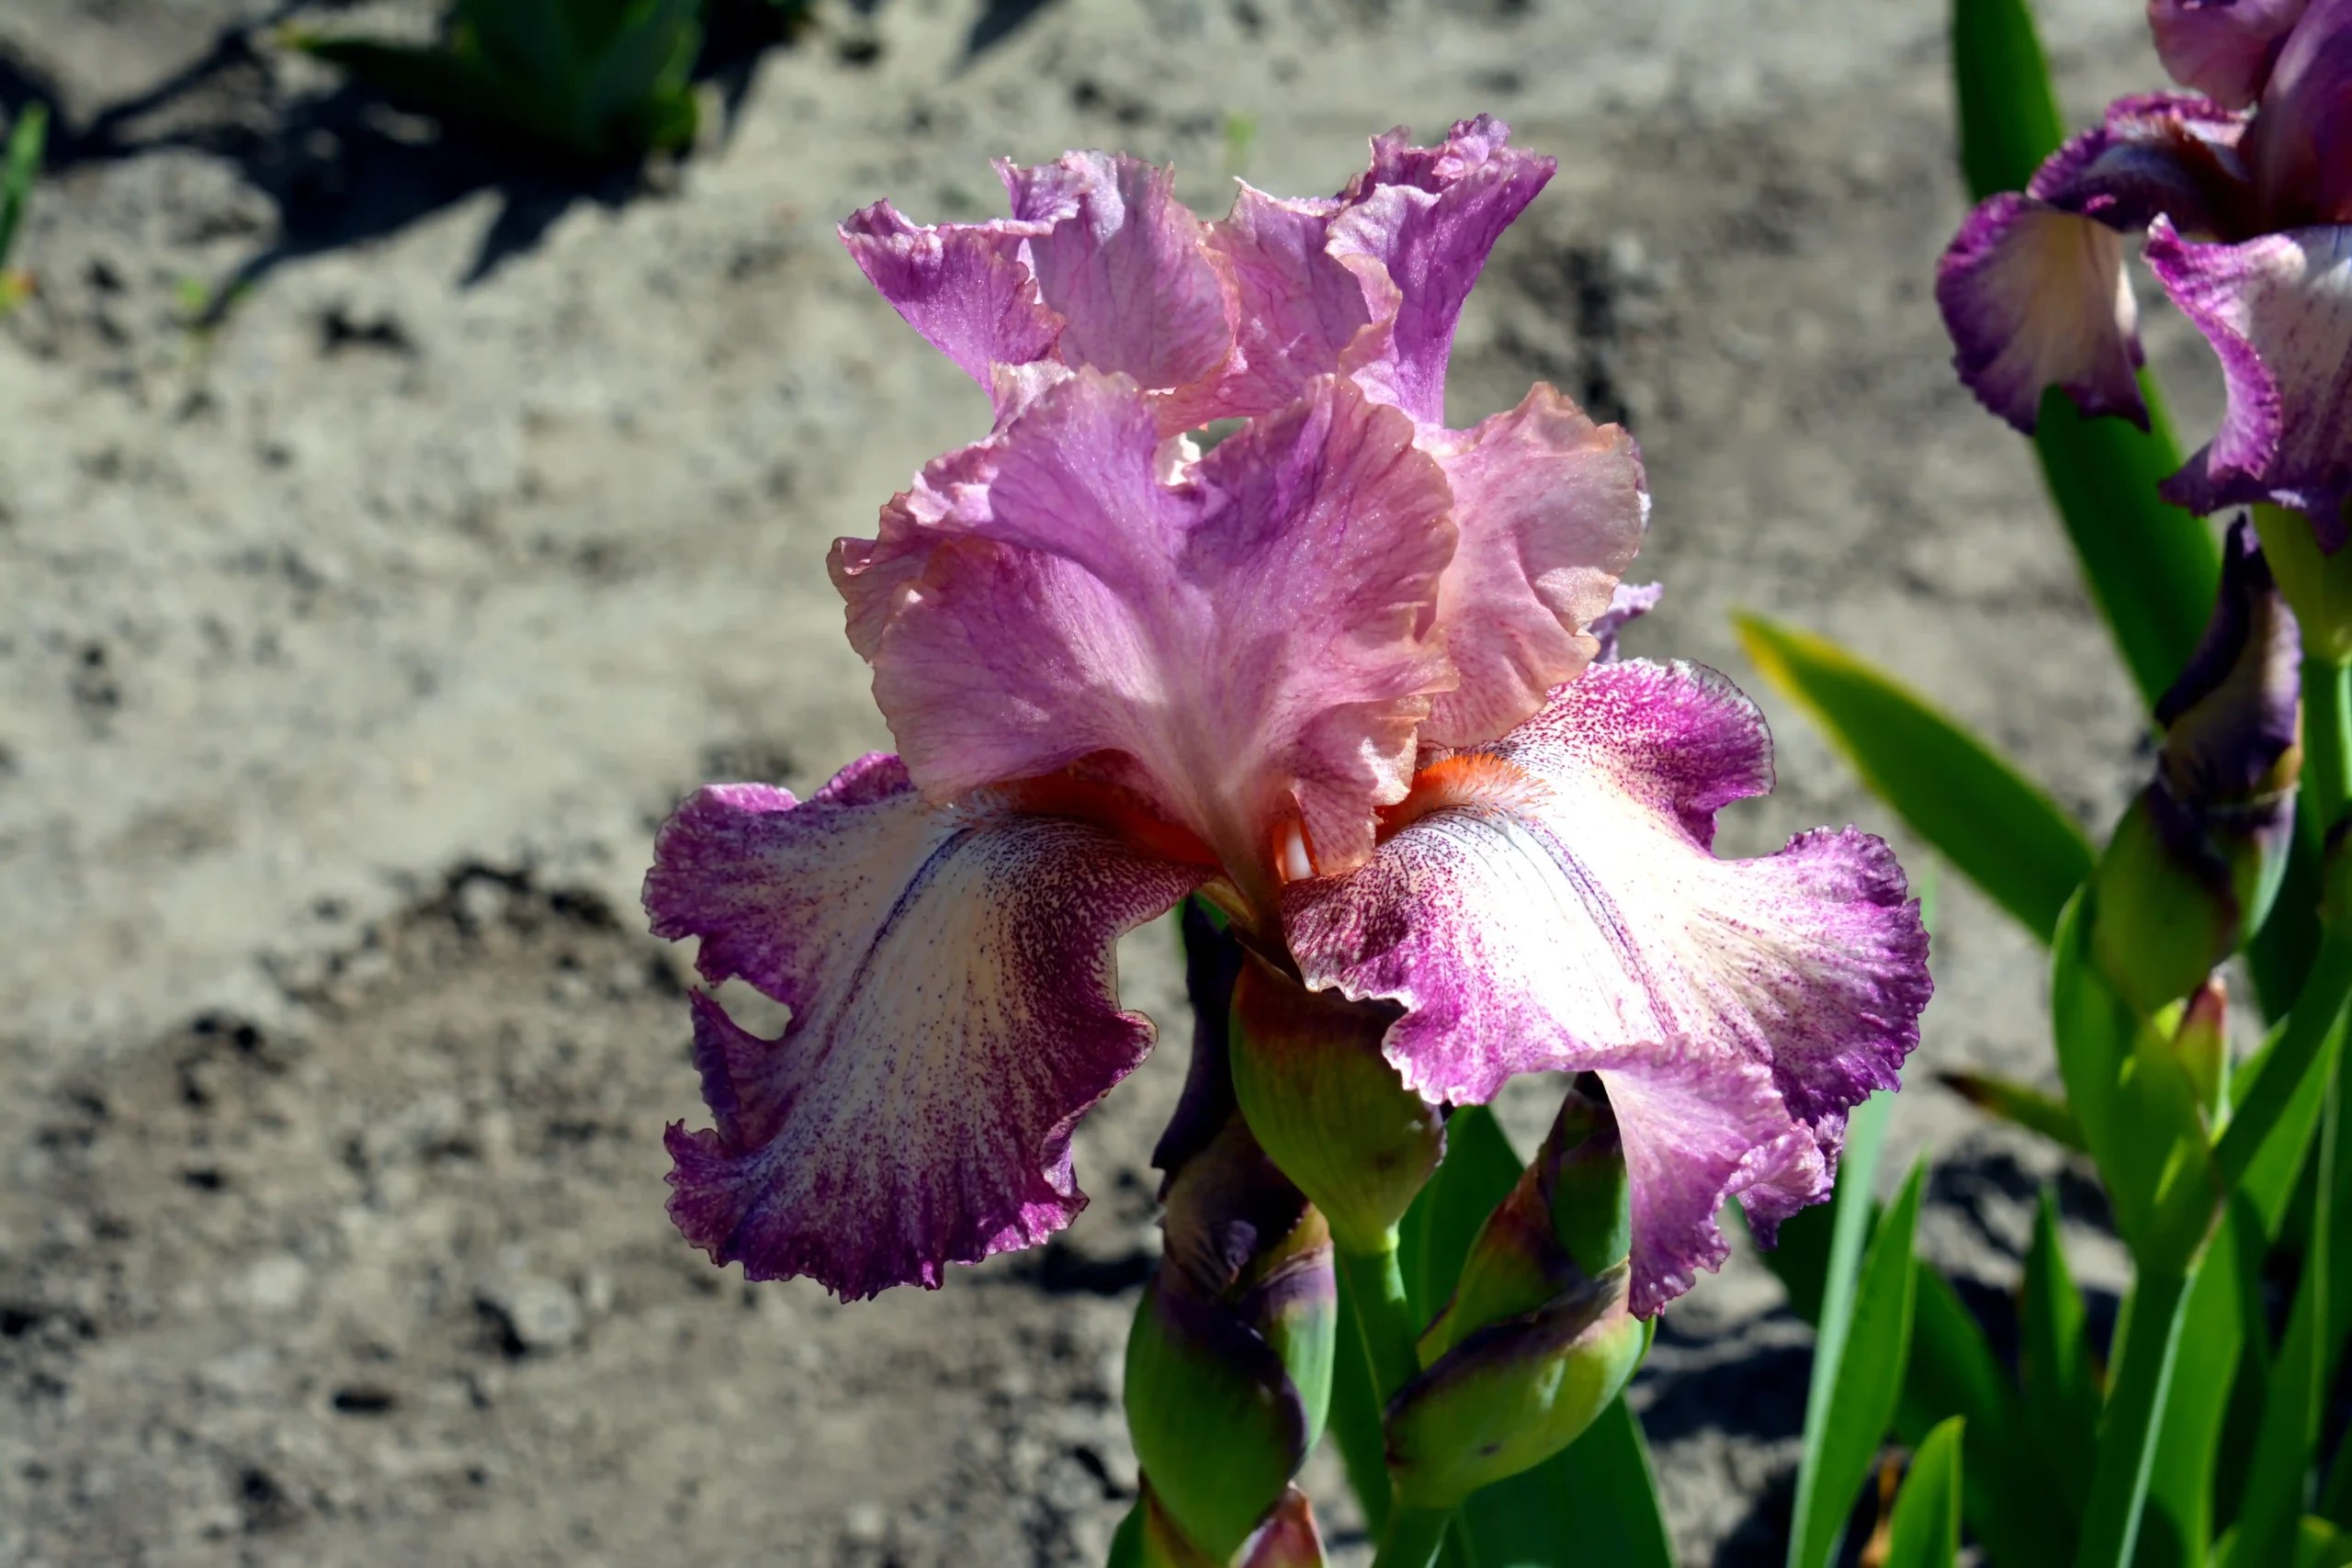
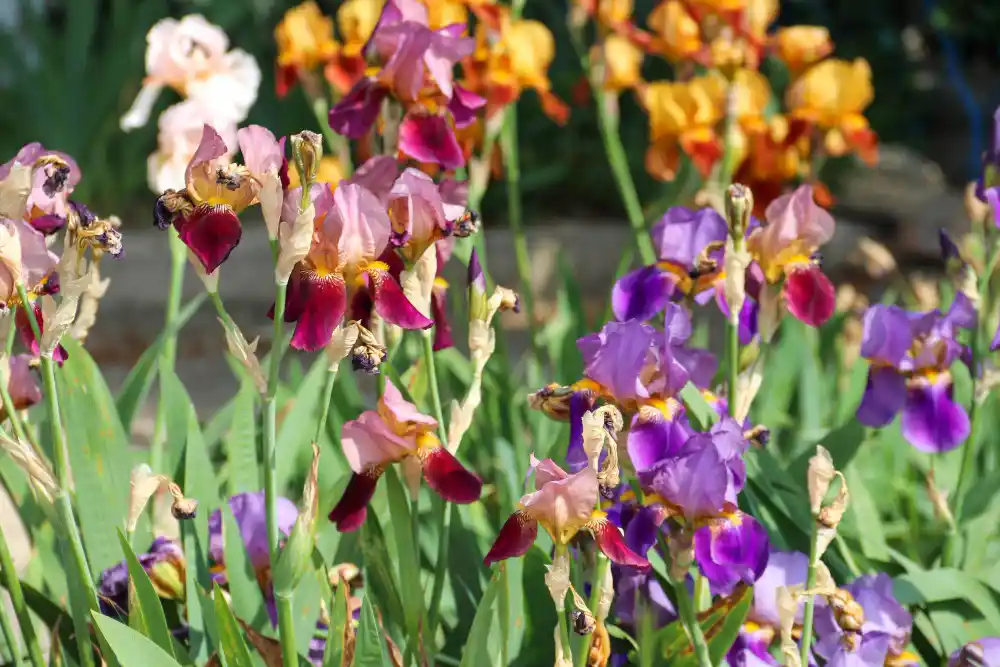
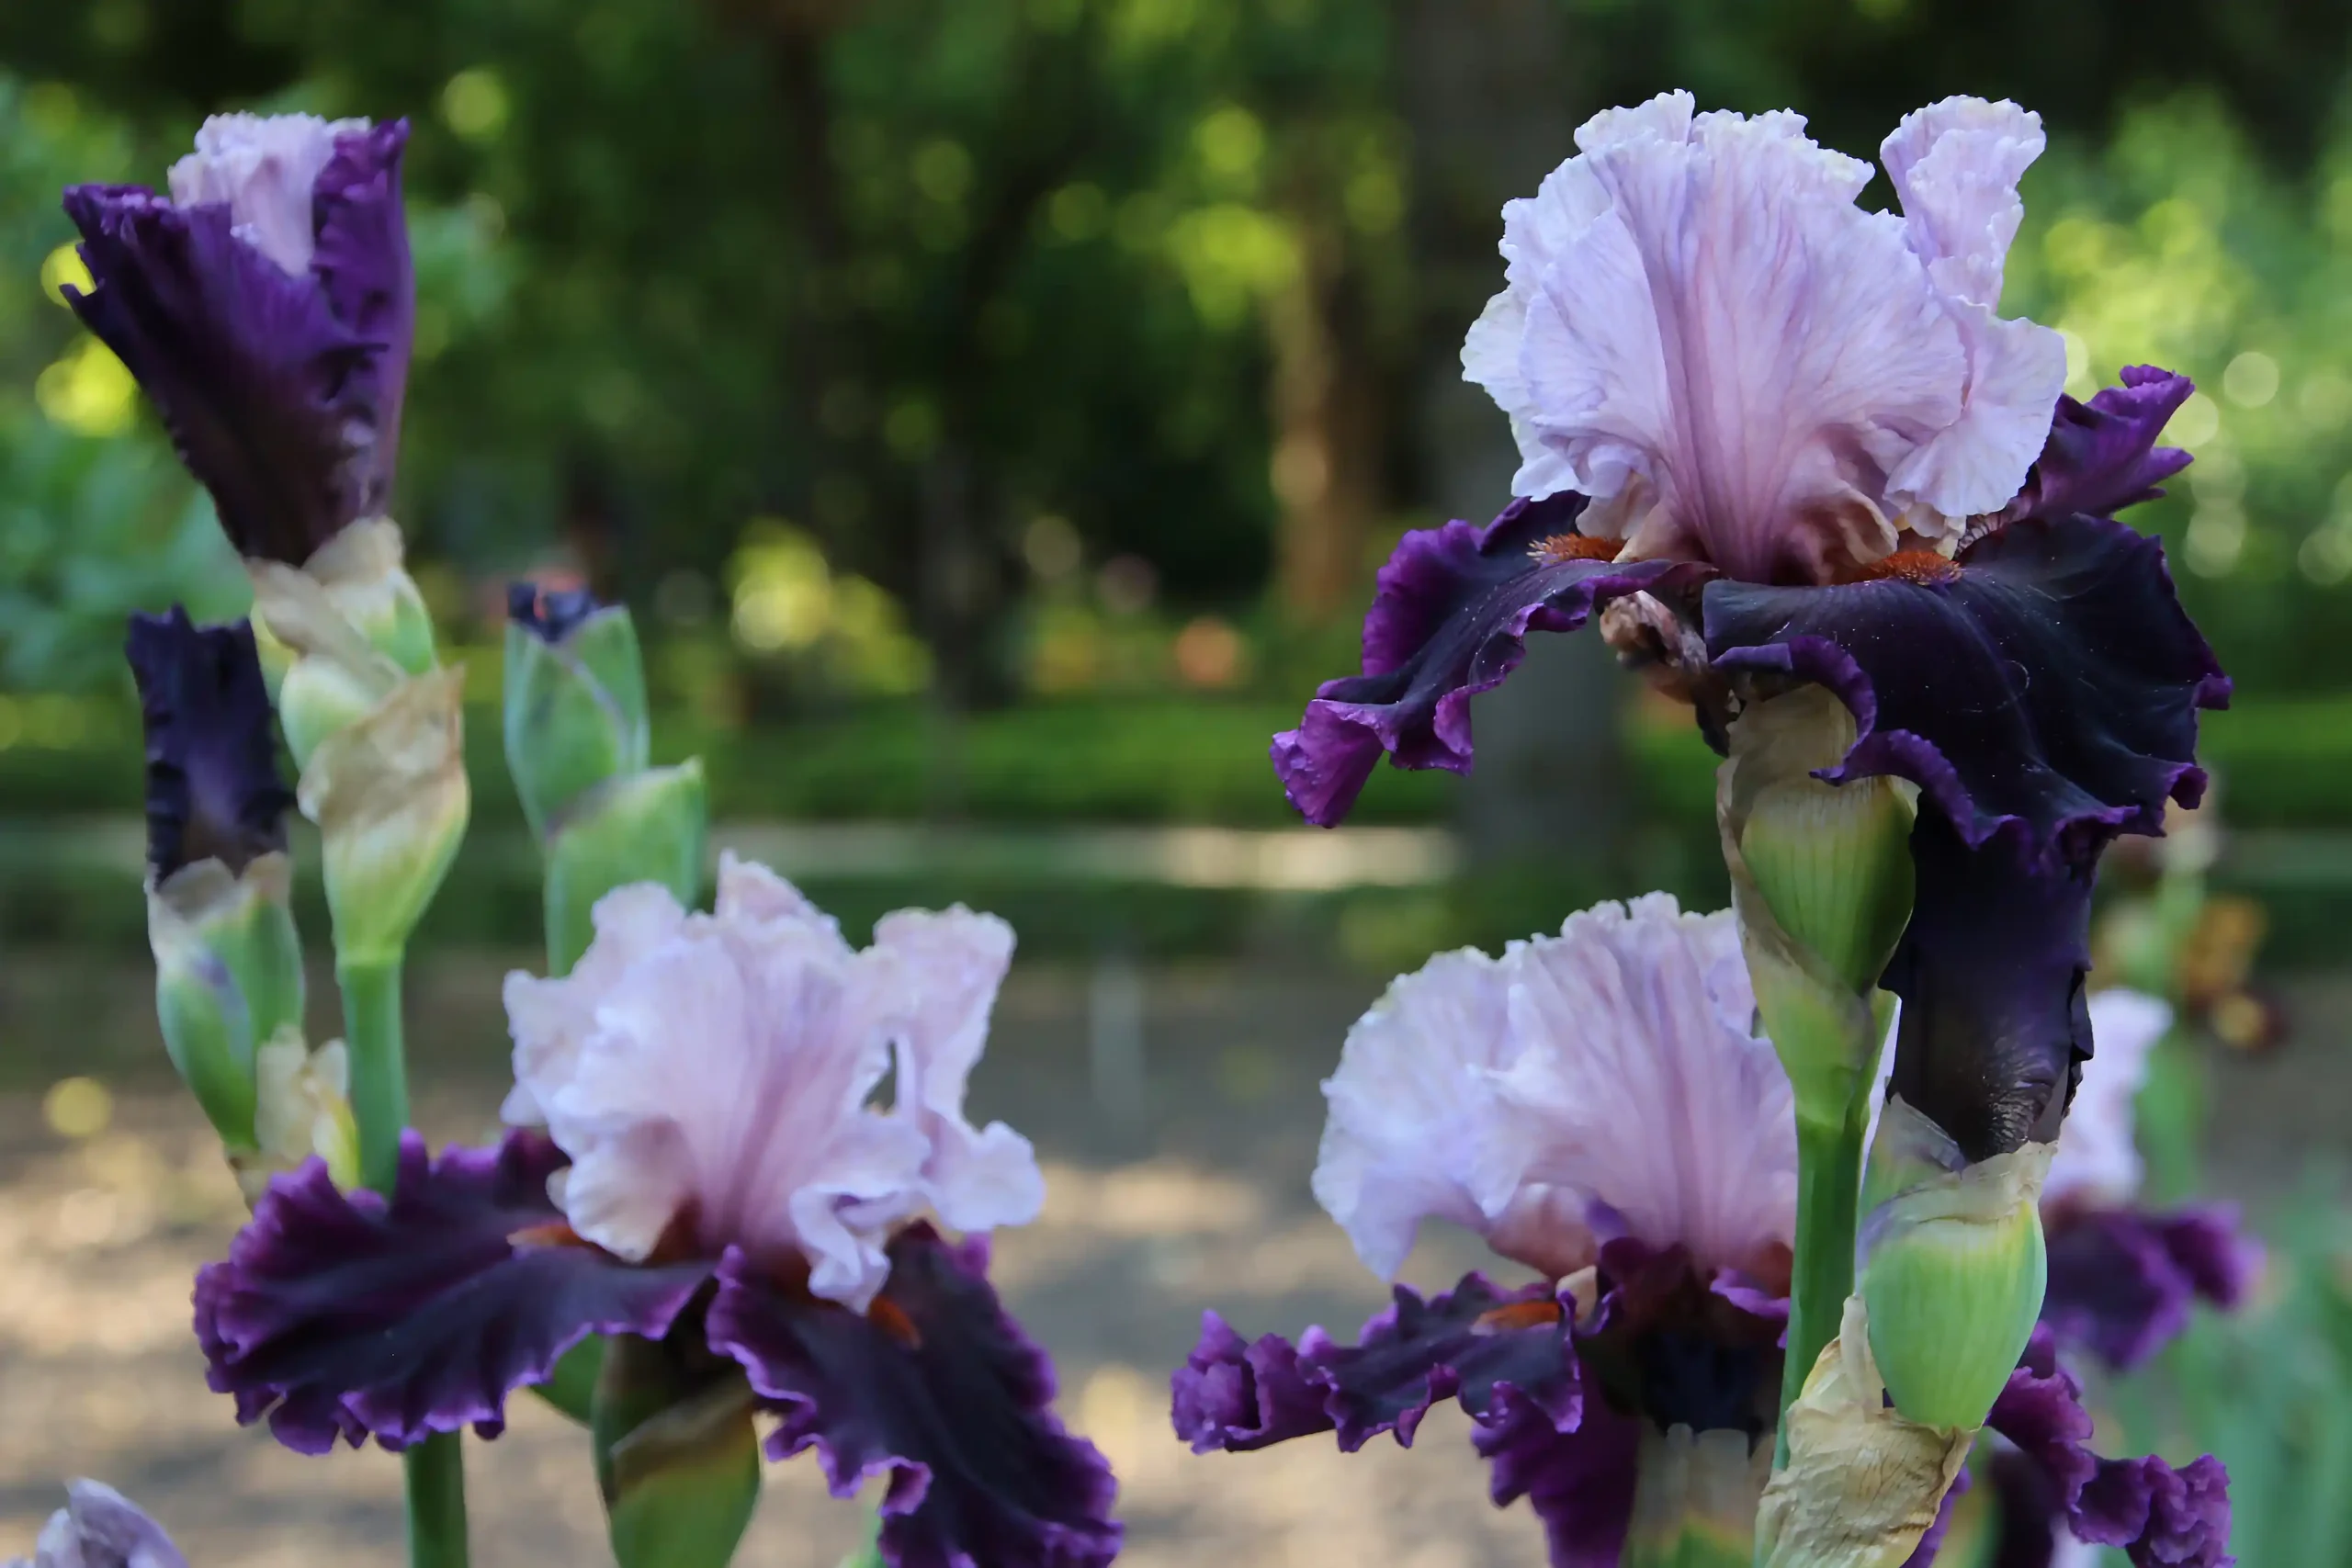
Do you know bearded irises? They are bold and elegant blooms. They will make your garden look like you put more effort than you actually did. It's also not so tricky to grow iris, as long as you know the way.
I grew them in my garden, and today I'll share with you how to plant bearded iris easily from bulbs (or rhizomes). Let’s get started!
Best Time to Grow Bearded Iris
I’ve learned that the best time to plant iris rhizomes is from late summer into early fall (from August to September).
During this period, the roots will have plenty of time to establish themselves before the first harsh frost arrives. In this way, they will be prepared to perform well when spring visits.
Divide The Iris Bulbs
I prefer to dig up and divide my iris clumps once every few years, usually in August or September. It gives my garden a new look and prevents the plants from being overcrowded.
This also means that I'll have plenty of healthy flowers the next spring and early summer.
Where to Grow Bearded Iris Plants
Irises will grow best when they receive a lot of sunlight. 6 to 8 hours of direct sunlight every day will be perfect. Getting enough sunlight means that they will repay you with large and beautiful blooms.
Although most people advise planting irises in a separate bed, I just grow mine into my usual flower borders (yep – along with all the other flowers).
If you want to make it easy like me, try this tip:
| Grow your bearded irises on a little mound of well-drained soil near other plants. That way, iris won't sit in soggy soil while others get enough water they need. |
How to Plant Bearded Iris: Step-by-Step Guide
I’ve planted plenty of bearded irises, and if you know the right way, it’s as easy as pie. Let’s walk through the guide together!
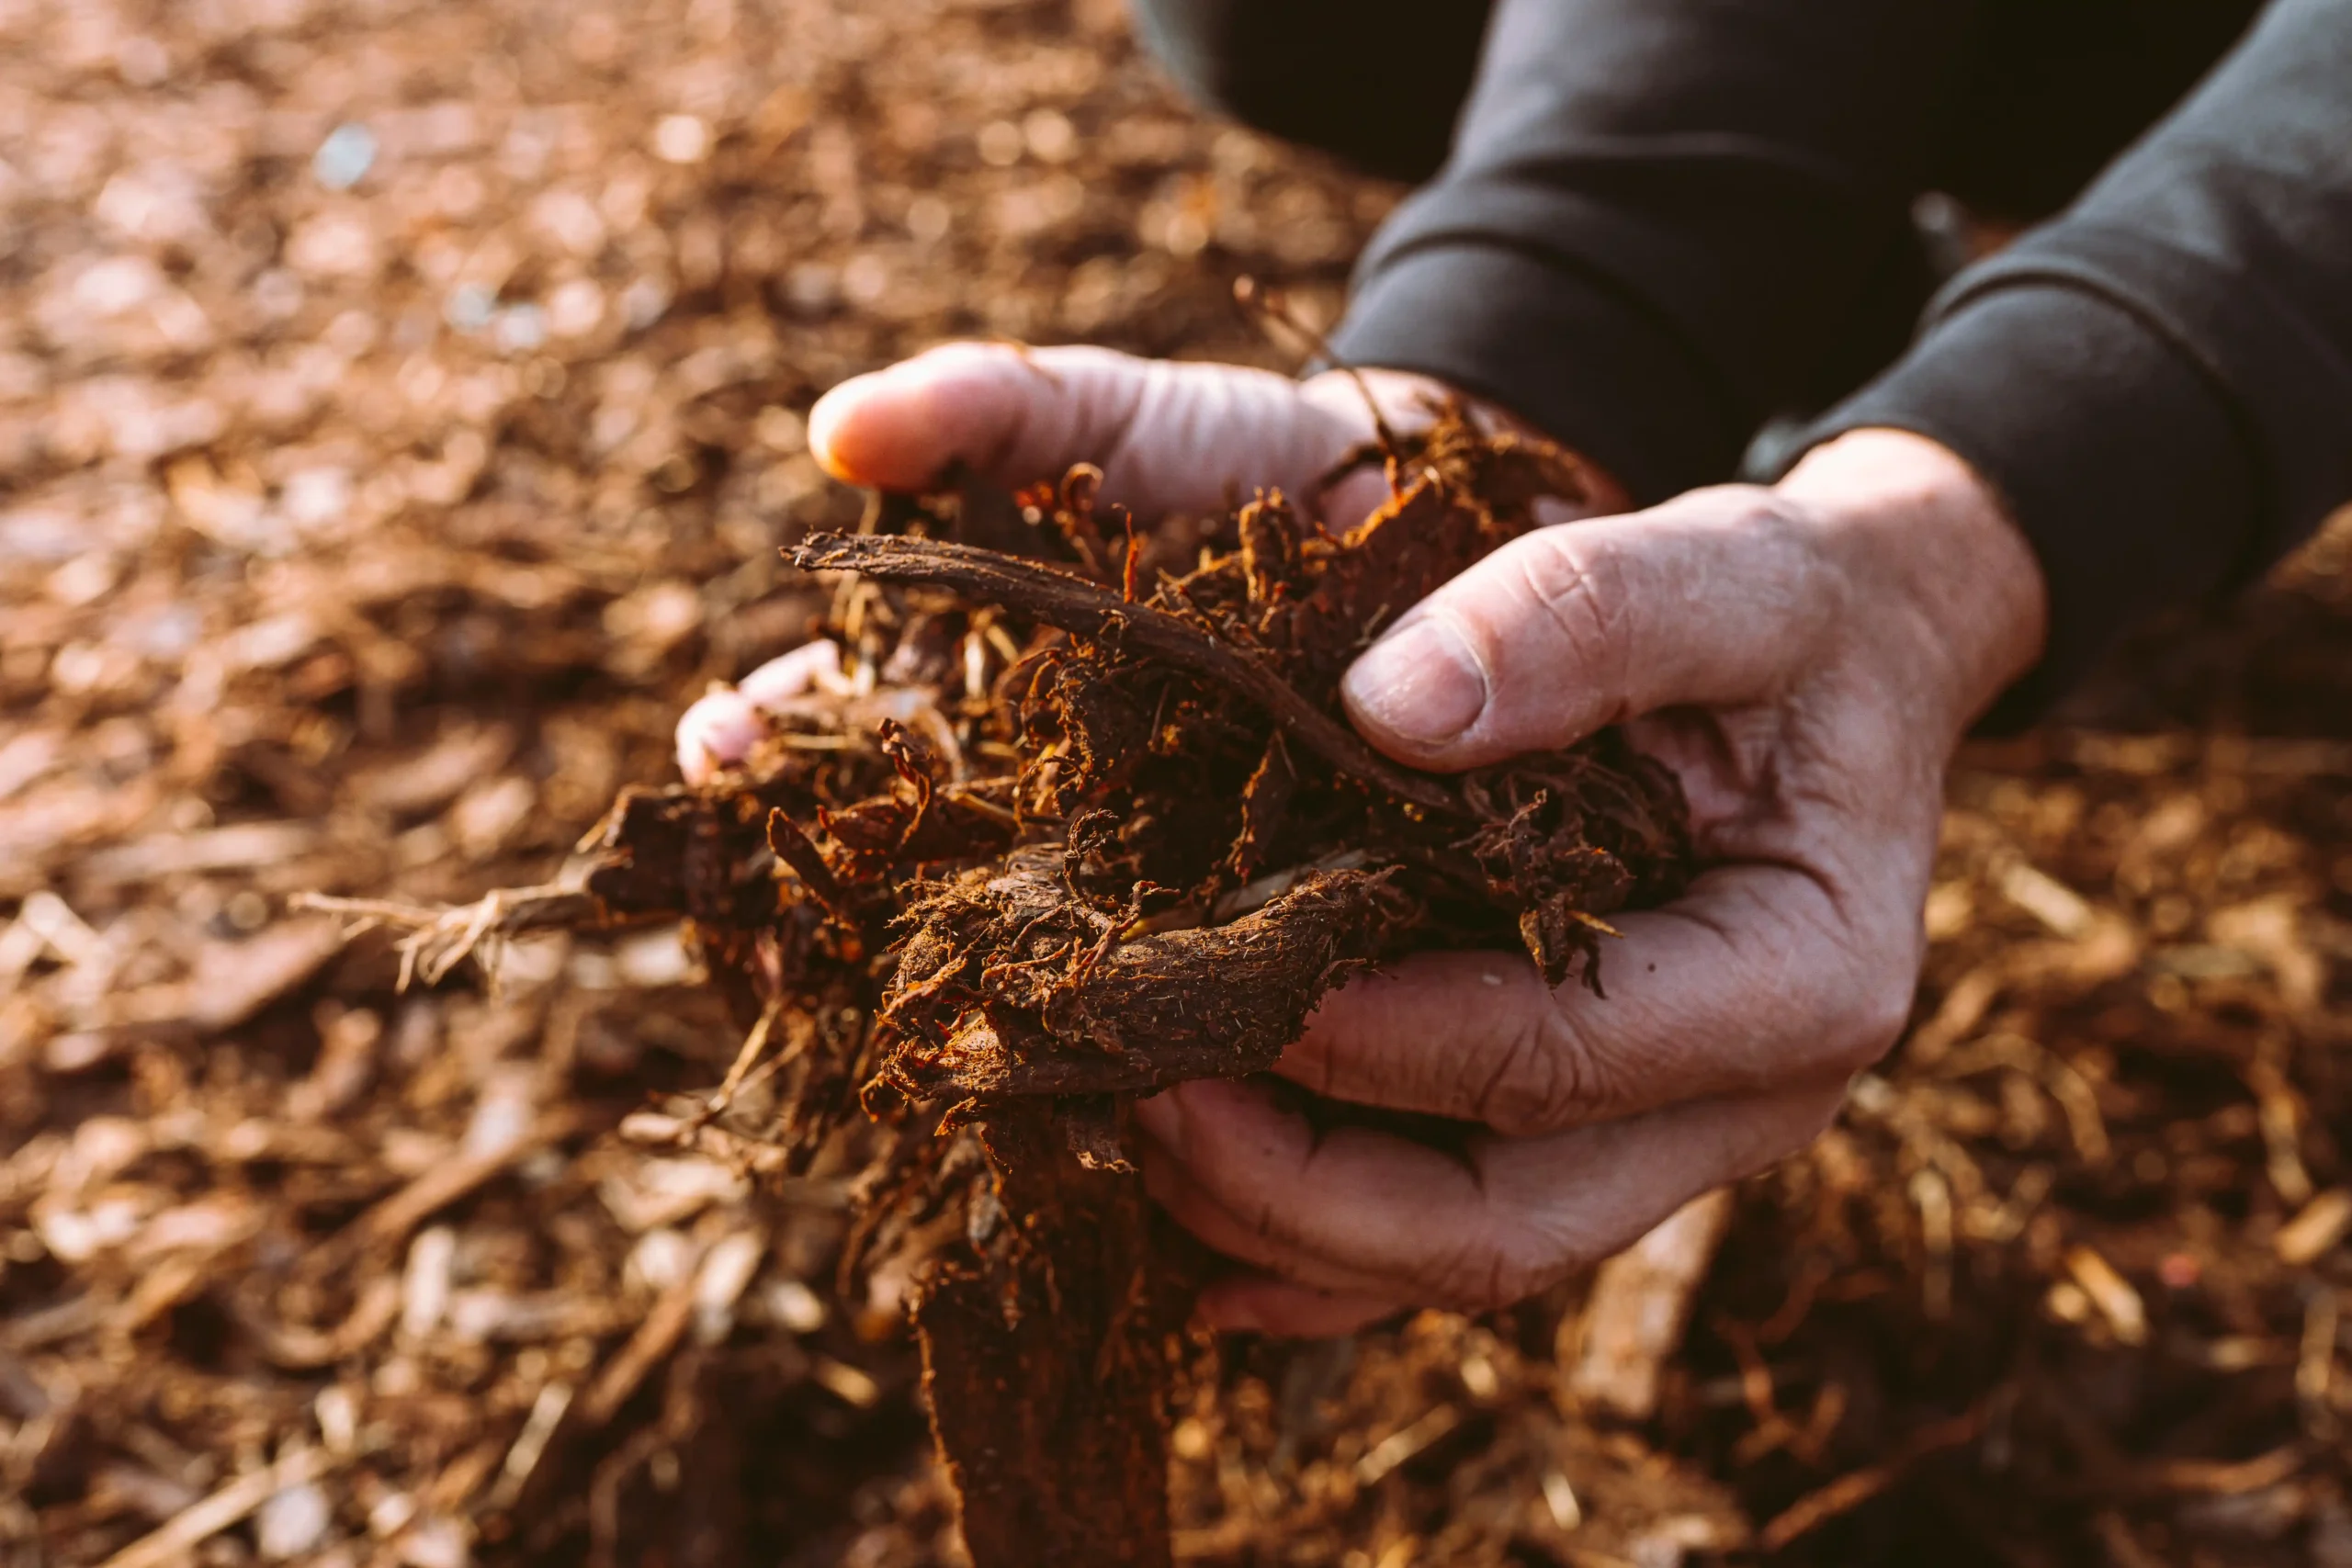
Prepare the Soil
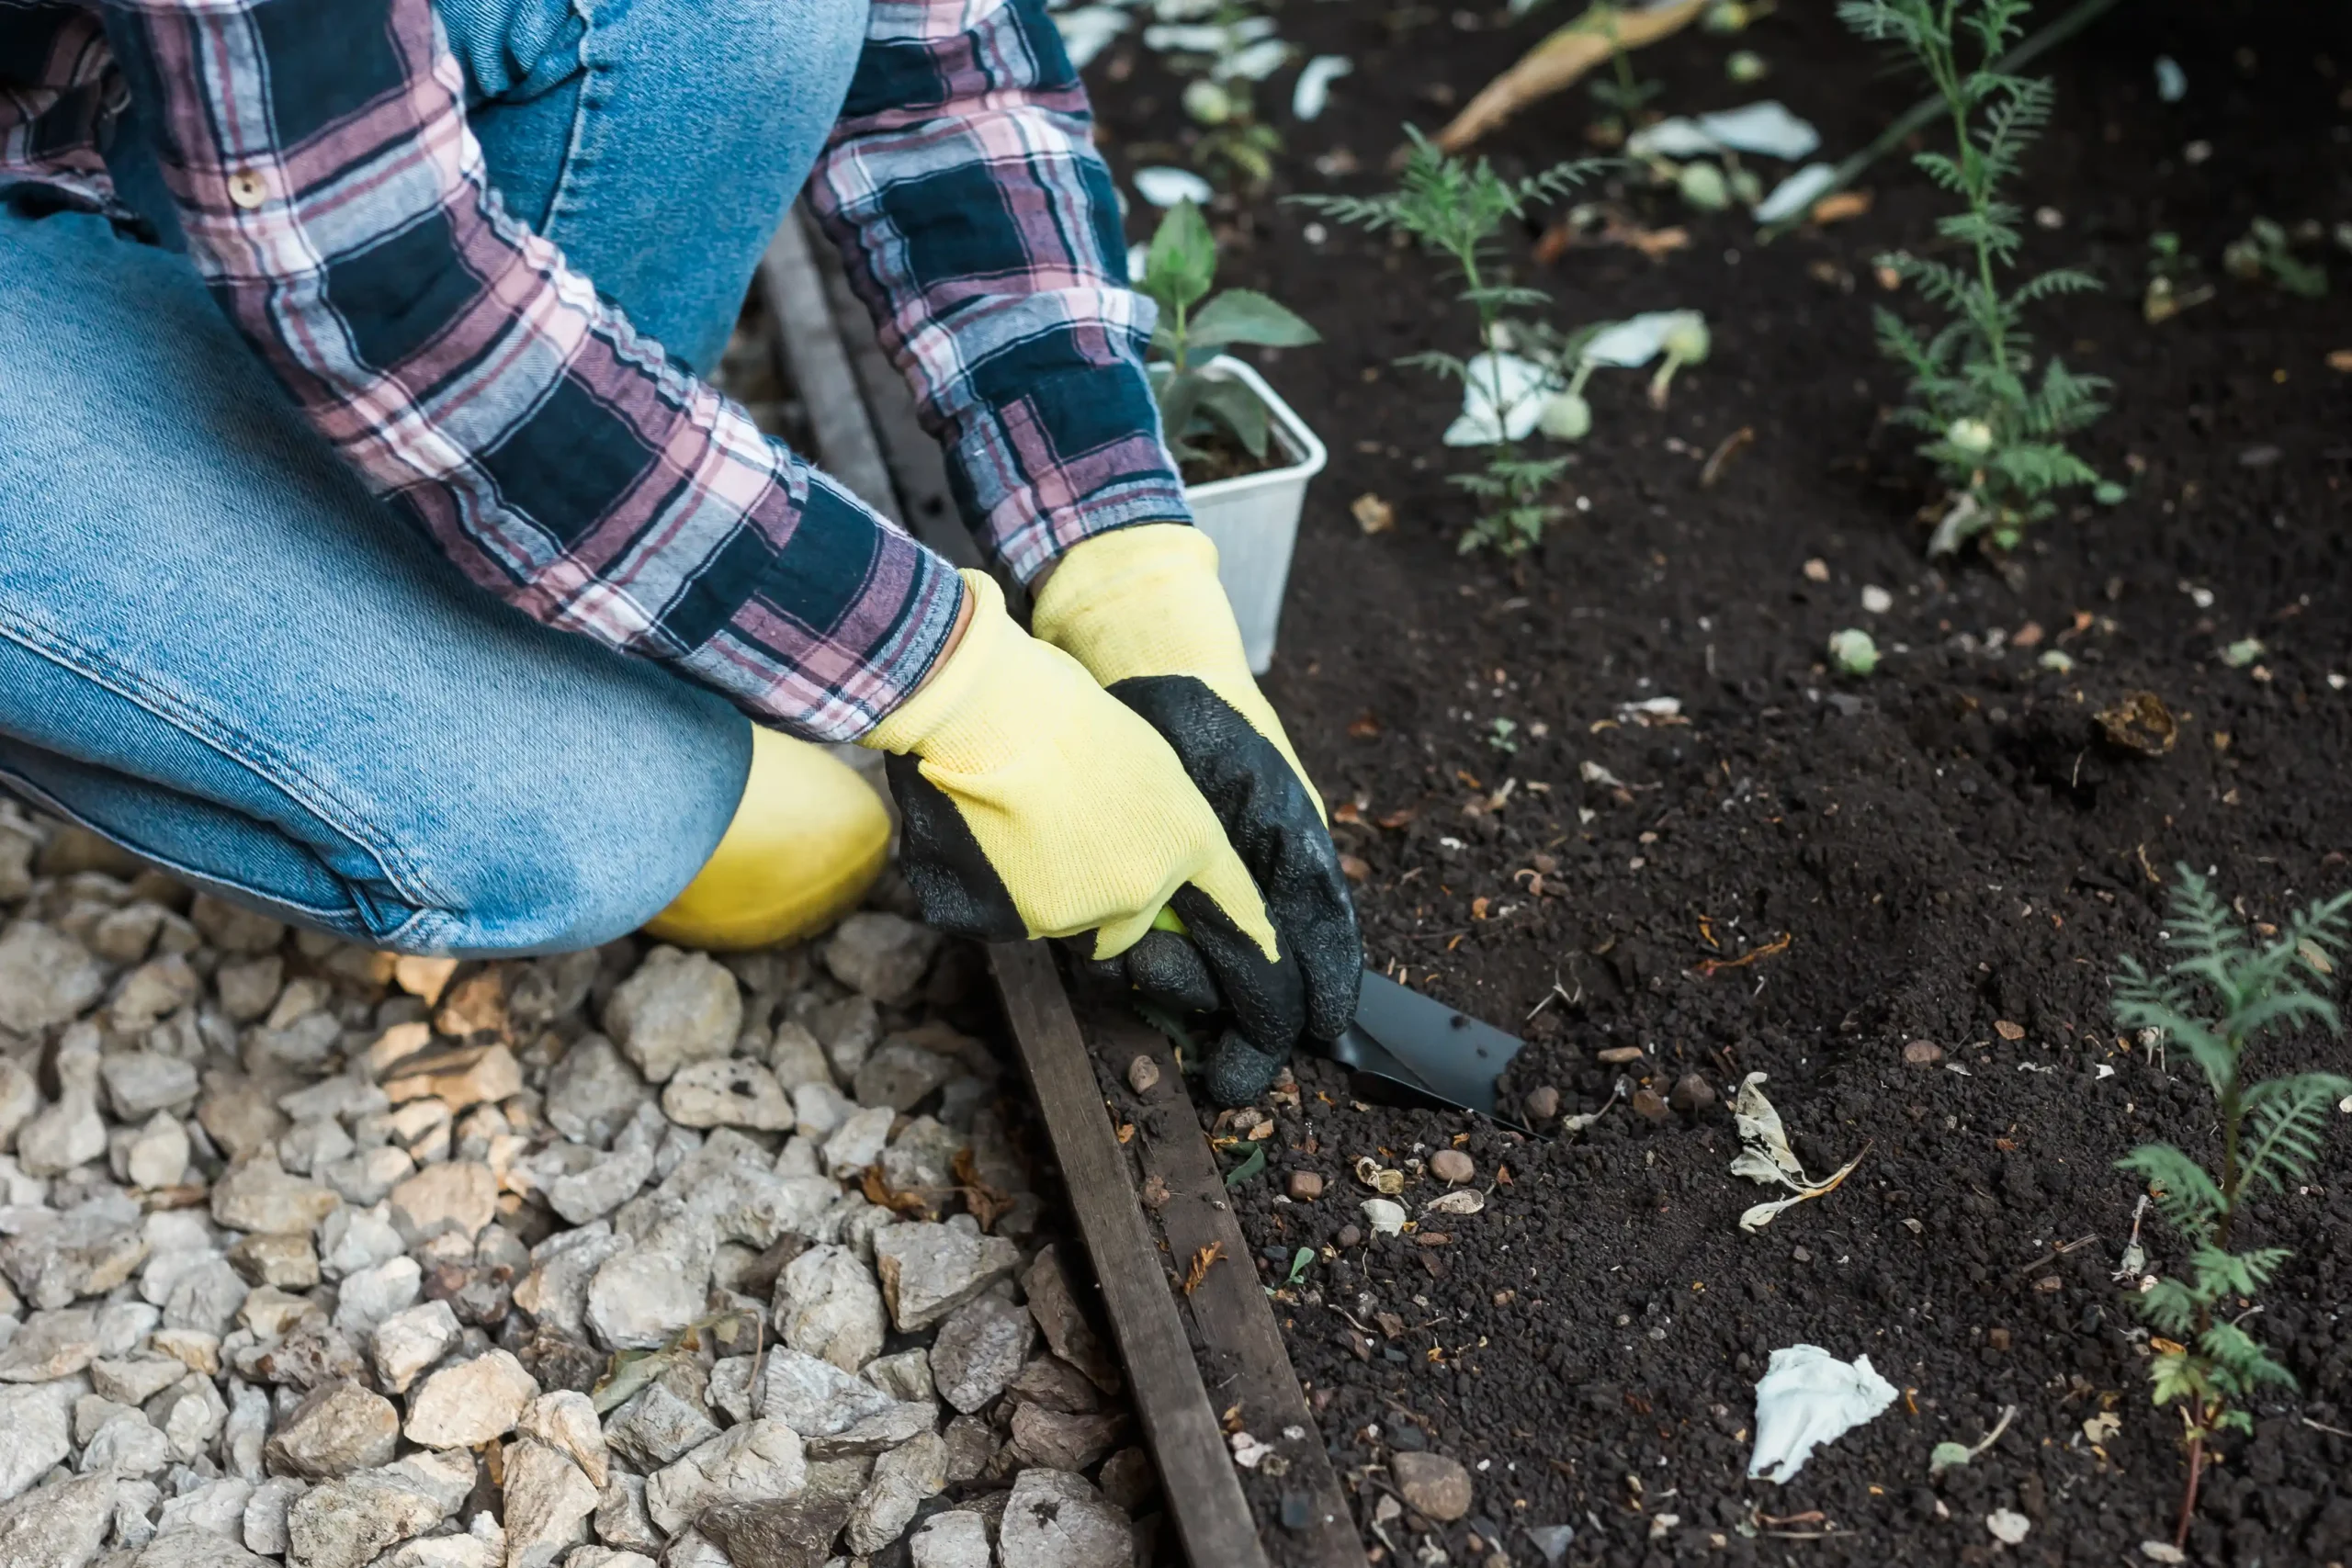
First thing to keep in mind — Irises love well-drained soil. Below are other tips when preparing soil for planting iris:
- Remove any weeds, grass, or old plant debris from the soil.
- I always carefully loosen up the soil so that the iris roots can spread out easily.
- Bearded iris loves to grow in neutral to slightly acidic soil. However, I found that they also grow well in slightly alkaline soil.
| My Gardening Tip: If you have heavy clay soil (as I do in some areas of my yard), mix in some compost, coarse sand, or a small amount of fine gravel. This will improve the soil drainage. |
A Note on Fertilizing
Now, here’s where I go against the grain a little bit. When I plant irises, I don't use fertilizer. The rhizome itself has enough energy to get the plant going, especially when your soil is already in good condition from frequent composting.
However, if you still want to do it, be sure to thoroughly mix fertilizer into the soil rather than leaving it in the planting hole.
I've found that the right time to feed your irises is after they've completed flowering. They need to build up nutrients for the show next year.
Plant the Bearded Iris
When I first planted beard iris, I made a mistake – burying the bulb too deep. And then, no flowers appeared the following spring! But you won't since I'll tell you the right way:
- Place the iris rhizome flat in the soil with the roots spread out underneath.
- I always leave the top of the rhizome sticking out of the soil. Do not plant it too deep (like me before). Just keep the bulb close to the surface to prevent it from rotting and encourage blooming.
Irises actually like having a little sun on their “backs.”
- In cold weather, I like to apply a thin layer of mulch before winter. And when the warmth of spring returns, I will rake the mulch back so that the rhizomes can breathe and get some sunshine.
- In hot summer days, I will cover the top of the bulb lightly with soil (about one inch). This will protect it from the heat a bit.
How Far Apart Should You Grow Bearded Irises?
I prefer to place my irises at least 12 inches apart from one another, while others advise 6-12 inches. The wider spaces allow for better ventilation and keep fungal infections away.
Additionally, I won't have to dig and divide the plants again for around 3 years. This is because they will have enough room to grow and multiply. Time is saved, and those lovely blooms have more time to show.
Common Pests & Diseases in Bearded Iris
Iris Borer is the worst pest I’ve ever had to deal with. They often bring along bacterial soft rot, which turns the rhizome into a stinky mess. To prevent this issue, I always clean up dead iris leaves and old plant debris in fall.
Leaf spot is a fungal disease that shows up as brown spots on leaves. I hate this because it makes the plant look messy and weak. Once I spot it, I remove any diseased leaves and avoid overhead watering to keep the leaves dry.
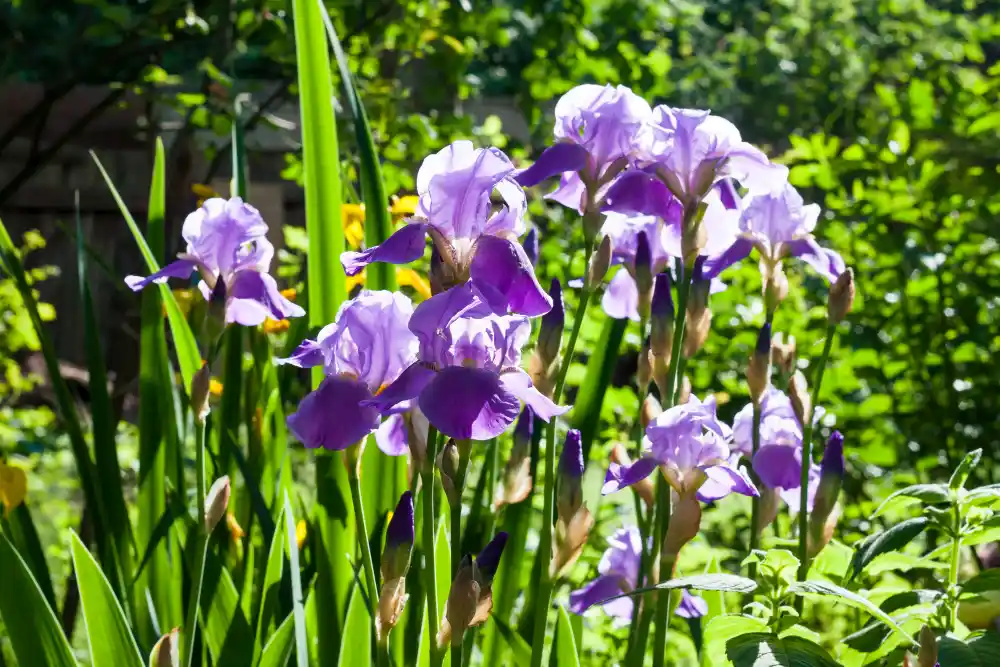
How to Replant Bearded Irises
I always look forward to replanting my bearded irises after I divide them. It's one of those easy garden tasks that will promise a big payoff the following spring.
What I love to do is plant 3 rhizomes in a small group. They provide a stunning, vibrant display of color when they bloom. I plant them in a circle, with the pointy ends (or “noses” as I call them) facing each other.
I often leave about 6 to 12 inches between bulbs (not very important indeed). Planting them this close means that I'll have to divide them again sooner. However, this is totally worth it!
Final Words
So, you've learned how to plant bearded iris – planting, caring for, and dividing them. They might look delicate, but tougher than you think. It's always a wonderful feeling when watching those colorful blooms pop up in spring.
Happy planting!