Kale is such a powerhouse vegetable, packed with nutrients and super healthy. But some say growing kale in hot climates, like tropical places, is tough.
I'm here to tell you that's not entirely true!
I've grown kale right in pots at home in a hot region, and it works beautifully. If you want fresh, clean kale from your garden, let me share exactly how I do it — step by step.
Growing Kale in Hot Climates: Is It Possible?
I know some people think kale doesn't grow well in tropical areas. But guess what? That's not always the case!
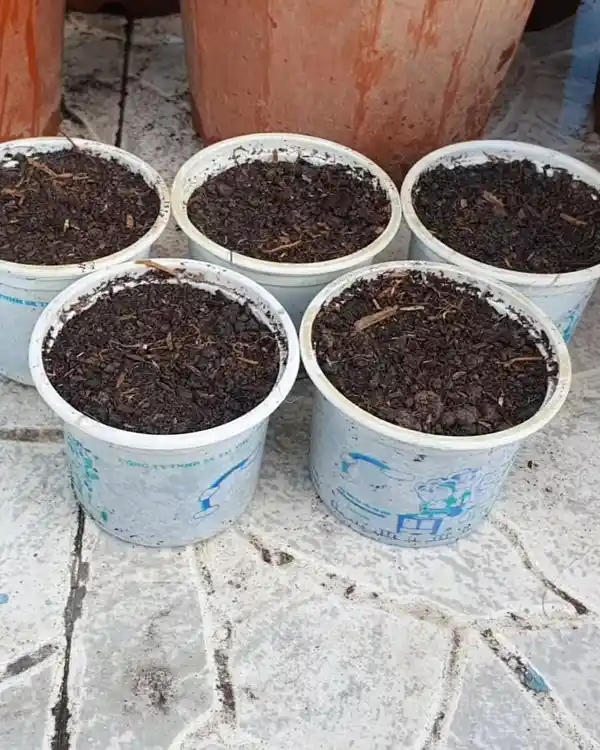
I live in a province in a hot and humid area, and I've had great success growing kale in small pots. These aren't special pots, just regular containers with the proper care.
And yes, they're all grown from seeds. So, if you love having a clean, homegrown source of vegetables, kale is worth trying!
How to Grow Kale in Containers at Home: Step-by-Step Guide
Growing kale in containers isn't hard, but it takes a few key steps. Let me walk you through what I do.
Step 1: Choosing the Right Soil and Container
Let's start with soil—your plants need a good home!
I use a nutrient-rich soil that's already composted. I mix it with some loamy soil to improve the texture. You can tell just by watering it that the drainage is really good, which is essential because kale doesn't like soggy roots.
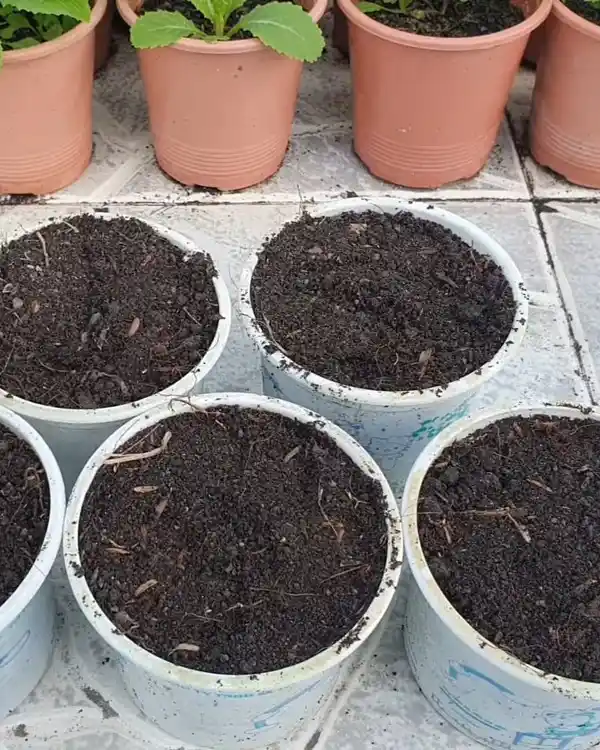
I plant seeds in small soil pots. These little pots make everything easier—less soil, less mess, and it helps me manage the plants better later.
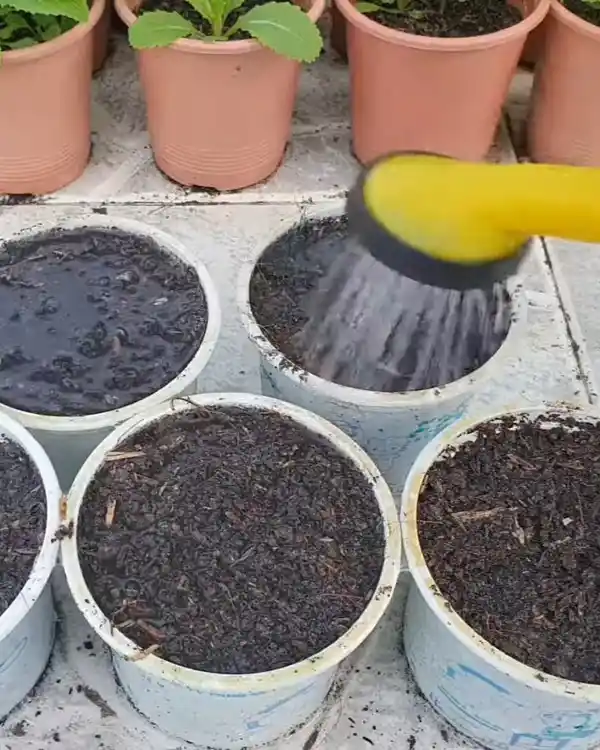
Remember to water after compacting the soil in the pots. Make sure the soil drains well!
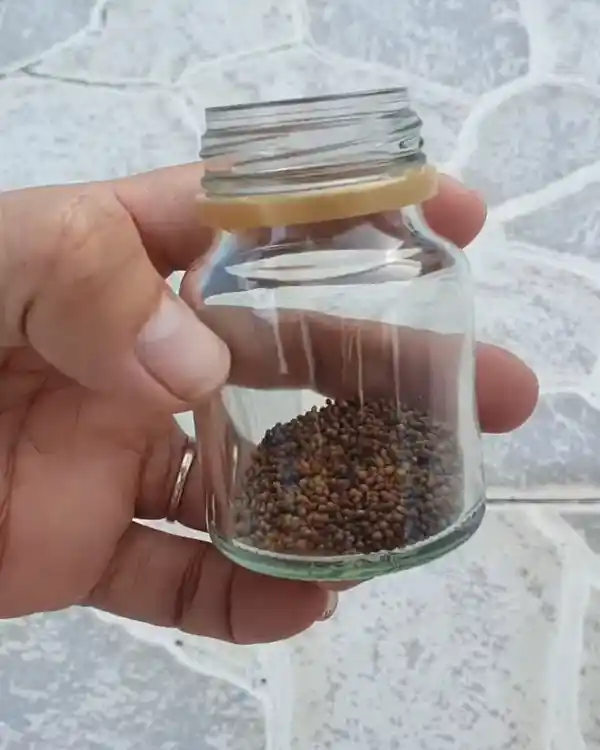
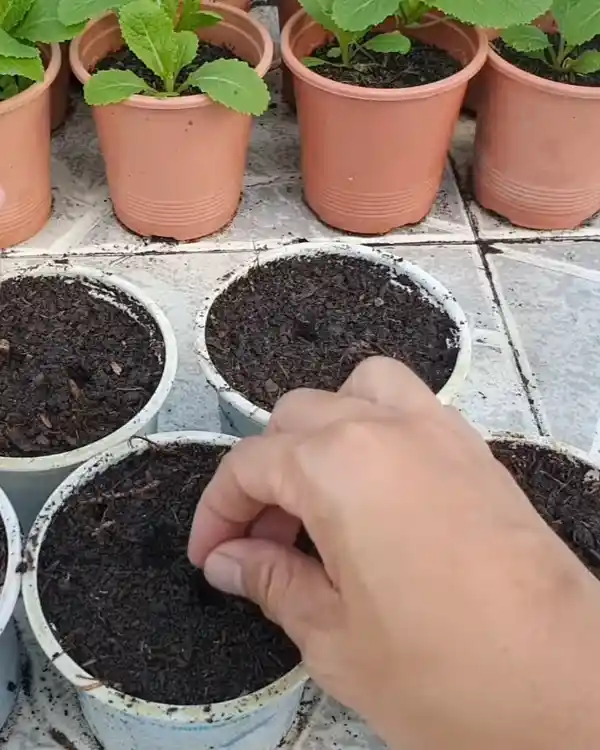
Step 2: Sowing Kale Seeds Properly
Now comes the fun part—planting! Kale seeds are tiny, so even a small amount goes a long way.
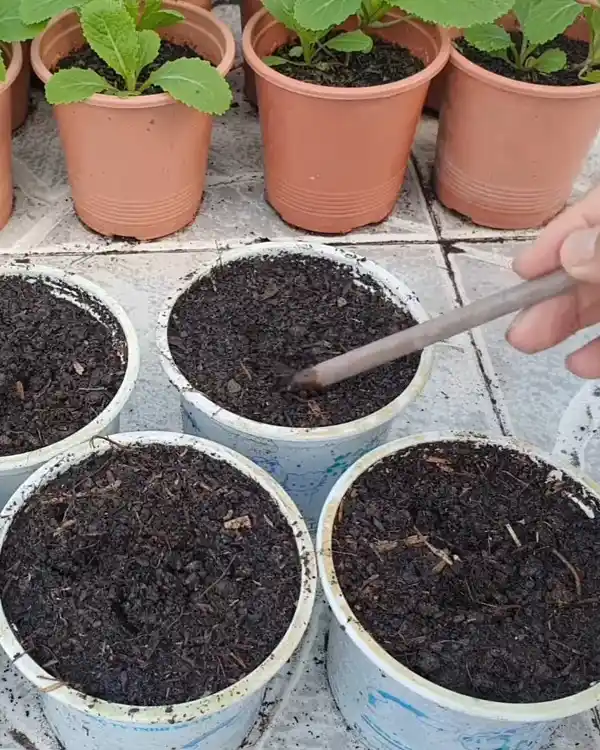
I make two small holes in each pot, each hole only about half a centimeter deep.
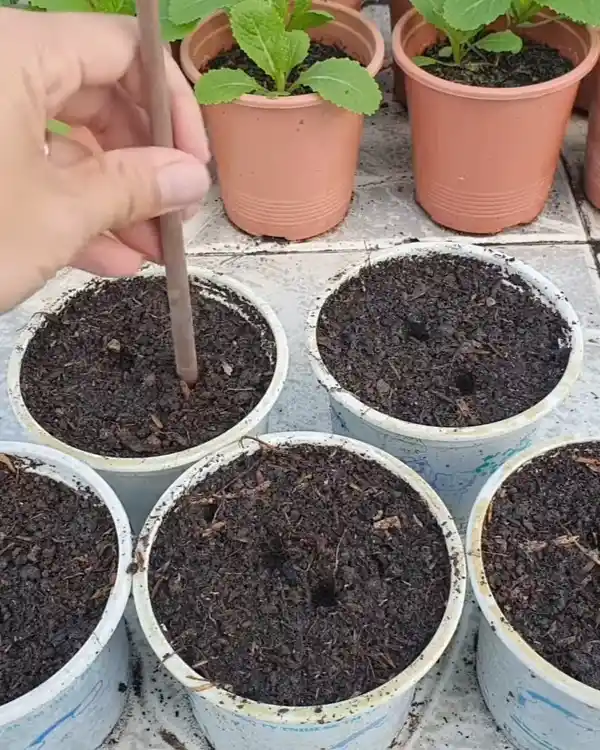
Then, I place two seeds in each hole. Don't make the holes too deep, or the seeds might rot before they sprout!
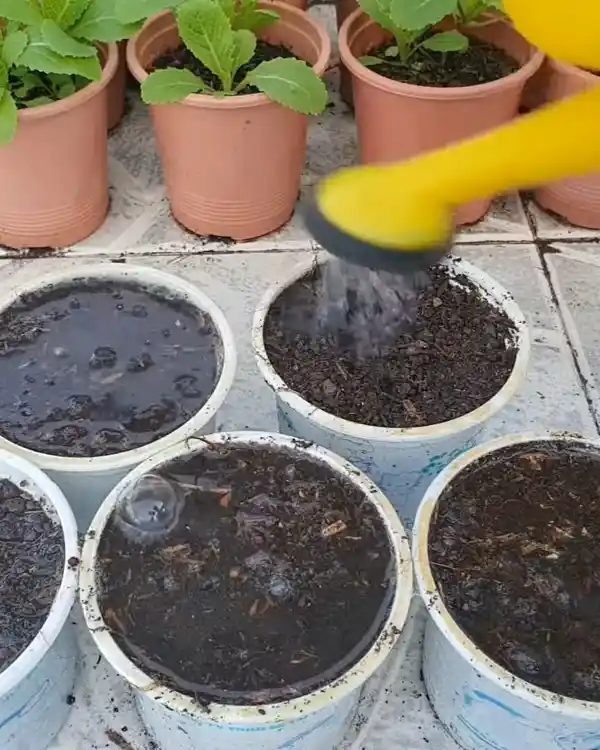
After sowing seeds into all the holes, I cover them with soil.
Then, I water the pots and place them somewhere cool and shaded. This helps the seeds settle in without too much heat.
Step 3: Initial Care After Planting Seeds
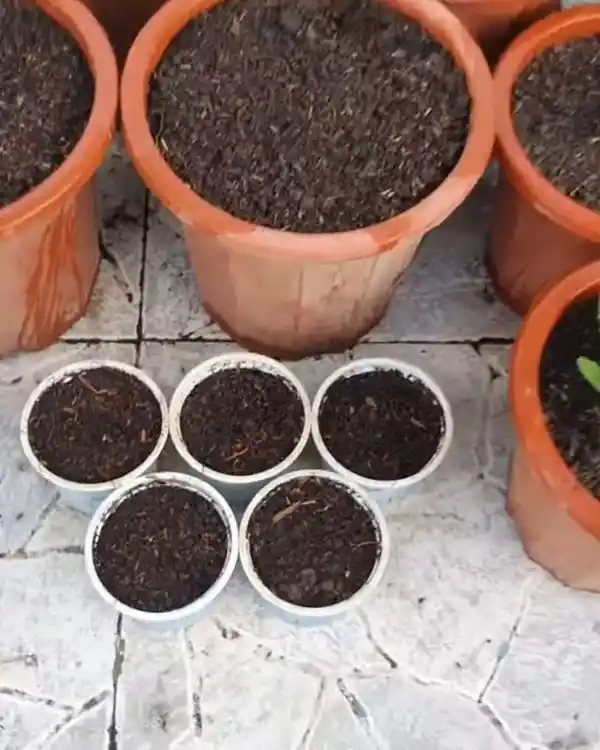
This next step is crucial for hot climates. After two days, I move the pots to a place with filtered light.
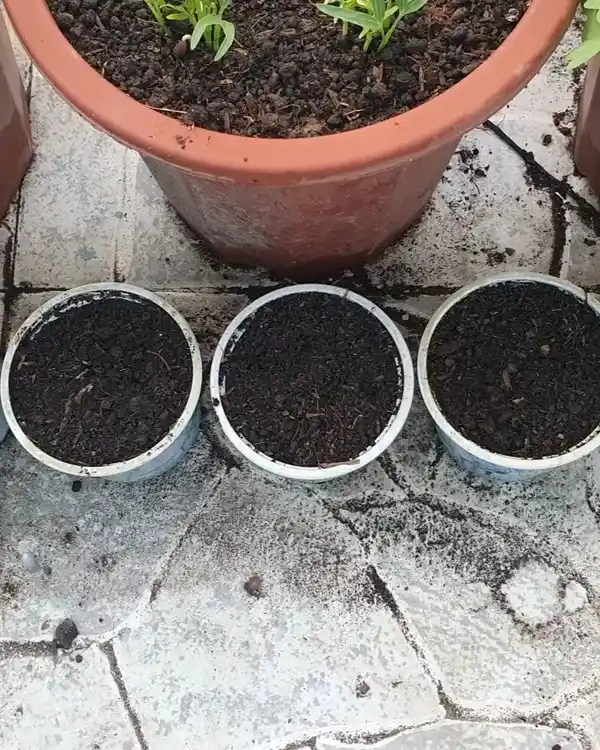
I usually tuck them next to larger pots, so the big plants cast some shade. That way, the baby kale plants don't get scorched by the midday sun.
It's such a simple trick, but it works so well!
Step 4: Observing Germination and Early Growth
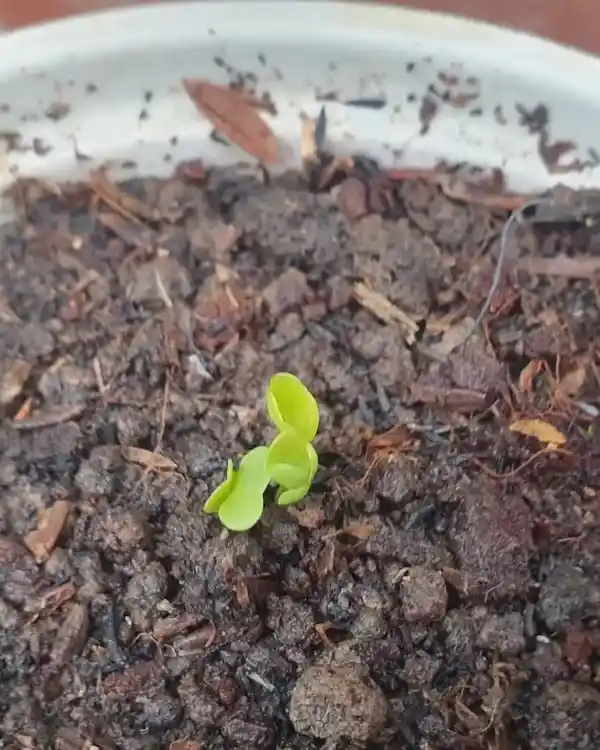
Here's when the magic starts—germination!After just three days, I see little green sprouts pushing above the soil. It's so exciting!
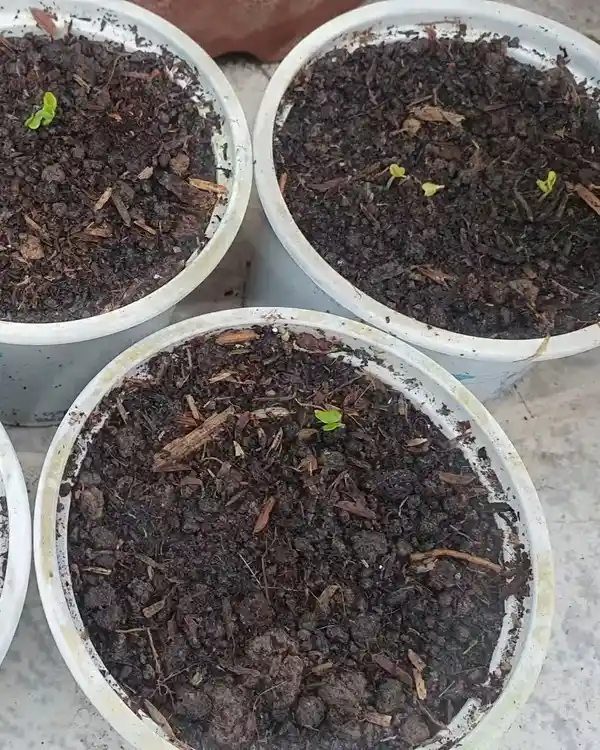
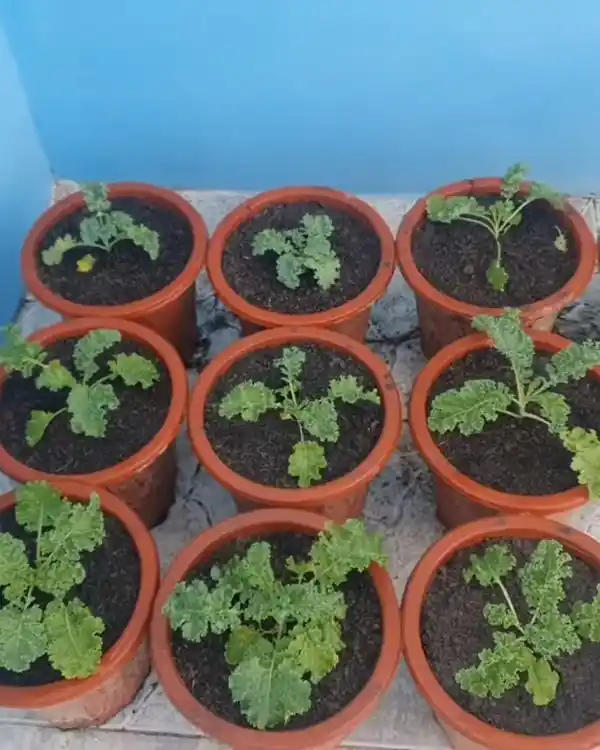
By 21 days, the plants grow to about 4–5 centimeters tall.
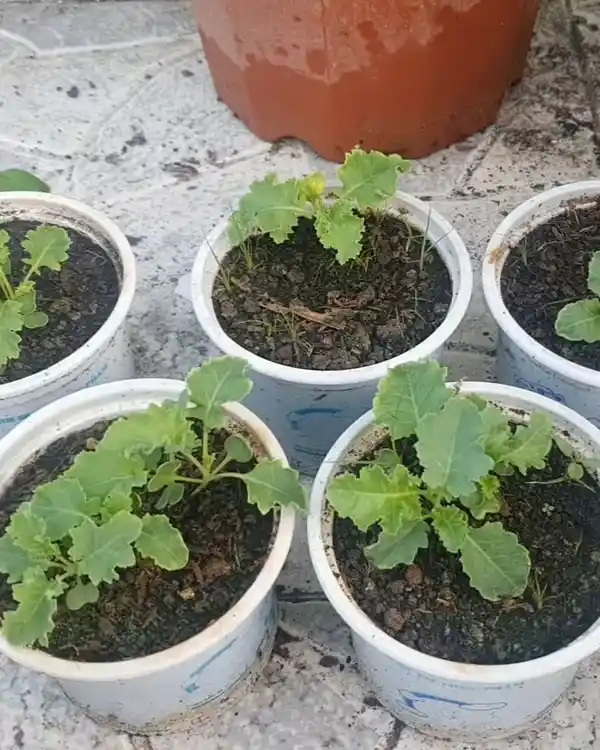
In each pot, I usually get 2 to 4 plants sprouting, and that's perfectly fine for me. The germination rate of kale is really good.
Step 5: Fertilizing Kale Plants
Now that the kale is growing well, let's talk about fertilizing.I use urea fertilizer when the plants are still young to help them grow faster. Just half a small spoon mixed into 2 liters of water is enough.
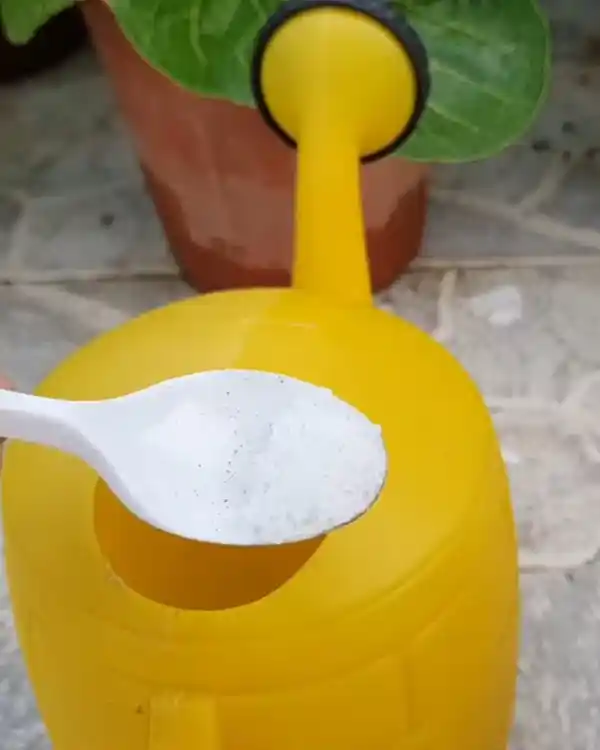
You can use either white urea or black biological urea. I go with white urea because harvest time is still far away.
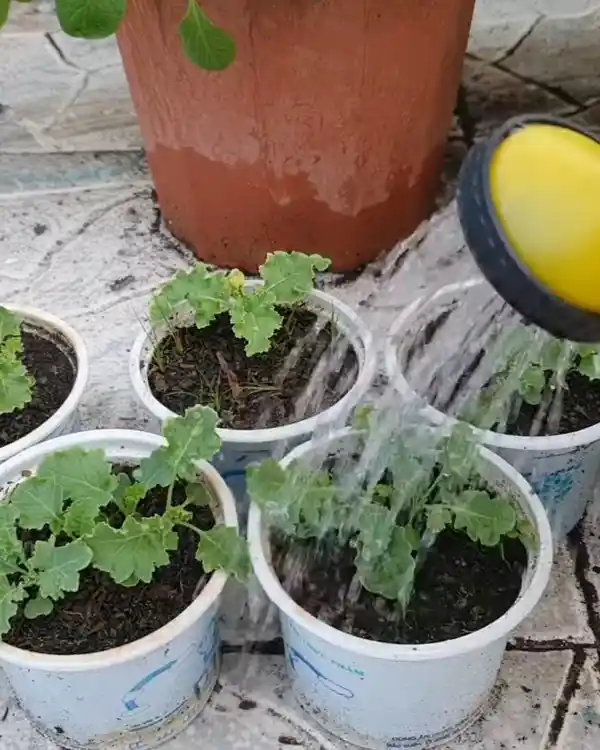
One tip—always water the plants with clean water right after fertilizing, and do it before the sun comes out. That way, the leaves won't burn.
After that first fertilizer boost, I don't add much else immediately. But since kale grows for a long time, I give monthly nutrients using:
- Fish amino fertilizer
- Black biological urea
I fertilize only half the plants at a time, so the others are still safe to use immediately.
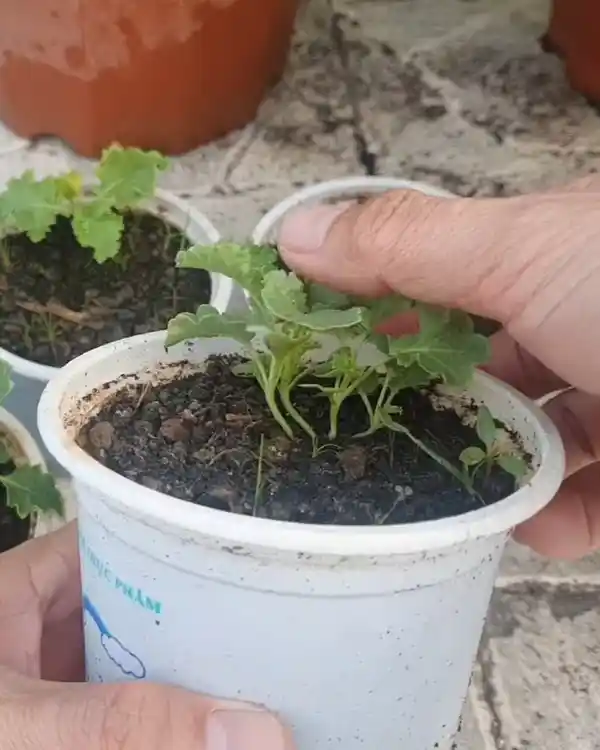
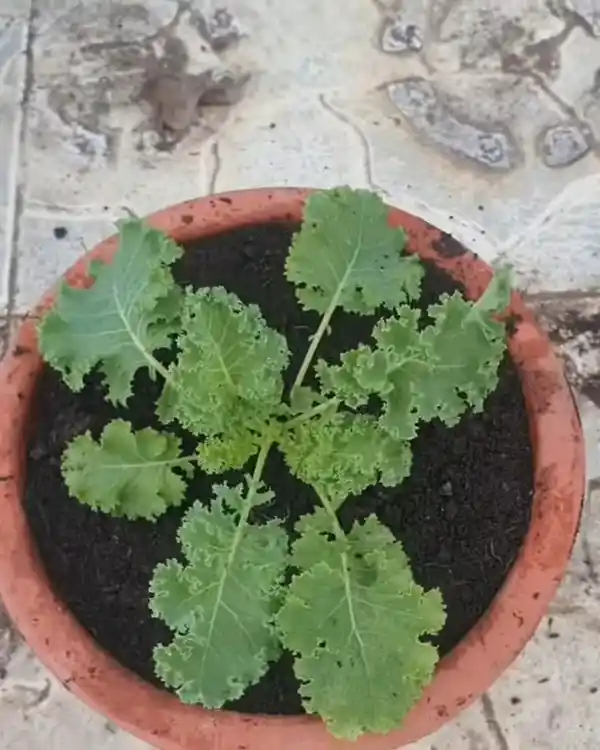
Step 6: Repotting Kale Seedlings for Better Growth
Now, let's talk about moving them to their permanent homes.At around 40 days, the seedlings are still doing well in their tiny pots, but it's time to repot them so they can grow even stronger.

Here's how I do it:
Prepare planting pots that match the number of kale plants you have.

I gently squeeze around the soil to loosen it.
I poke the bottom drainage hole.
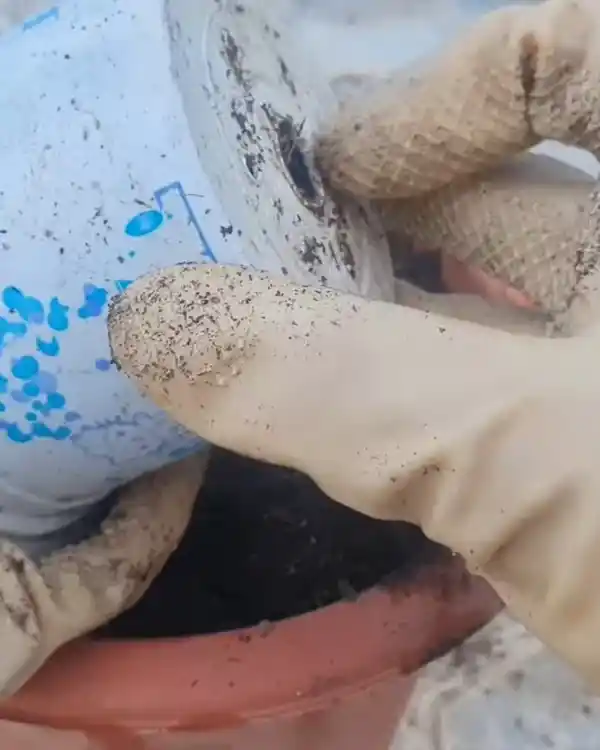
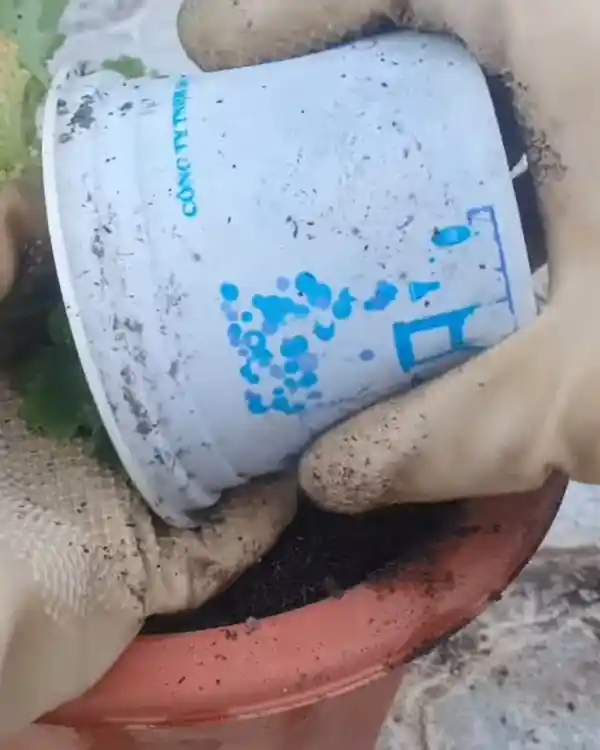
Then, I tilt the pot and slide out the whole soil ball.
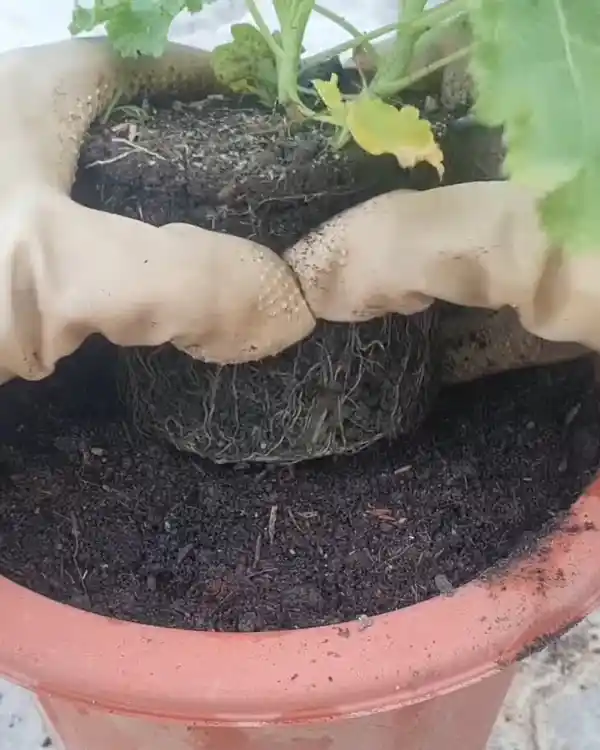
If only one plant grew in the soil ball, I just move the whole thing into a bigger pot. But if there are two plants, I carefully separate them and put each in its pot.
For now, I use medium-sized pots—big enough for the plants to grow for 6 to 9 months. Later, I'll move them again if needed.
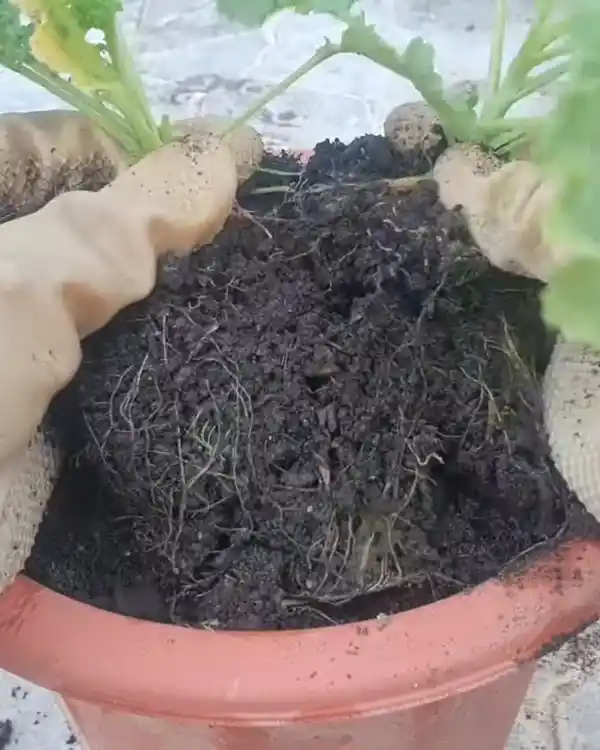
Again, water the kale plants after repotting them!

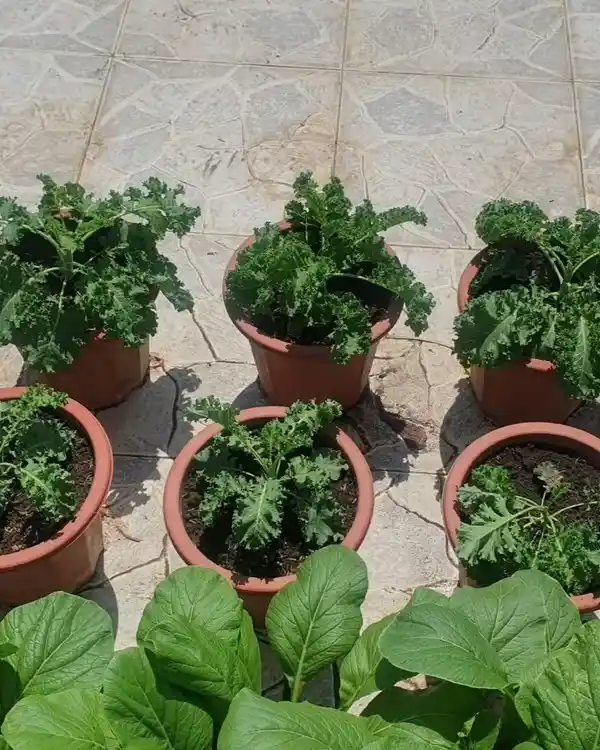
After repotting, I keep the plants in a cool, shady spot so they can recover.
A few days later, I move them to a sunnier place with normal light, like other vegetables.
Watering Kale Plants in Hot Climates
Watering is another key part of the process, especially when it's hot!
Here's what I do:
- In sunny weather, I water twice a day—morning and evening.
- In cool or cloudy weather, once a day is enough.
Kale loves moisture, but don't overdo it. The soil just needs to stay evenly moist.
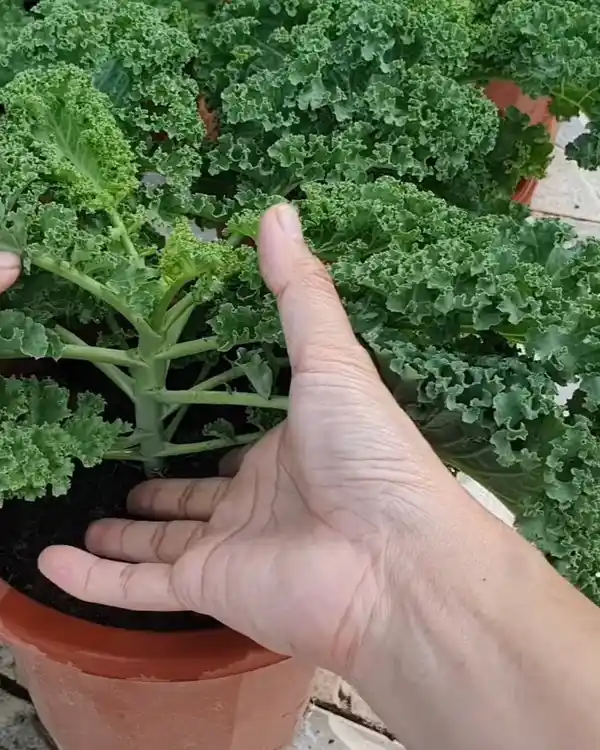
Harvesting Kale: Tips and Techniques
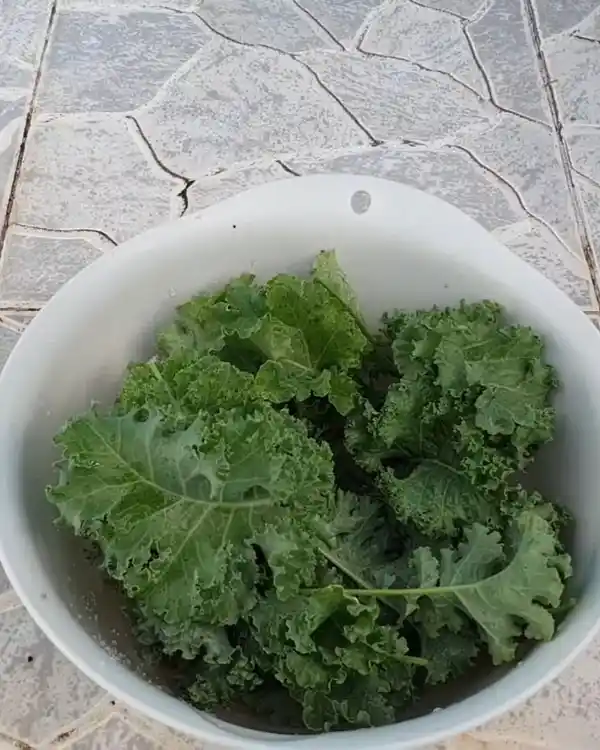
And now, the most rewarding part—harvesting!
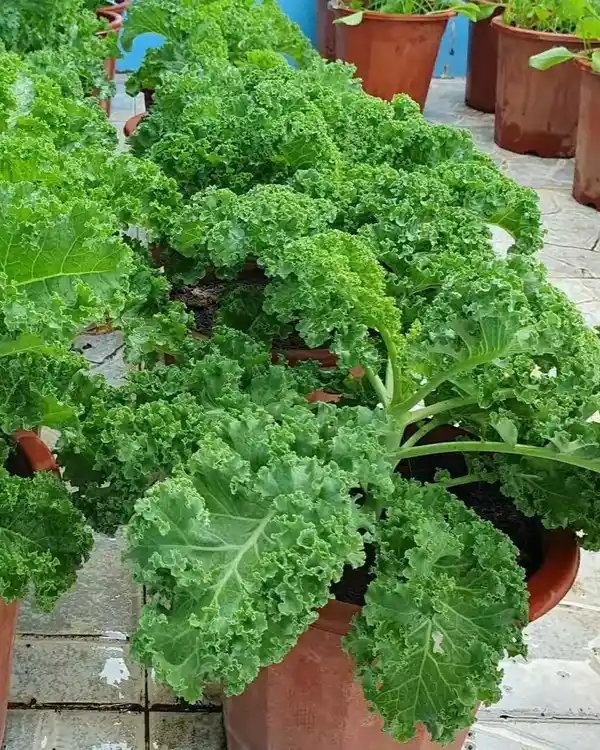
After 65 days, I start trimming the lower leaves and using them. I don't cut the whole plant—just harvest gradually from the bottom.

This way, the kale plant keeps growing and giving. I can keep trimming and eating from the same plant for years. Isn't that amazing?
As for how I use it, I love:
- Juicing (I leave the veins in)
- Boiling (I remove the veins)
- Eating it raw (yes, I prefer it raw!)
Wrapping Up
Growing kale in hot climates or small containers is easier than you might think! You can have fresh kale right at home with the right soil, careful planting, proper watering, and simple fertilizing. Give it a try—I promise it's worth the effort!
Ready to start your kale garden and enjoy fresh, healthy greens daily? Let's get planting!