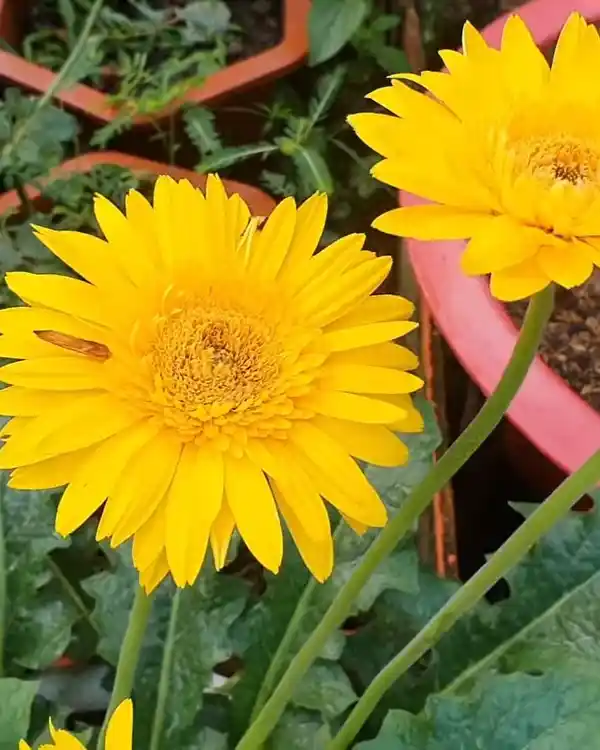
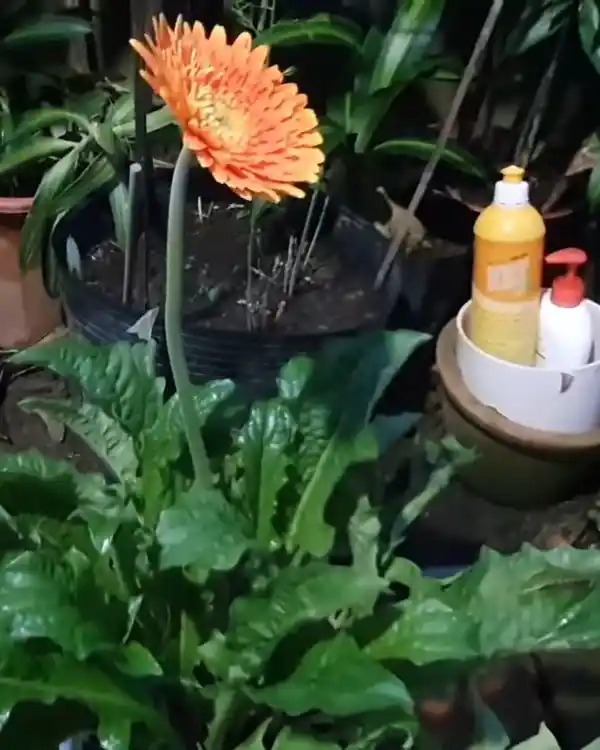
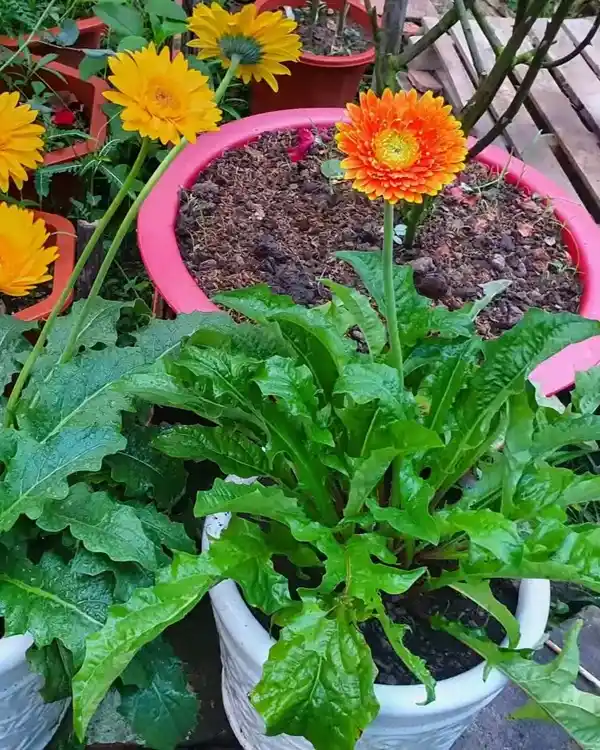
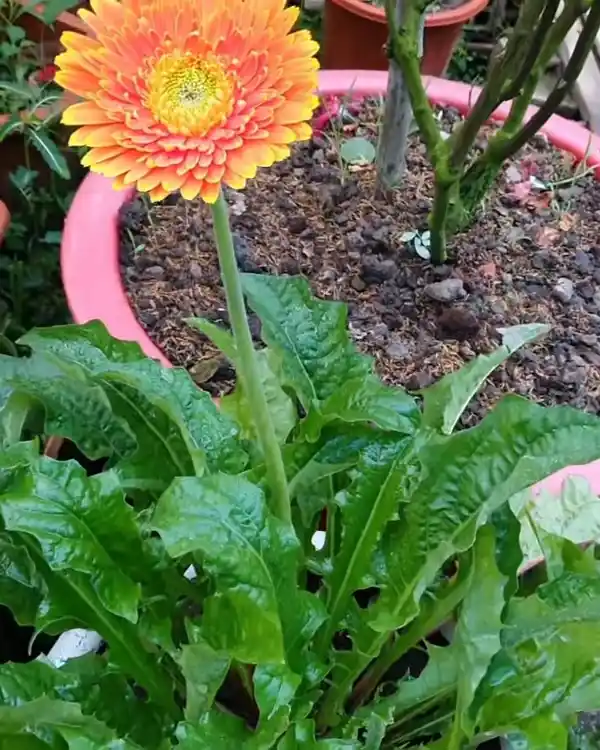
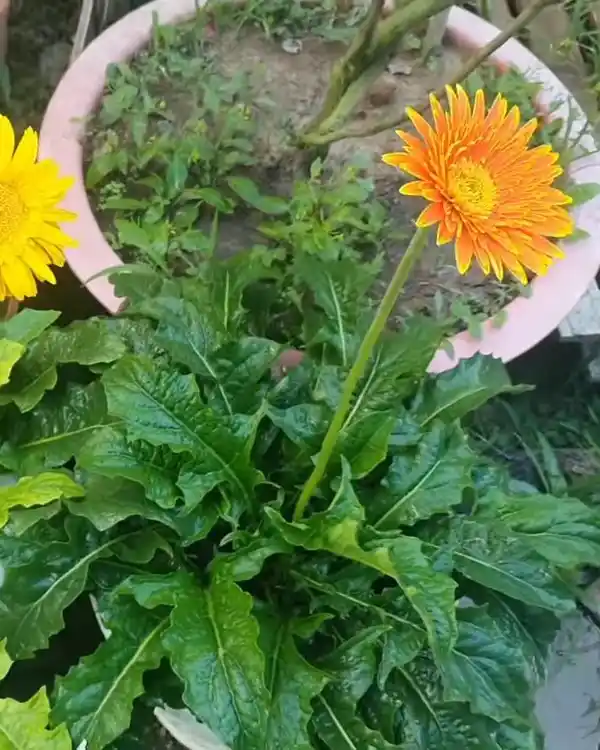
Gerbera daisies are bright, cheerful flowers that can bloom all year round with the proper care. I love growing them, not just for their beauty but also for the good luck and positive energy they bring.
If you've struggled with keeping them alive after the first bloom, don't worry. I will walk you through everything I do to help my gerbera daisies stay healthy and bloom nonstop.
Why Gerbera Daisies Are Worth Growing
Gerbera daisies aren't just pretty to look at—they hold powerful feng shui meanings.
They symbolize:
- Wealth
- Luck
- Positive energy
They're also one of the best ornamental air-purifying plants. I keep them in pots where I can enjoy them up close, indoors or outdoors.
But even with all their charm, I know many gardeners think they're hard to care for. Often, a plant bought from the store blooms once and then fades away. It stops flowering, weakens, and eventually dies. I've been there too. That's why I now follow a method that keeps my plants thriving all year long.
How to Grow Gerbera Daisies (Step by Step)
Getting it right from the beginning makes a big difference. I always start with a healthy blooming plant and prepare everything properly.
Step 1: Choose a Healthy Plant
Let's begin at the store. I always pick a mature plant with several buds already blooming. This keeps me motivated and confident as I care for it. Check for:
- Shiny green leaves
- No visible pests or signs of disease
A strong start gives the best results.
Step 2: Pick the Right Pot
Gerbera daisies grow a lot of roots, so they need space.
Here's what works for me:A pot at least 25 cm tall
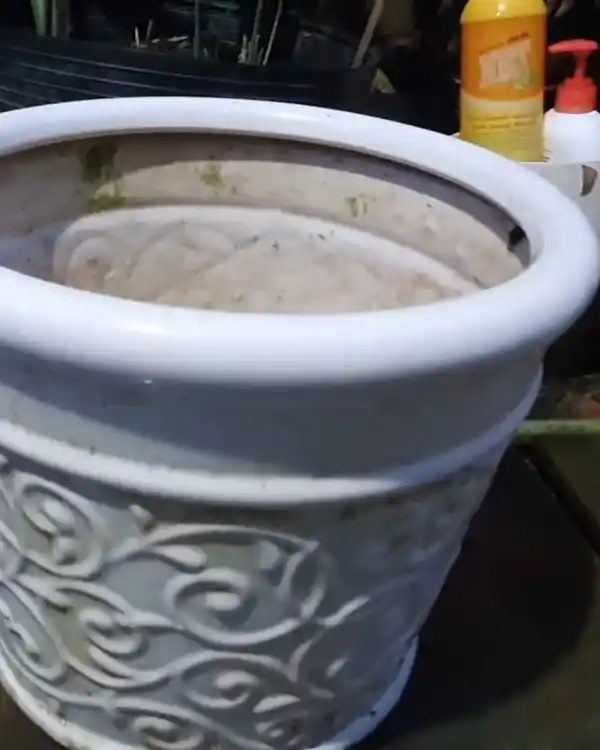
A diameter wider than the plant's root ball
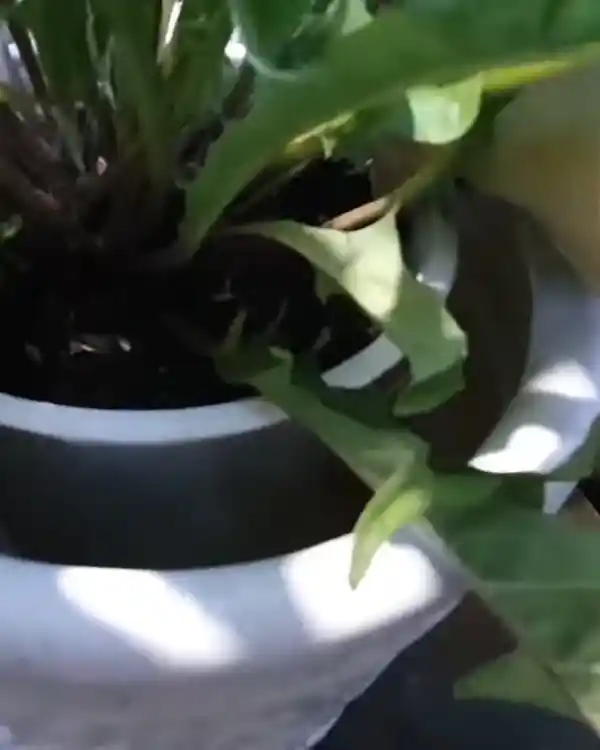
This gives the roots room to grow and keeps the plant stable.
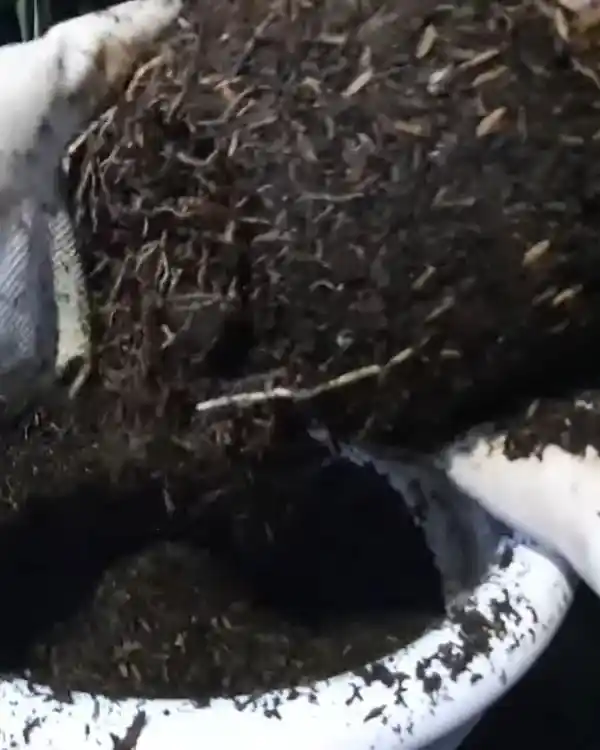
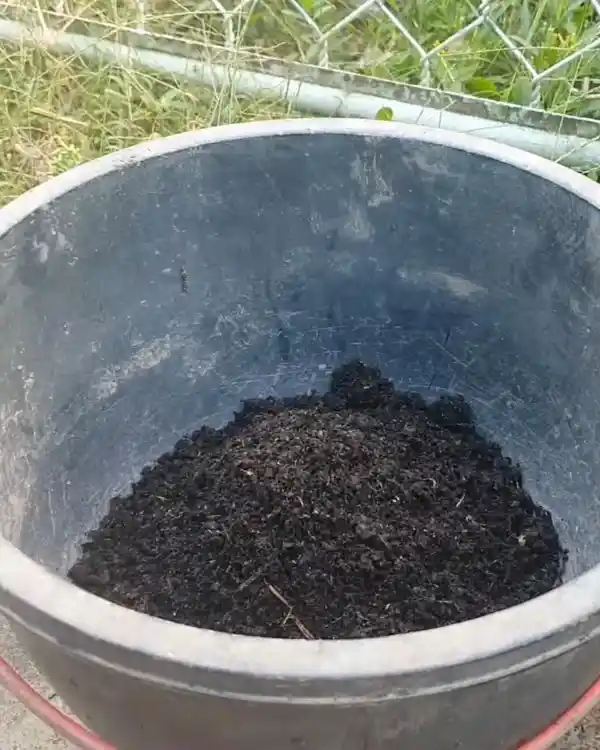
Step 3: Use the Right Soil Mix
The right soil is key. I use a custom mix that drains well but still holds moisture. My mix includes:
- 30–40% loam
- Coconut coir
- Cow manure
- Rice husk ash
- Rice husks
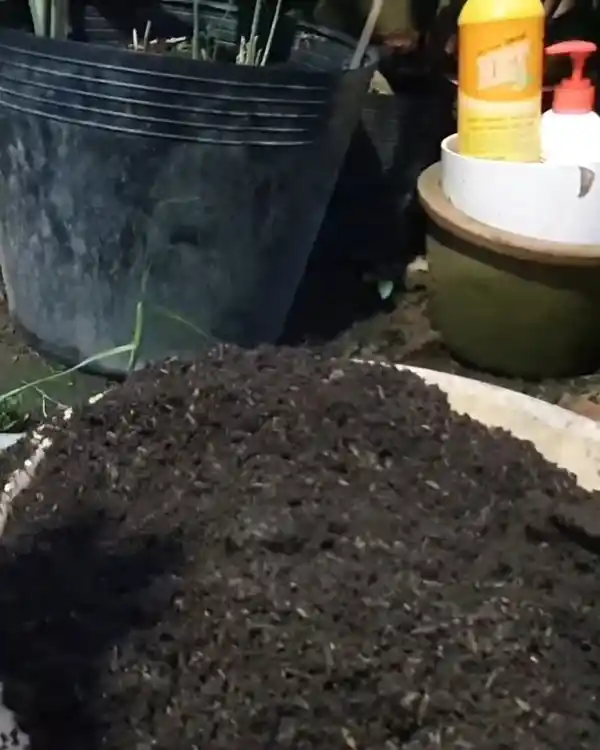
I pour a soil layer at the pot's bottom and press it gently to firm it up.

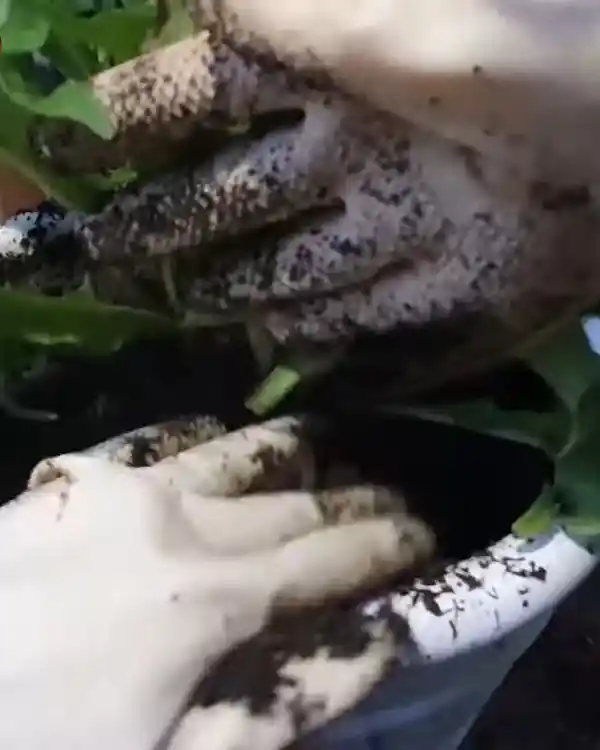
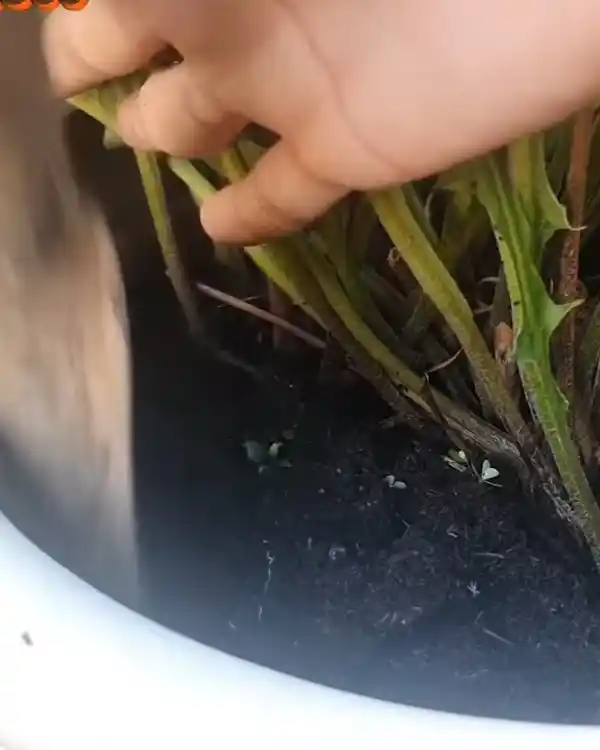
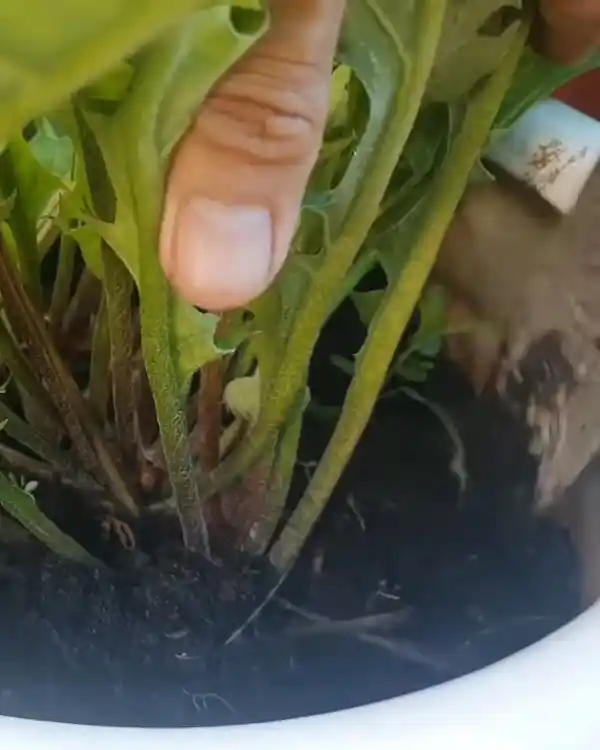
Step 4: Prepare the Root Ball
Now it's time to plant. I gently remove the plant and open the root ball. I shake off some old soil to help the roots get used to the new environment.
This step is essential. If you don't loosen the roots, they stay trapped in their old shape and may not spread out.
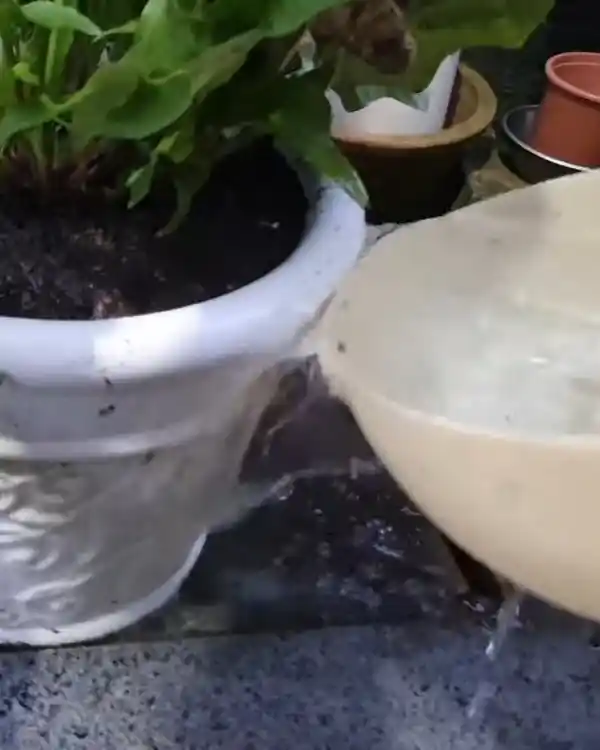
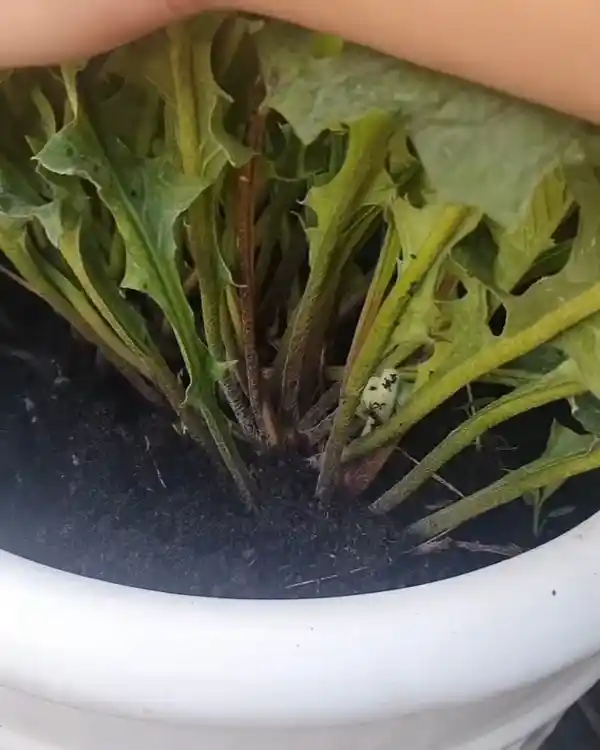
Step 5: Plant and Water
I place the plant in the pot, adjust the position, and fill in the rest of the soil.
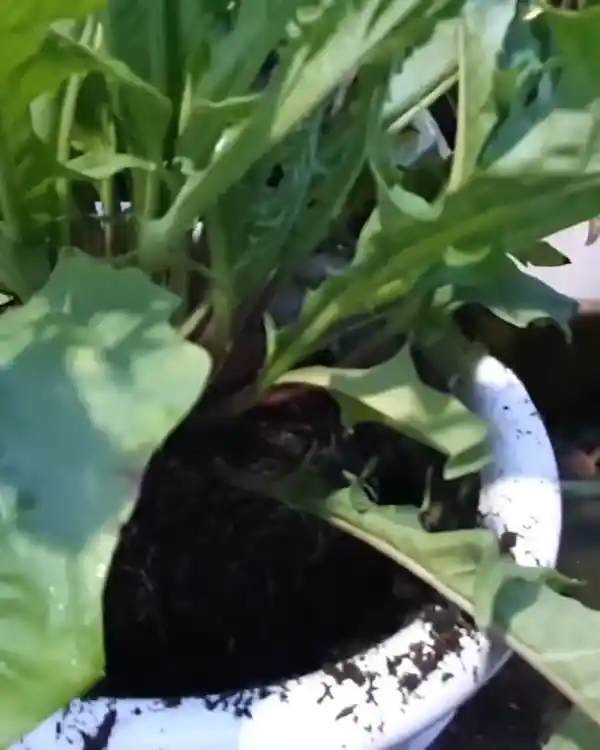
I press it down slightly to hold the plant steady.
After that, I rinse the pot and water the plant thoroughly. This helps the roots settle in and removes any soil from the leaves.
Best Conditions for Gerbera Daisies
Once planted, giving your daisies the right conditions helps them thrive. I always pay attention to light and water.
Light Requirements
Sunlight is essential—but not too much.
I place my pots:
- In a bright spot
- Away from the harsh midday sun
Under rose bushes or light shade
Avoid full shade. A common mistake is placing new plants in the dark to “rest.” That causes problems. Without enough light, the plant can't photosynthesize, and it becomes weak and more prone to pests and disease.
Watering Tips
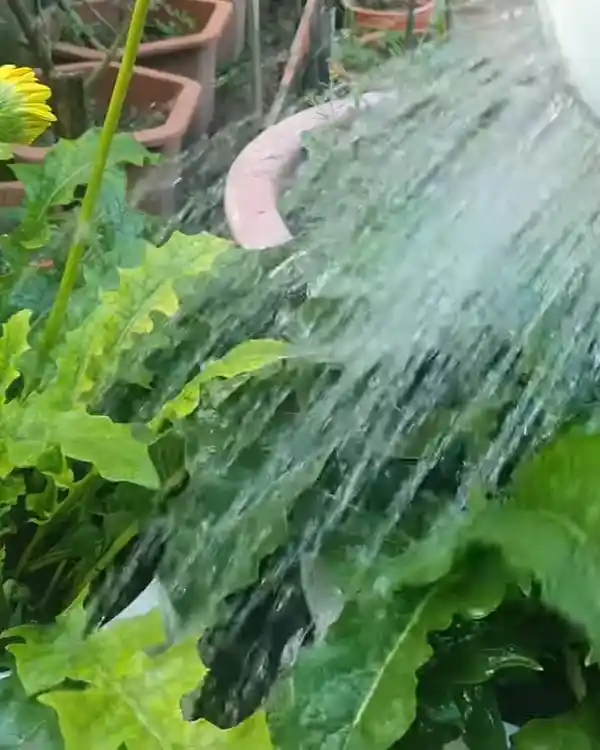
Gerbera daisies love water but hate soggy soil. I water mine every day. A few rules I follow:
- Deep watering, not just a light mist
- Water in the early morning or late afternoon
- Never water at night
If it's hot, the flowers might droop, and the leaves wilt under the sun. That's normal. They'll perk back up once it cools down in the evening.
Tips for Continuous Blooming
If you want year-round flowers, you need to observe and prune regularly. I've learned that small actions lead to big blooms.
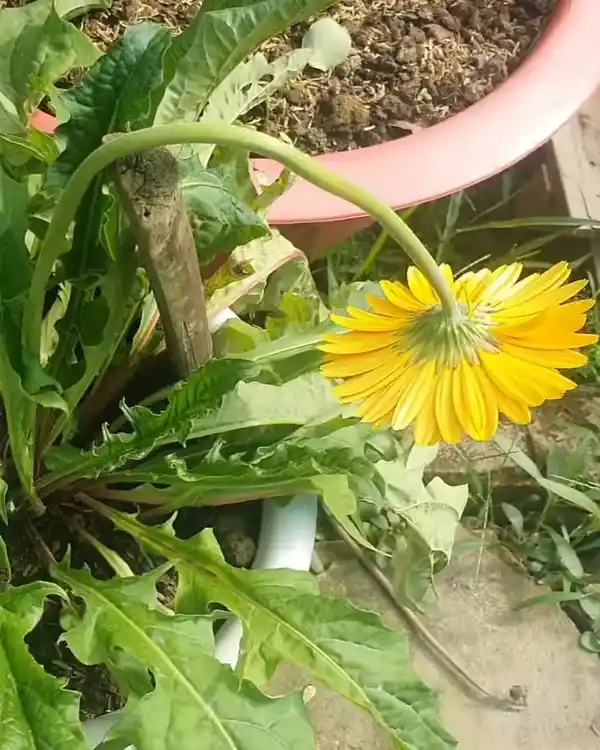
Observe Plant Behavior
Some plants bloom one or two flowers at a time. Others give a full bunch. Both are normal. When I see the flowers droop during hot weather, I don't panic—they always stand tall again by evening.
Regular Pruning
To keep the plant blooming, I cut off any flowers that are finishing their bloom. Here's how I do it:
- Find the flower near the end of its life
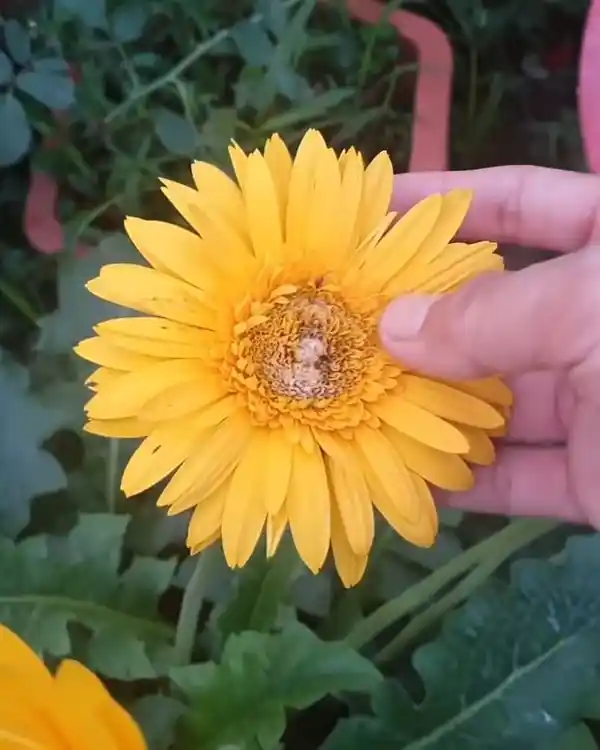
Cut it close to the base, where the stem meets the main plant

Removing old flowers helps the plant focus its energy on new ones.
Fertilizing Gerbera Daisies
Feeding your plant is just as important as watering. I use both foliar and base fertilizers.
Use Foliar Fertilizer
I use a foliar spray with chitosan. This helps the plant absorb nutrients through its leaves and prevents fungal diseases.
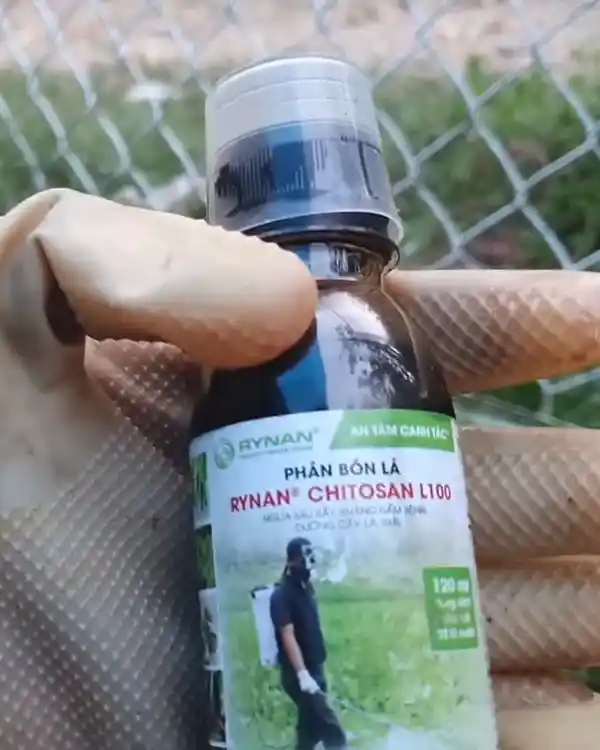
Here's how I do it:
Mix 5 ml of fertilizer in 2 liters of water
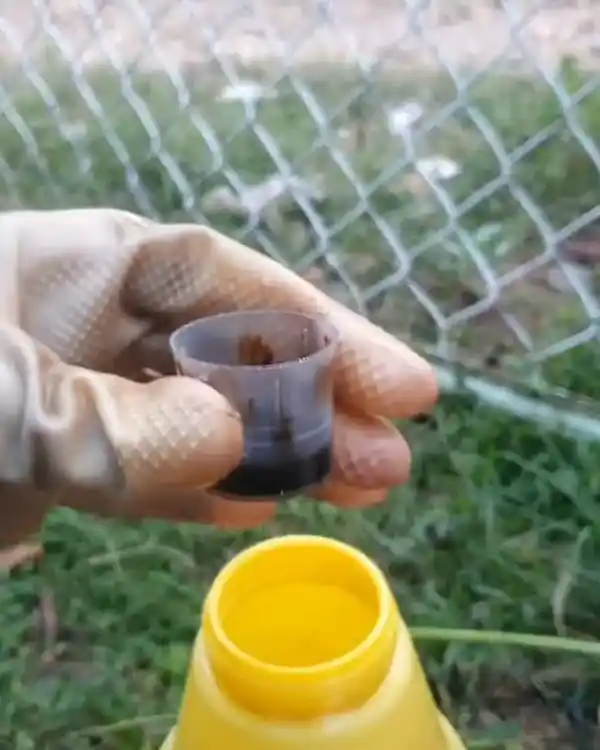
Spray evenly on the leaf surface
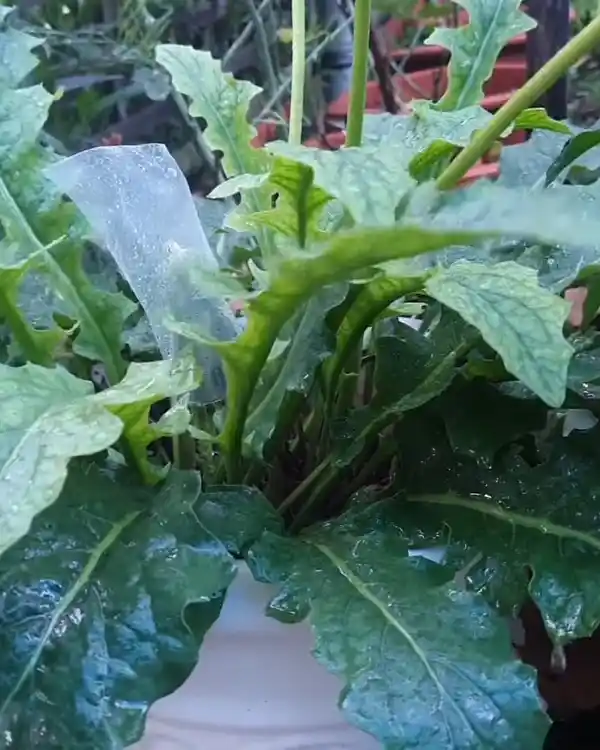
Sometimes, I cover the flower buds with a small plastic bag to protect them from the spray. This is helpful when growing in pots. If I had a garden full of daisies, I wouldn't cover each one—that's only practical for a few plants.
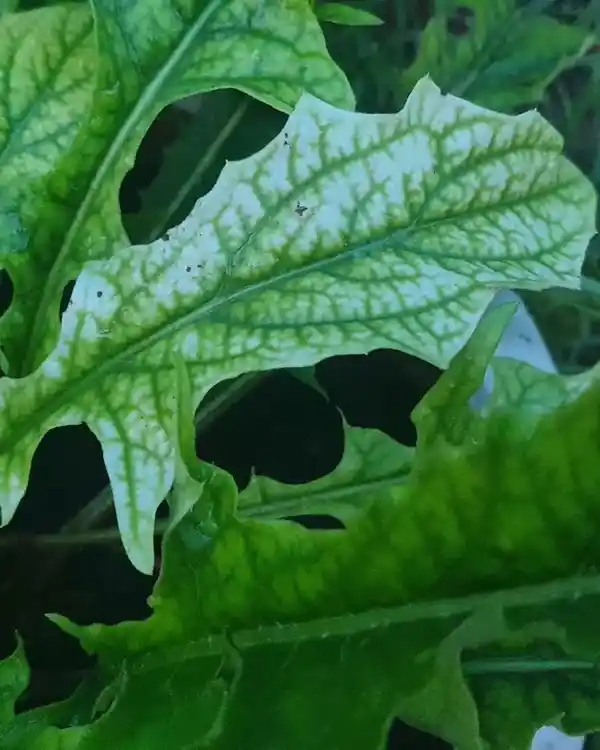
I spray every 1–2 months, depending on how the plant looks. If I see signs of nutrient deficiency (like yellowing leaves), I spray sooner.
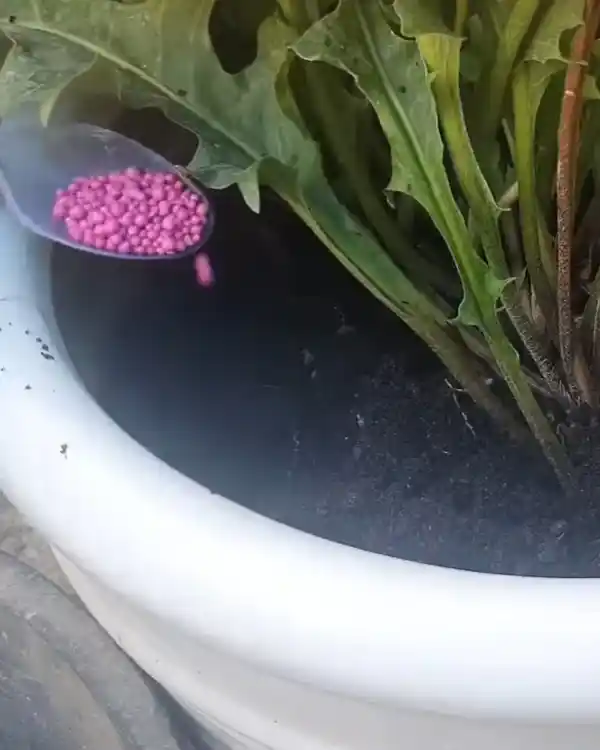
Base Fertilization
In addition to foliar spray, I use slow-release fertilizer pellets every three months.
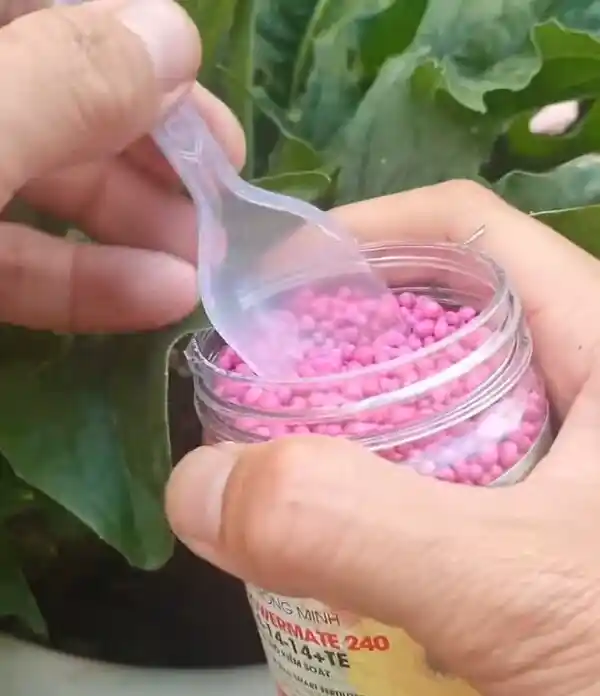
What I do:
Dig three small holes around the pot
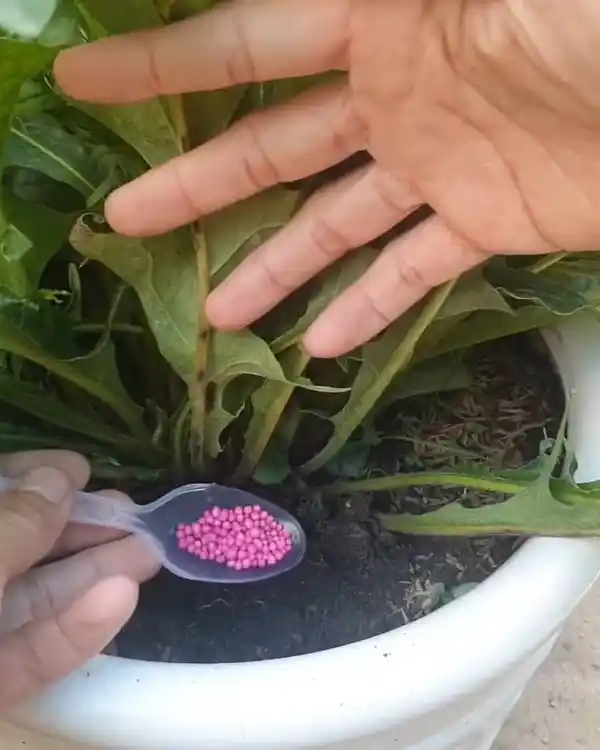
Place the fertilizer pellets in the holes

- Cover with soil
I also add decomposed cow manure around the sixth month. At this point, the plant base often rises above the soil level, so I add more soil.
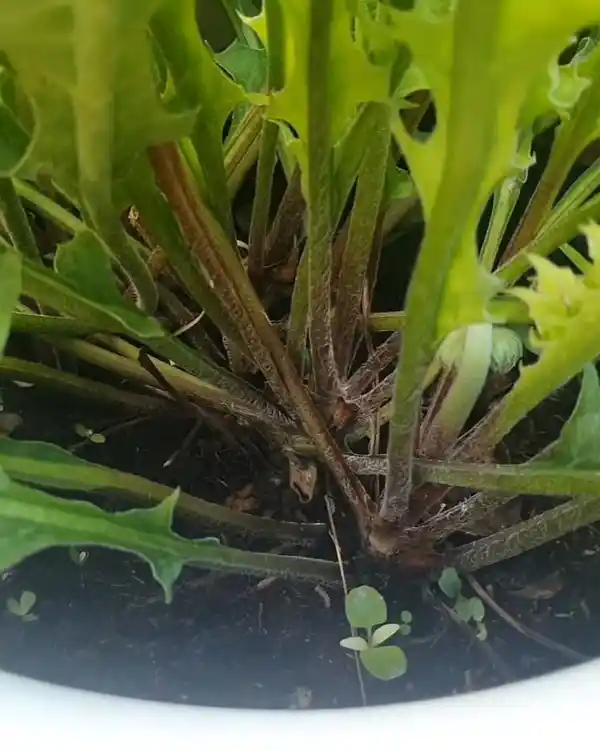
How I do it:
- Prepare the soil
Loosen the soil around the pot edge
Press it gently toward the plant base
Spread cow manure along the rim of the pot
Add slow-release fertilizer pellets
Important: Don't let raw cow manure touch the plant base—it can shock the plant and cause wilting or death. I sometimes add more slow-release pellets at this stage, too.
Wrapping Up
Gerbera daisies aren't hard to grow when you understand their needs. With the right pot, soil, water, sunlight, and fertilizer, they reward you with constant blooms.
Do you have a gerbera daisy that needs a little love? Try these tips and see how much happier your plant becomes. Let me know how your flowers turn out—I'd love to hear your success story!