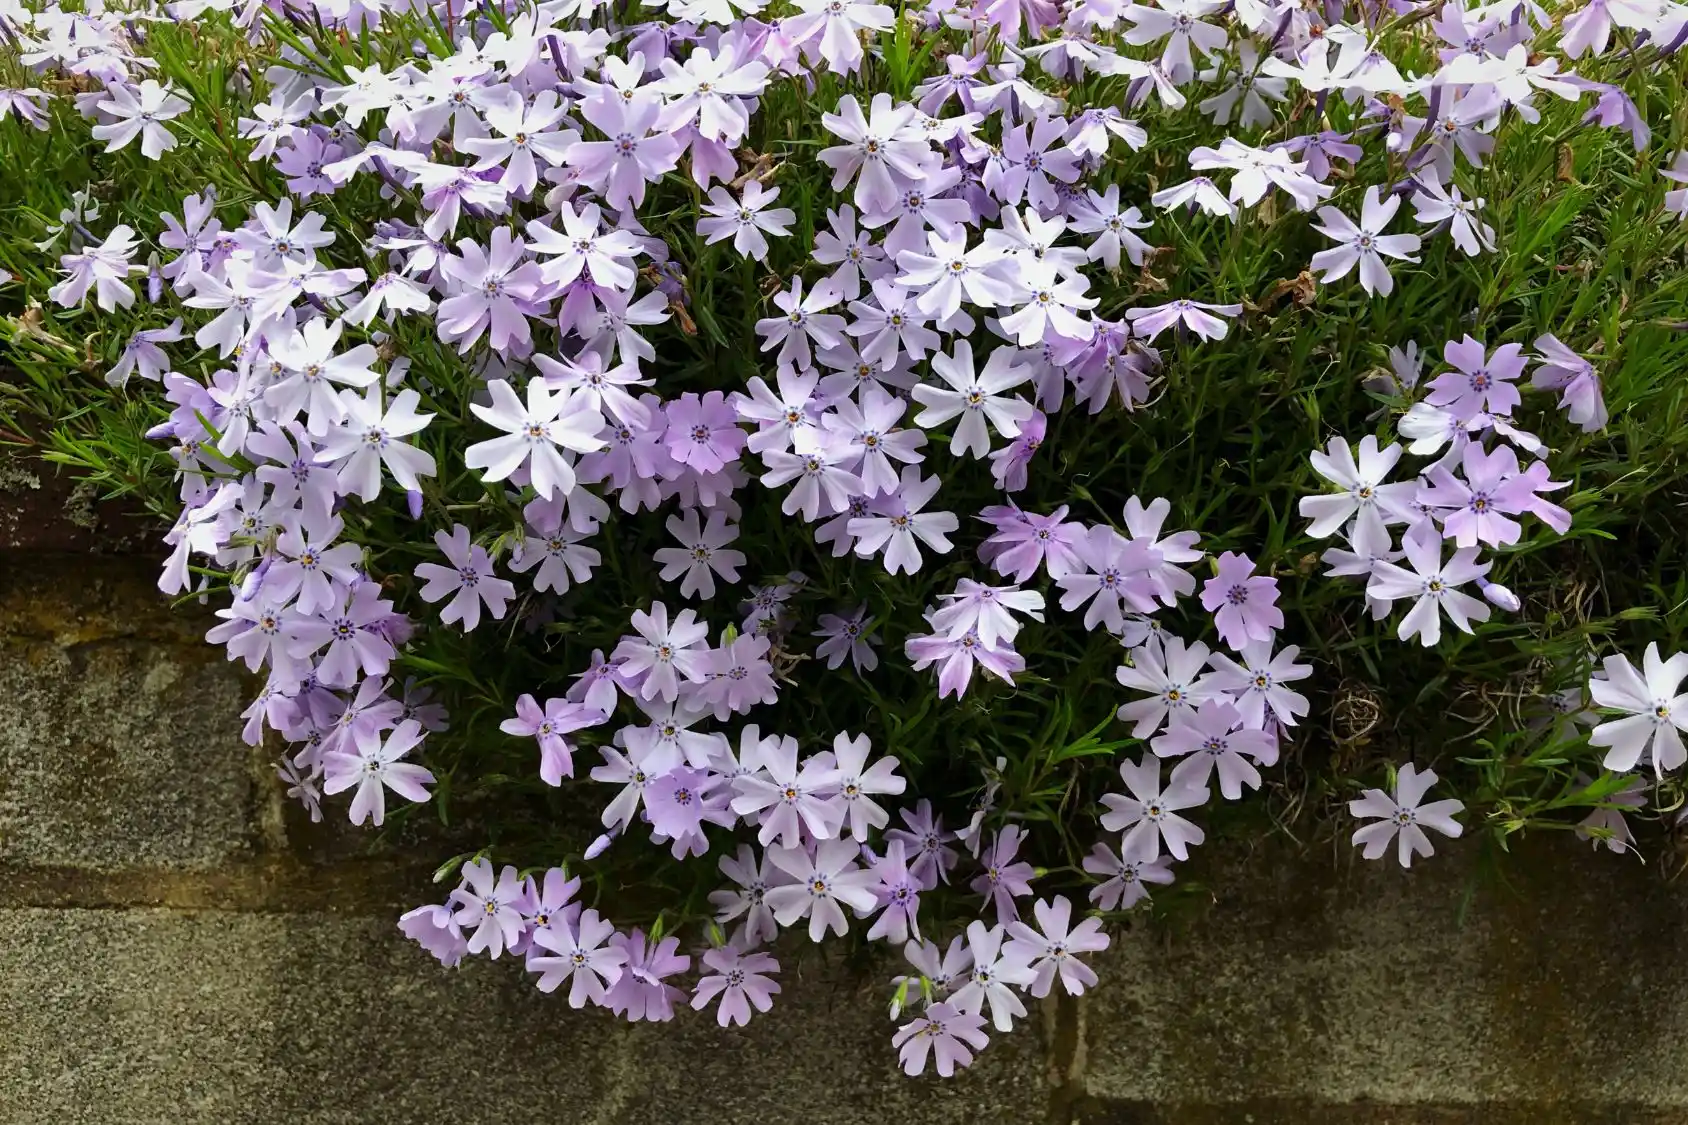
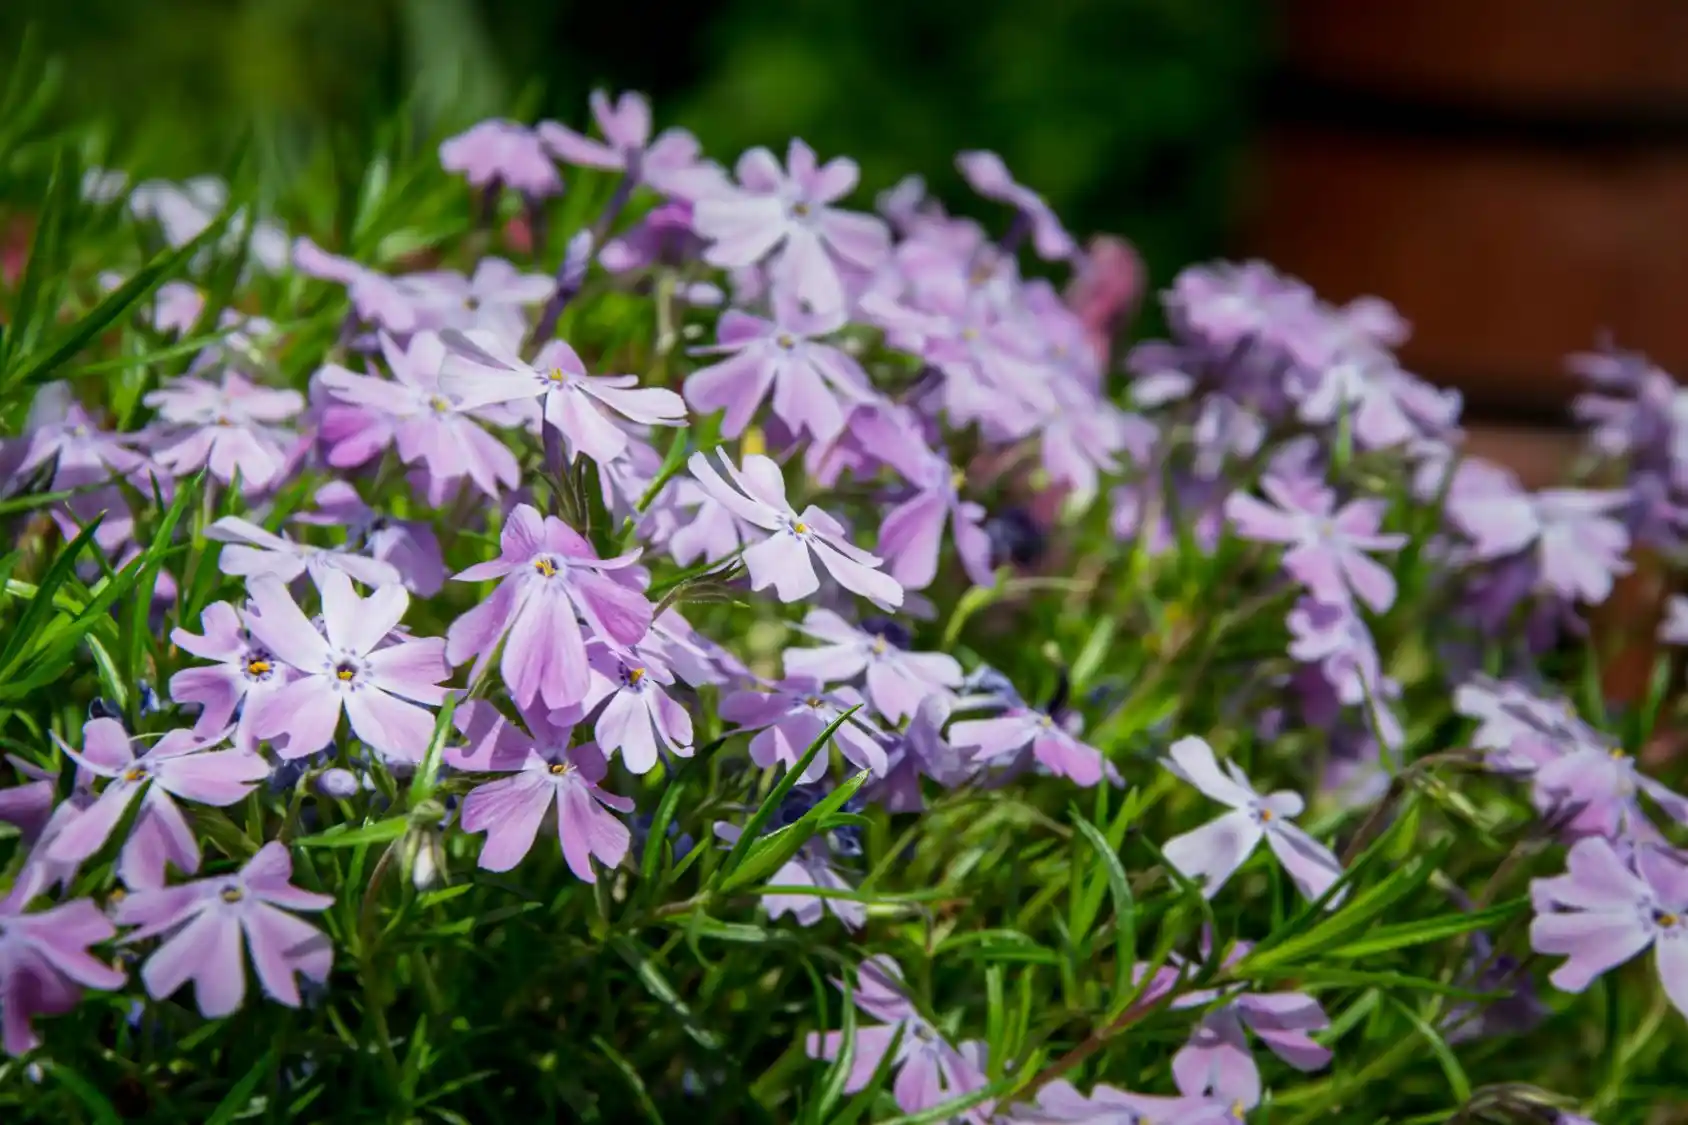
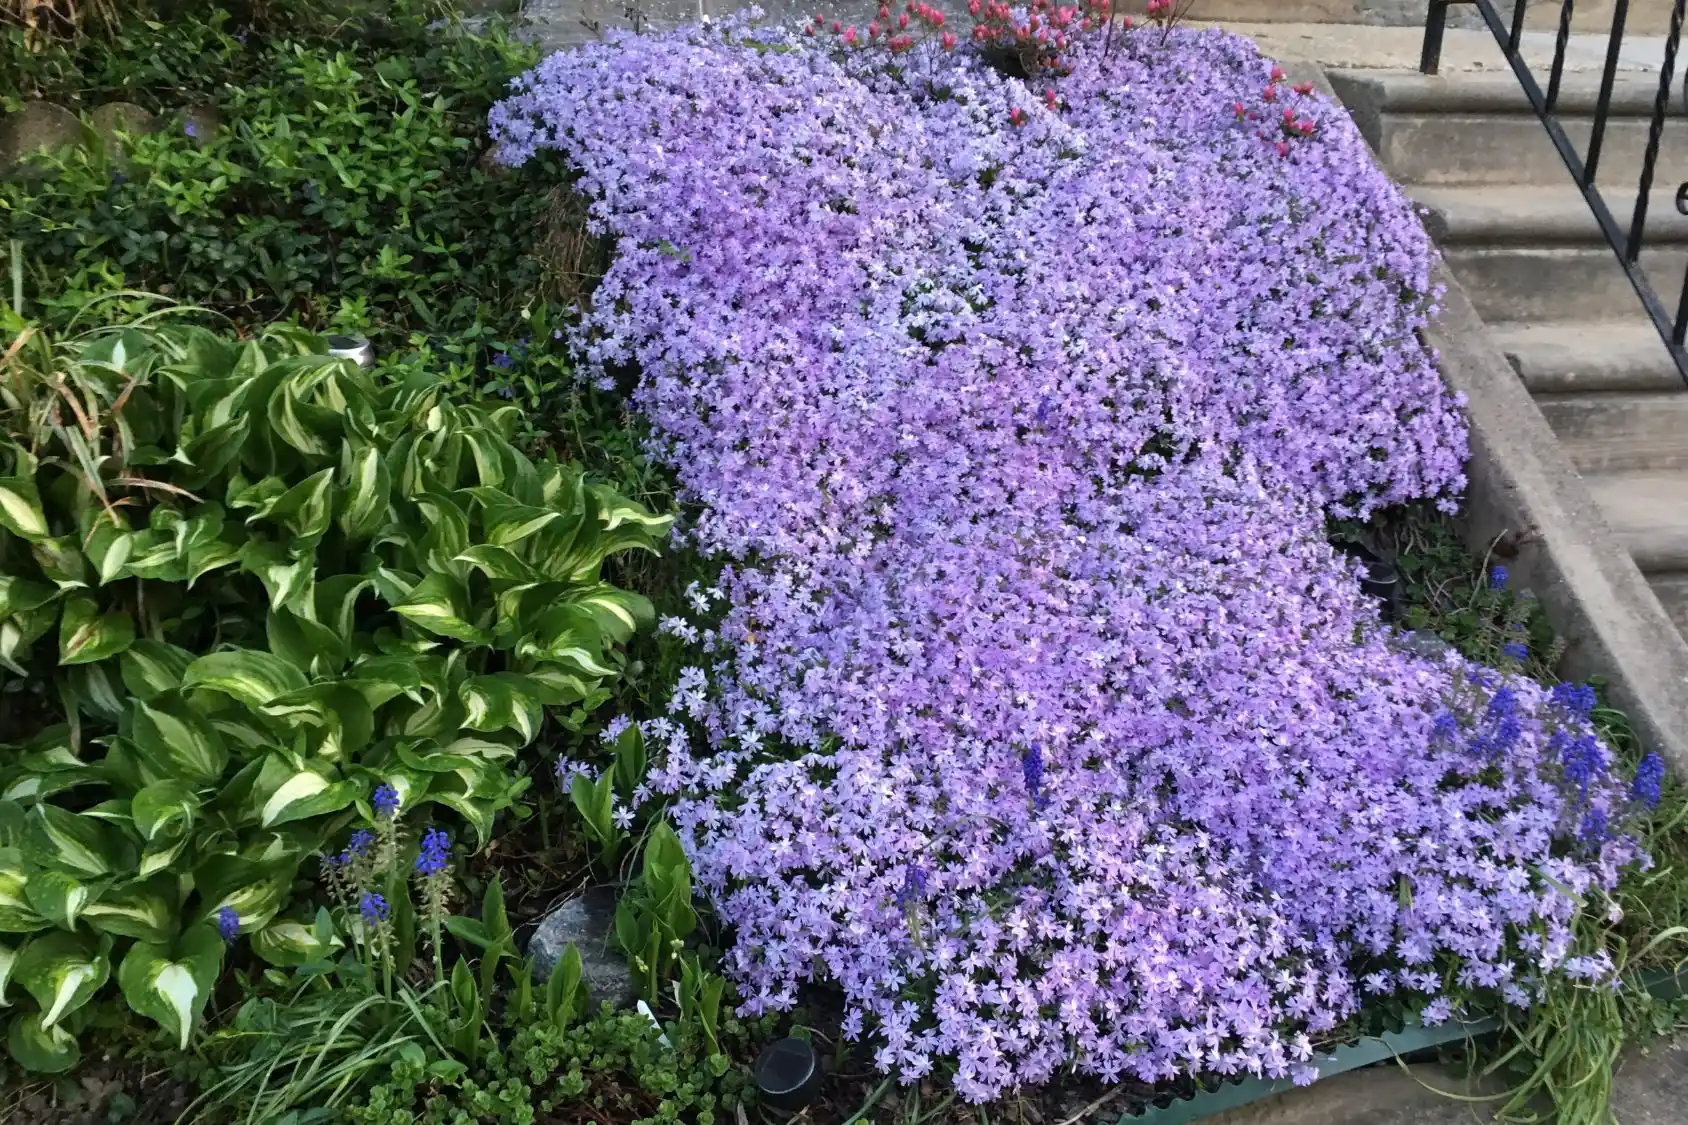
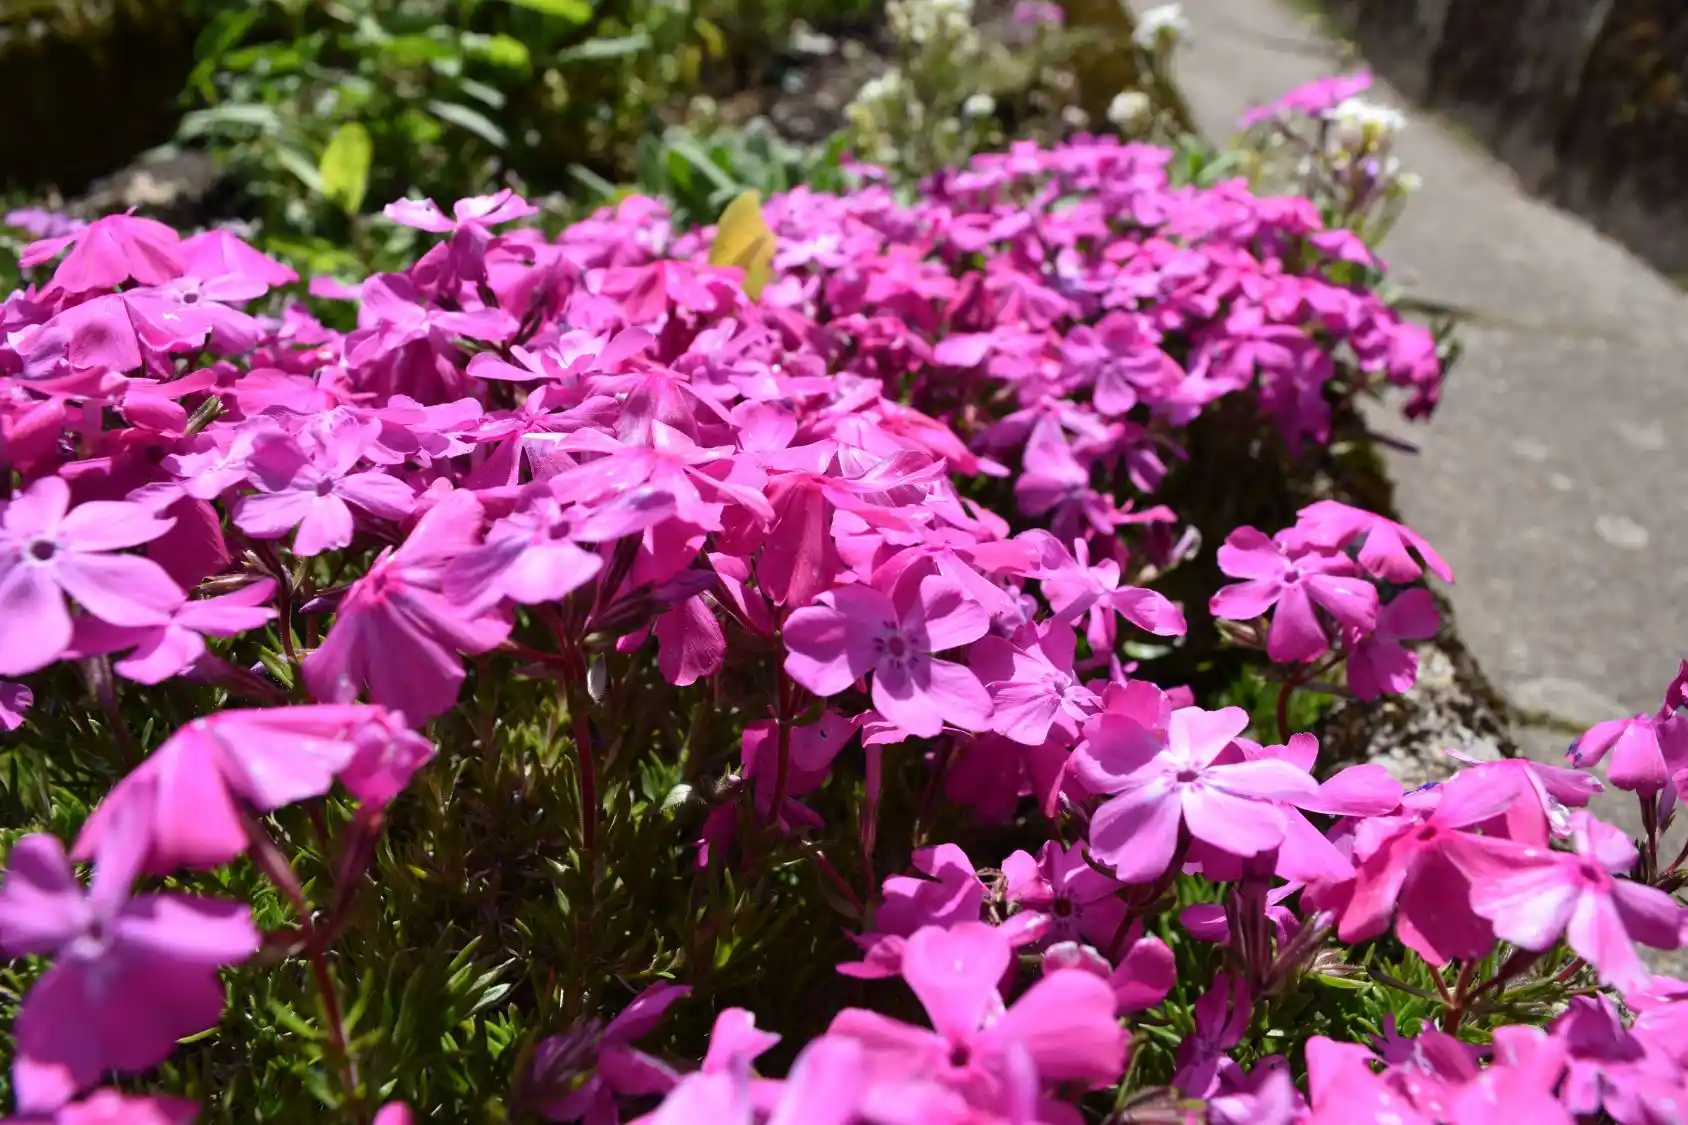
I still remember my garden blooming with the colors of creeping phlox in March. How amazing to enjoy those soft pinks and purples with sweet fragrance in the air!
And you know, their blossoms attract many butterflies and hummingbirds to my yard. A very peaceful and relaxing scene, you know that!
And if you also love those pretty blossoms, let me show you how to grow and care phlox in the easiest ways.
How to Care for Phlox
Phlox is a perennial groundcover. They are tough and need little maintenance. That's why many gardeners (including me) love to grow phlox.
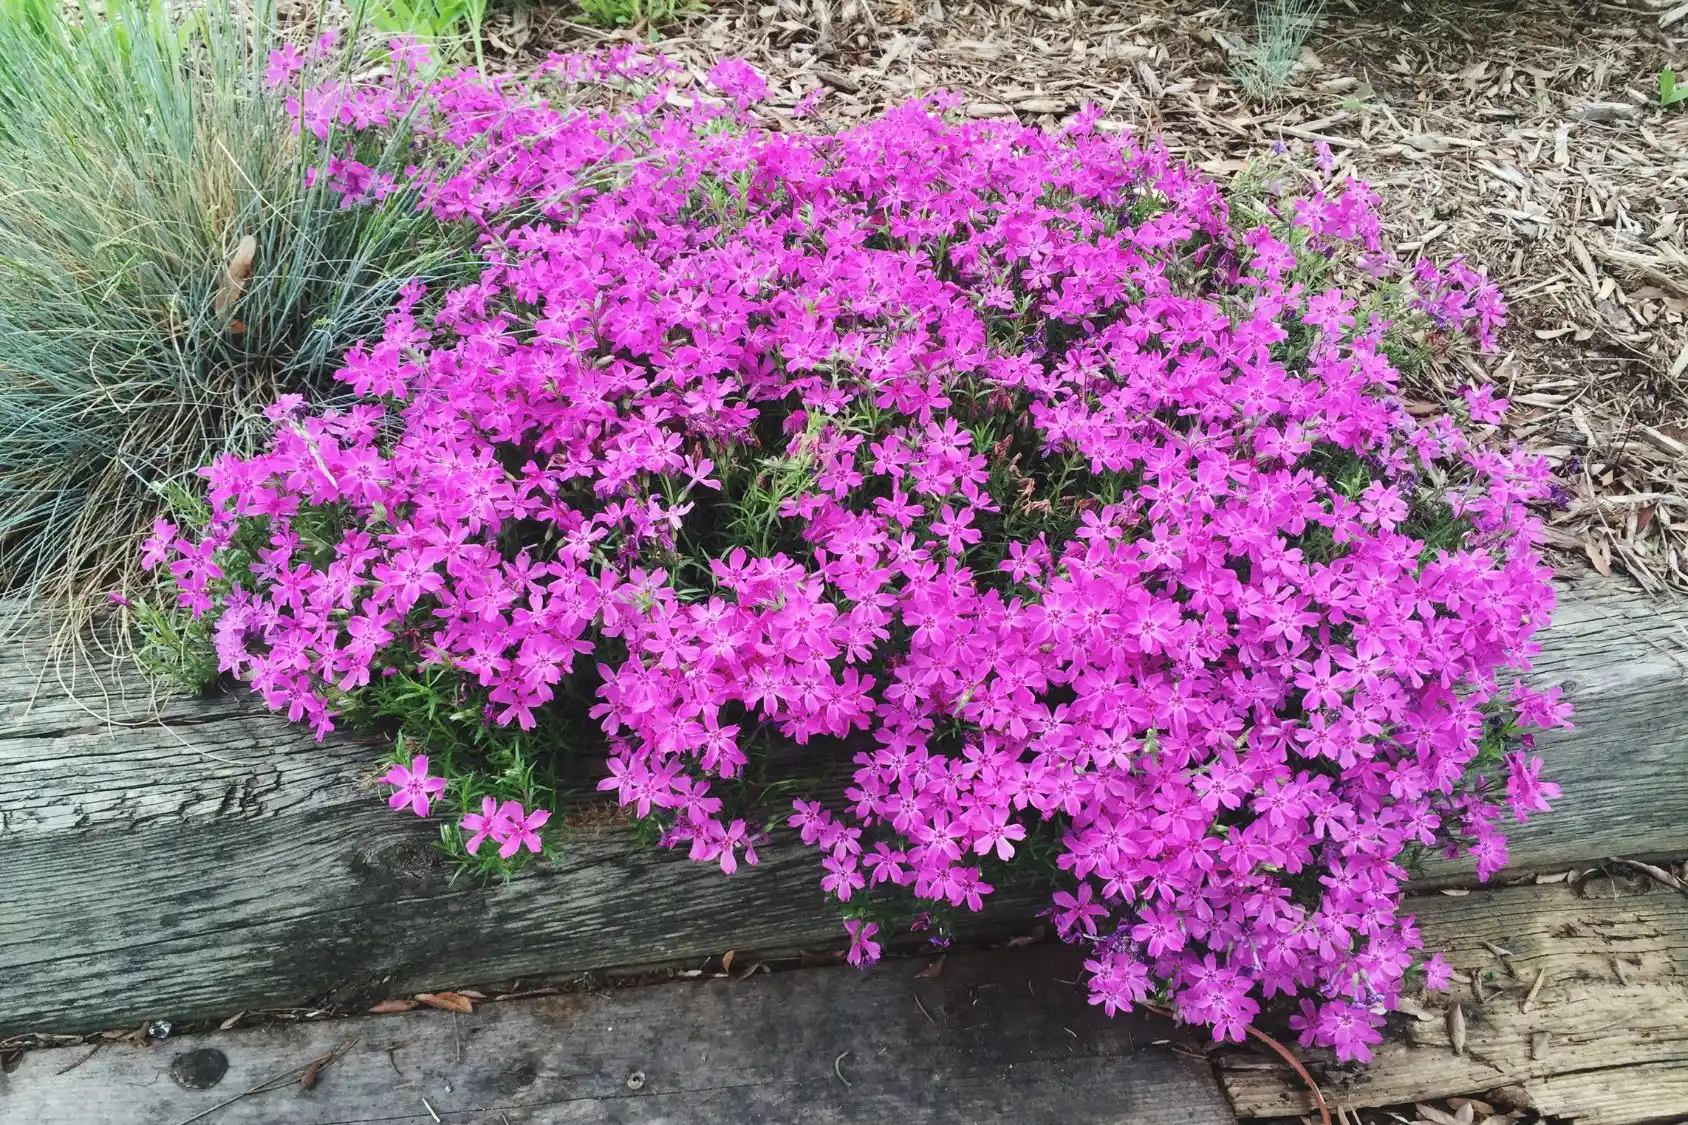
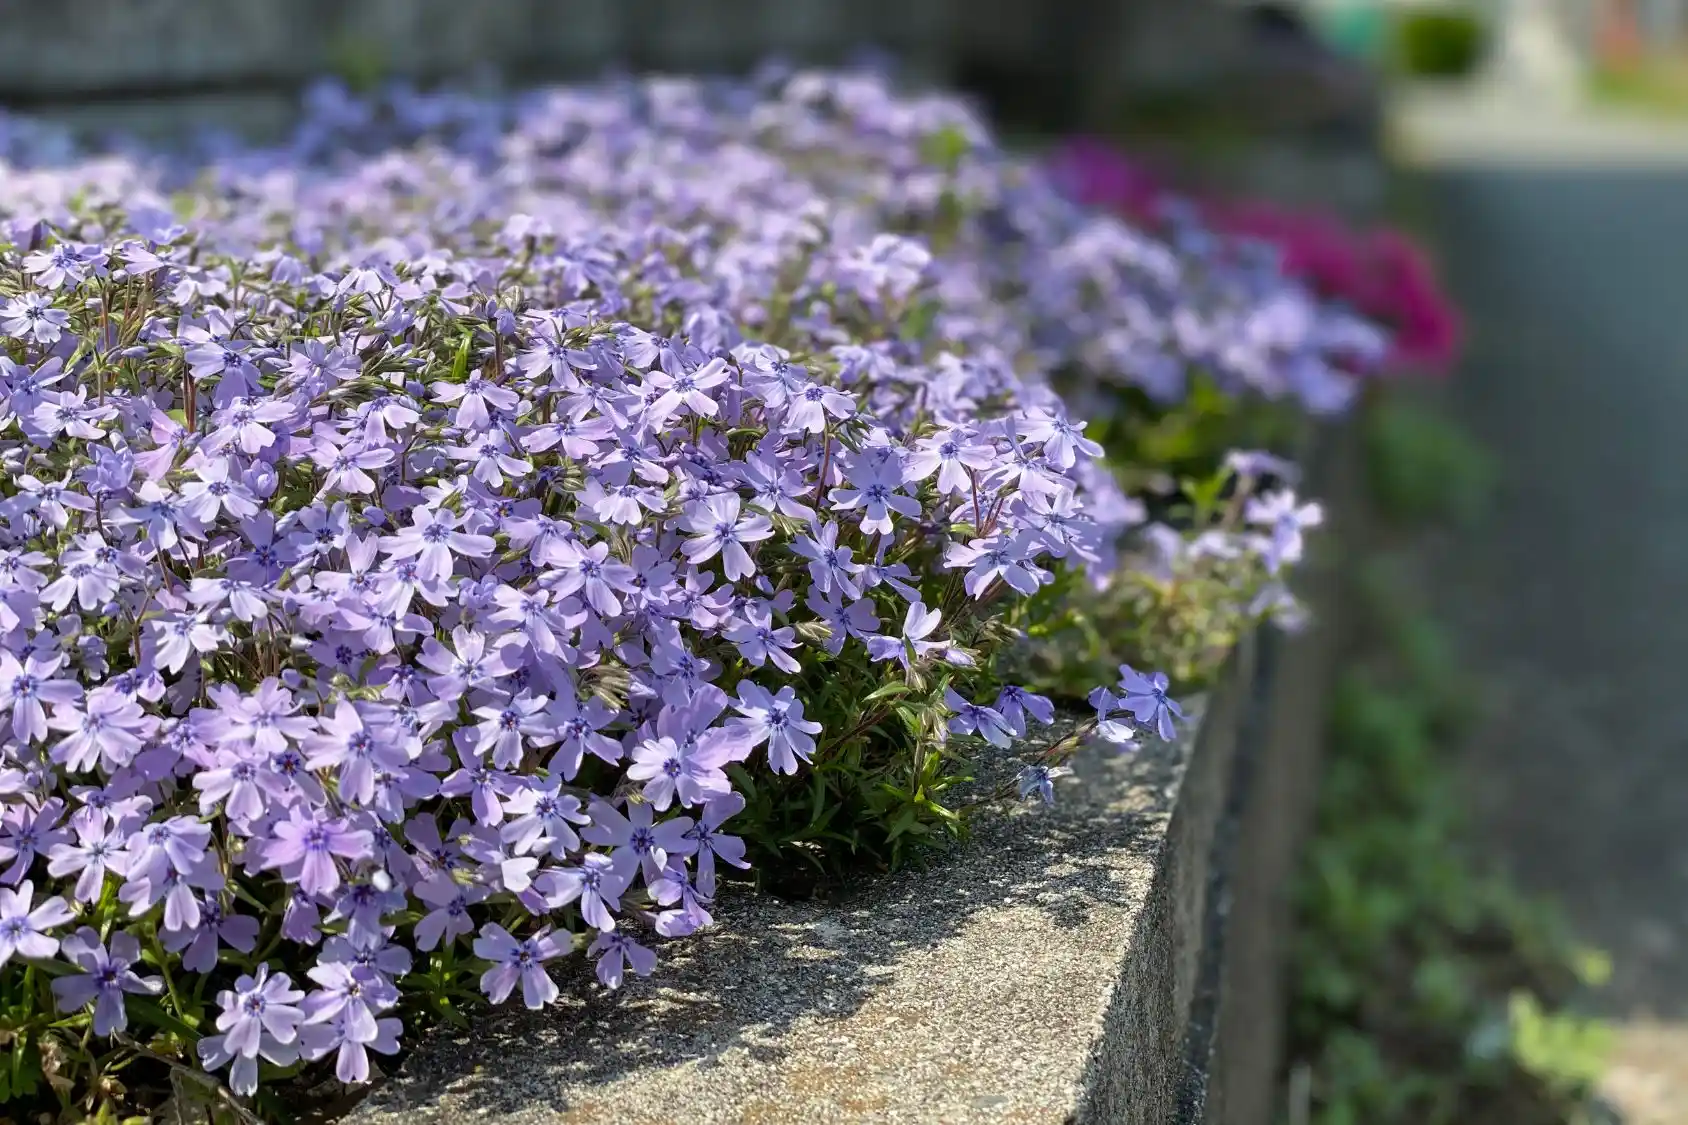
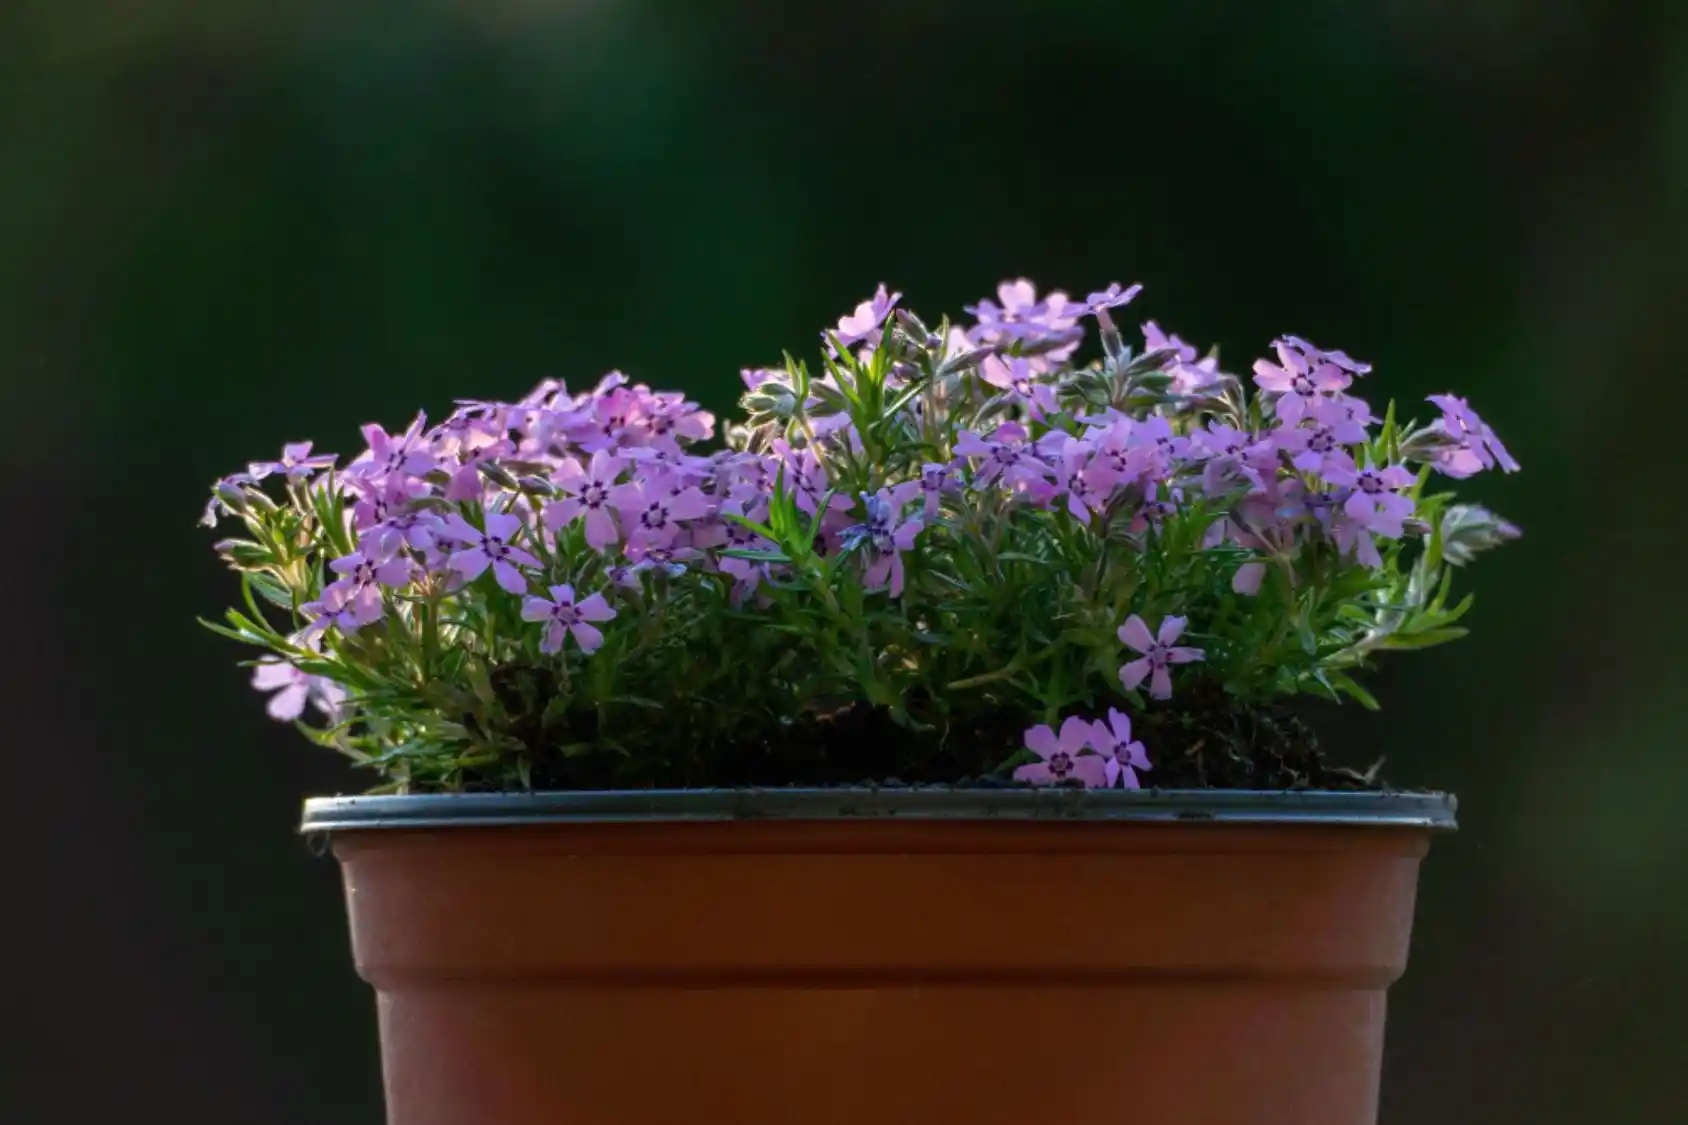
I love to grow it as a cascading plant. It looks super stunning on my windowsill. I also love the way phlox covers the walkways and flowerbed borders in my garden with many colors.
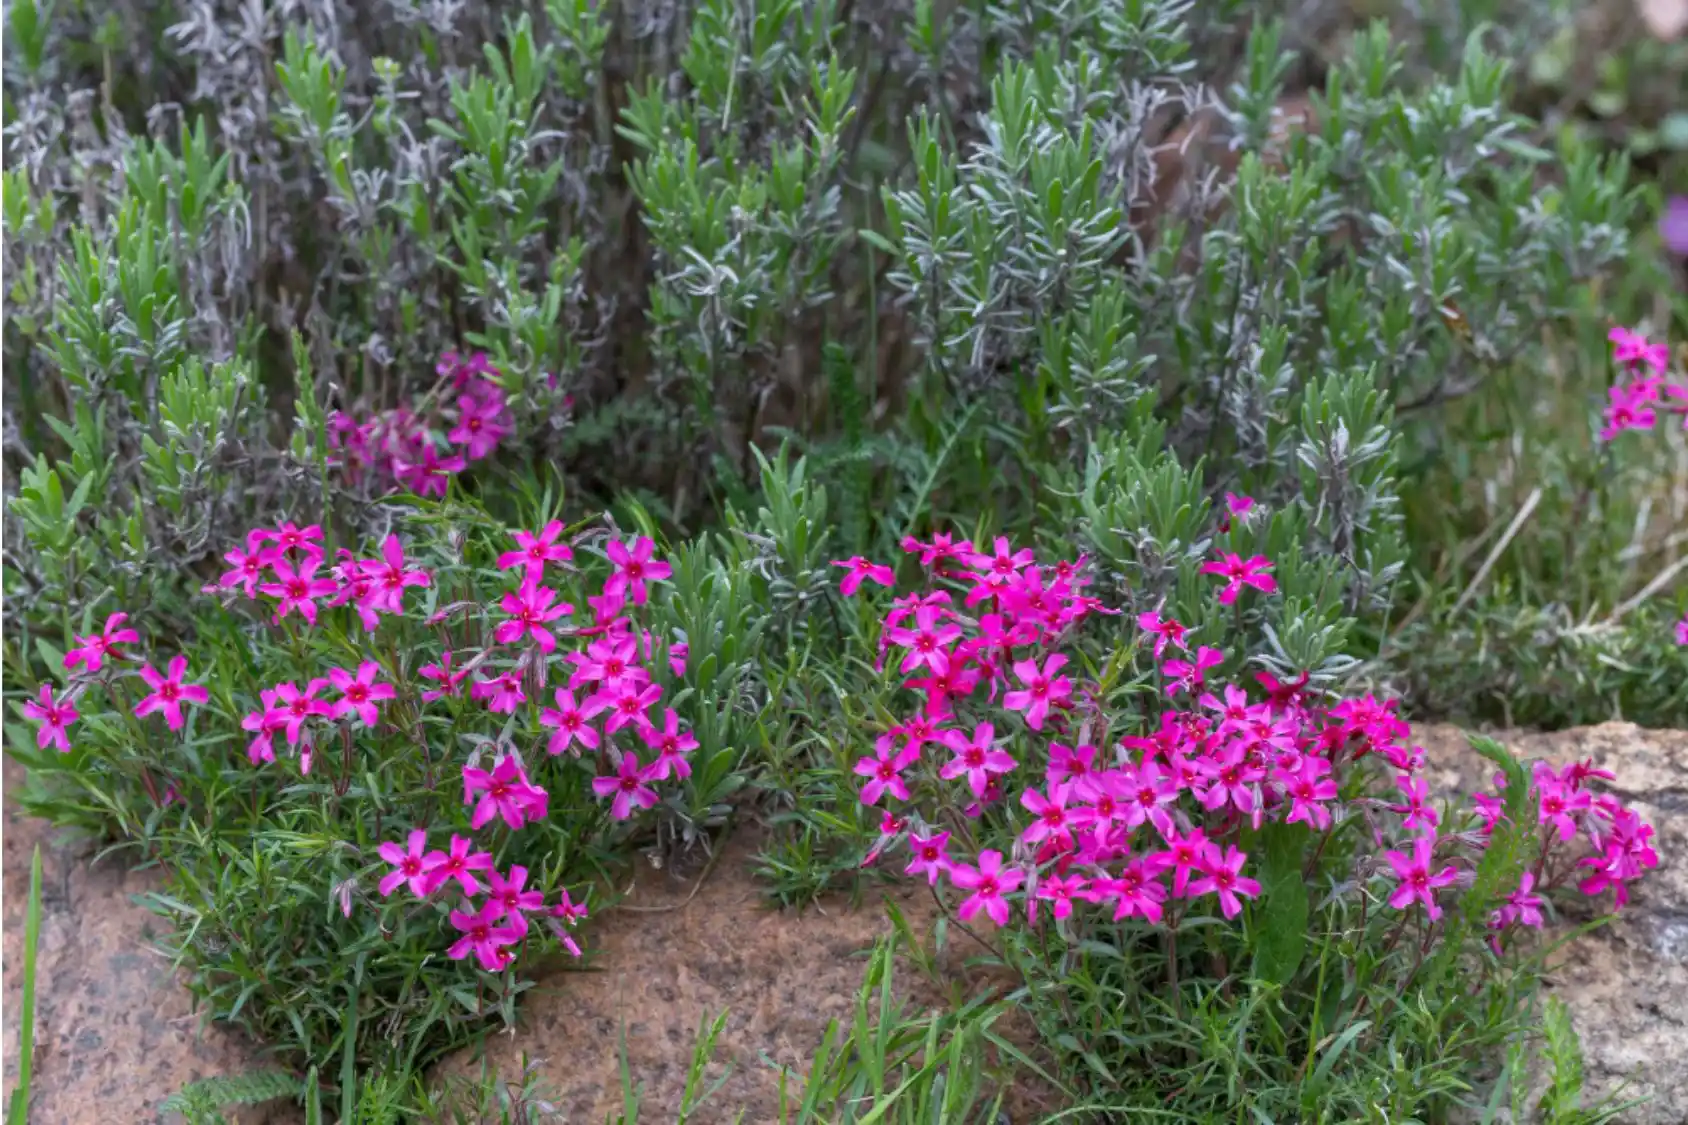
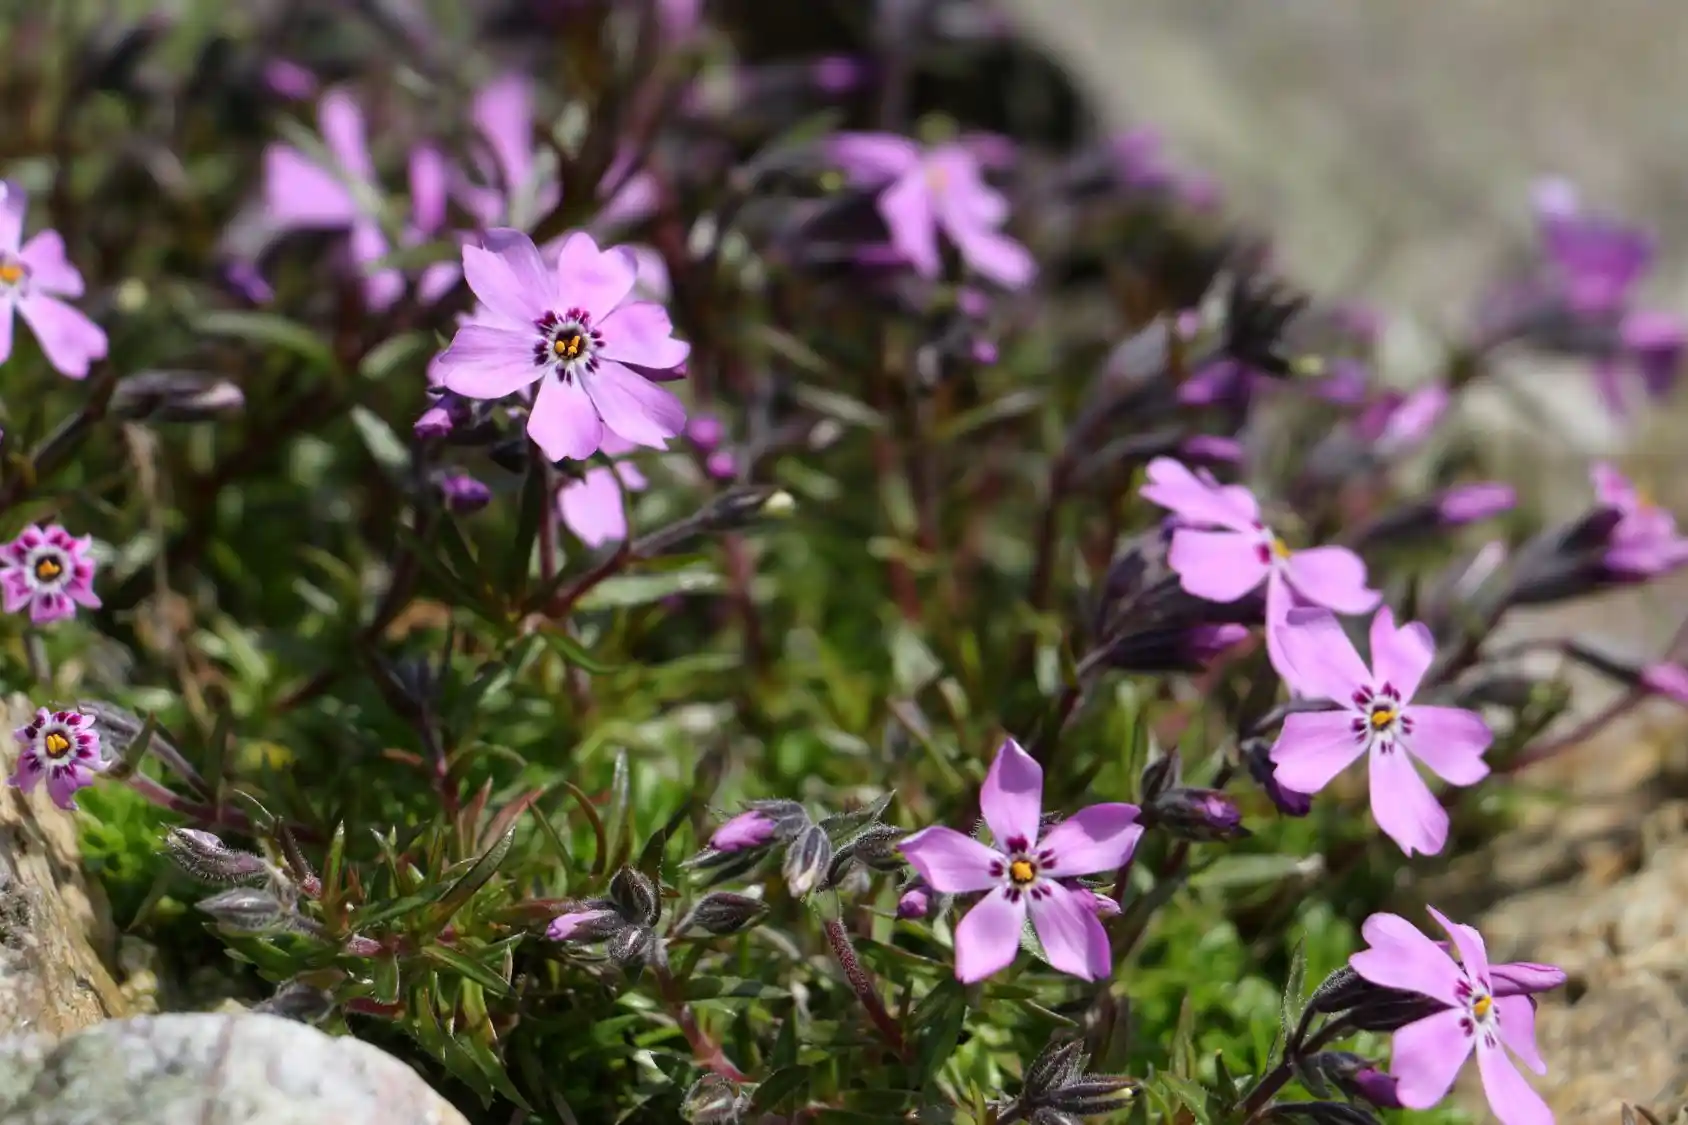
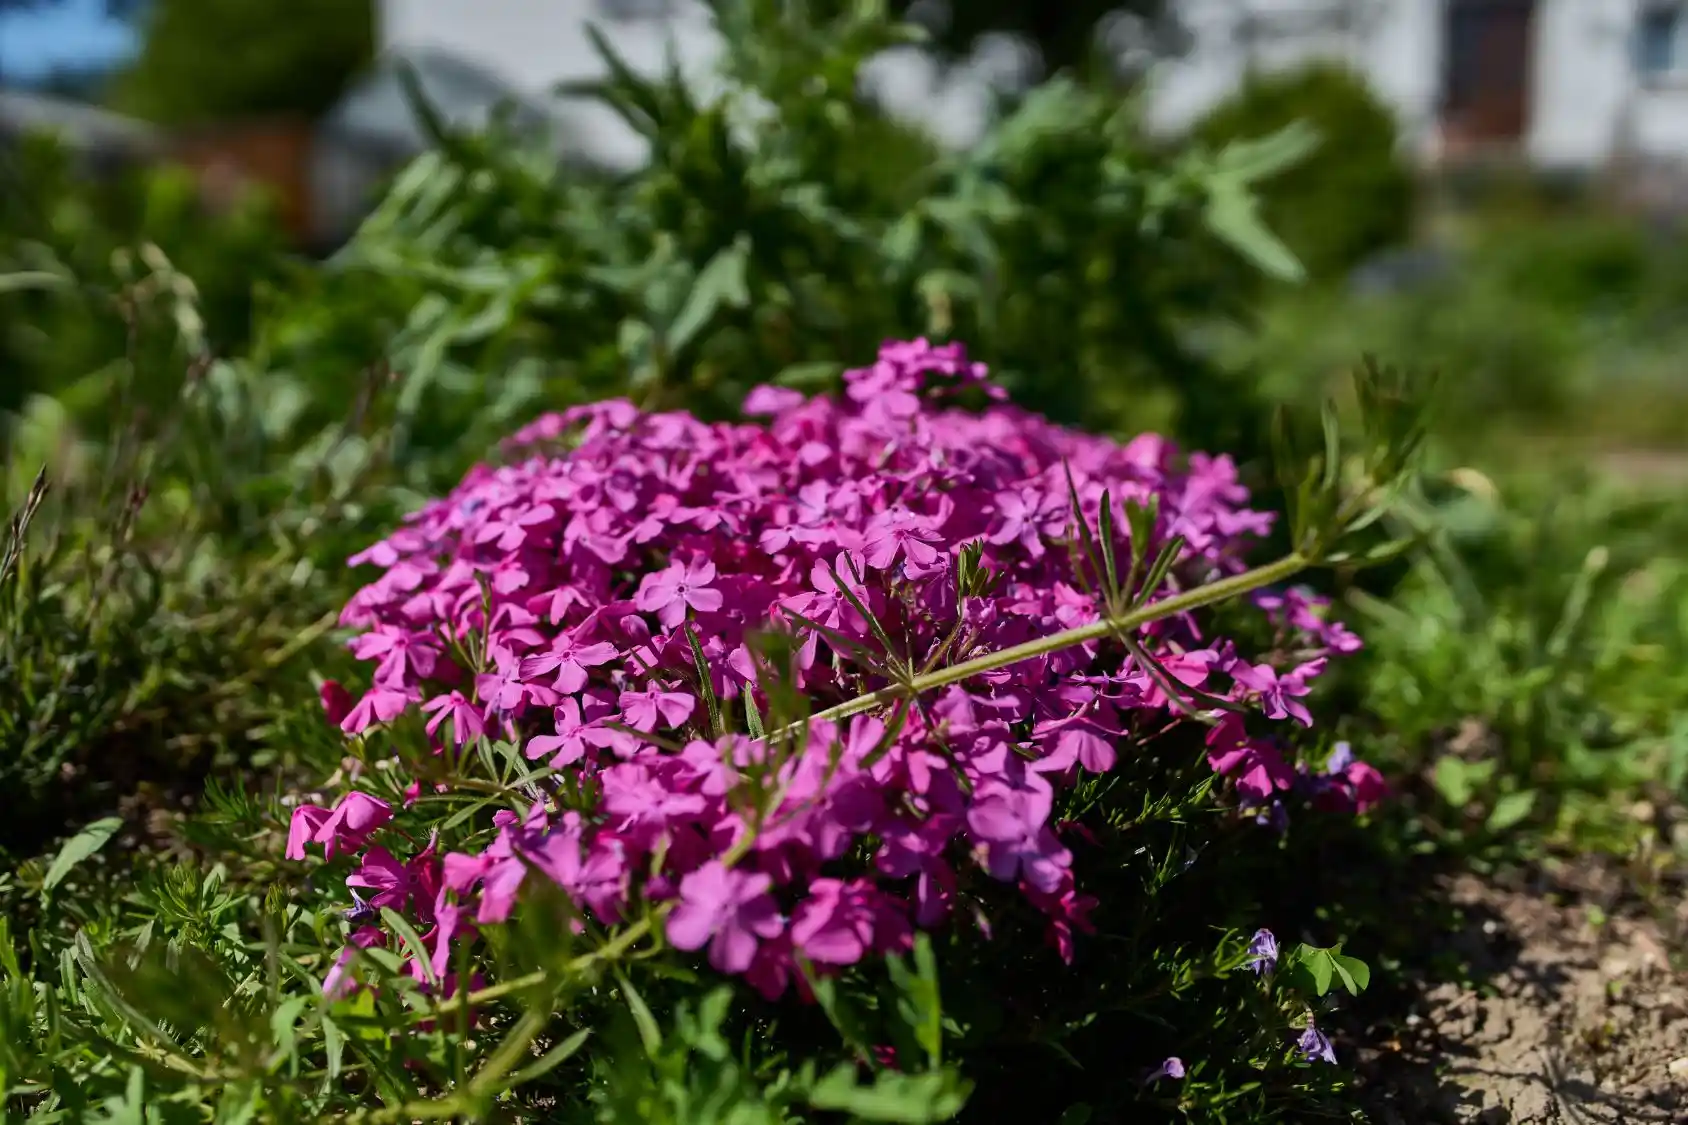
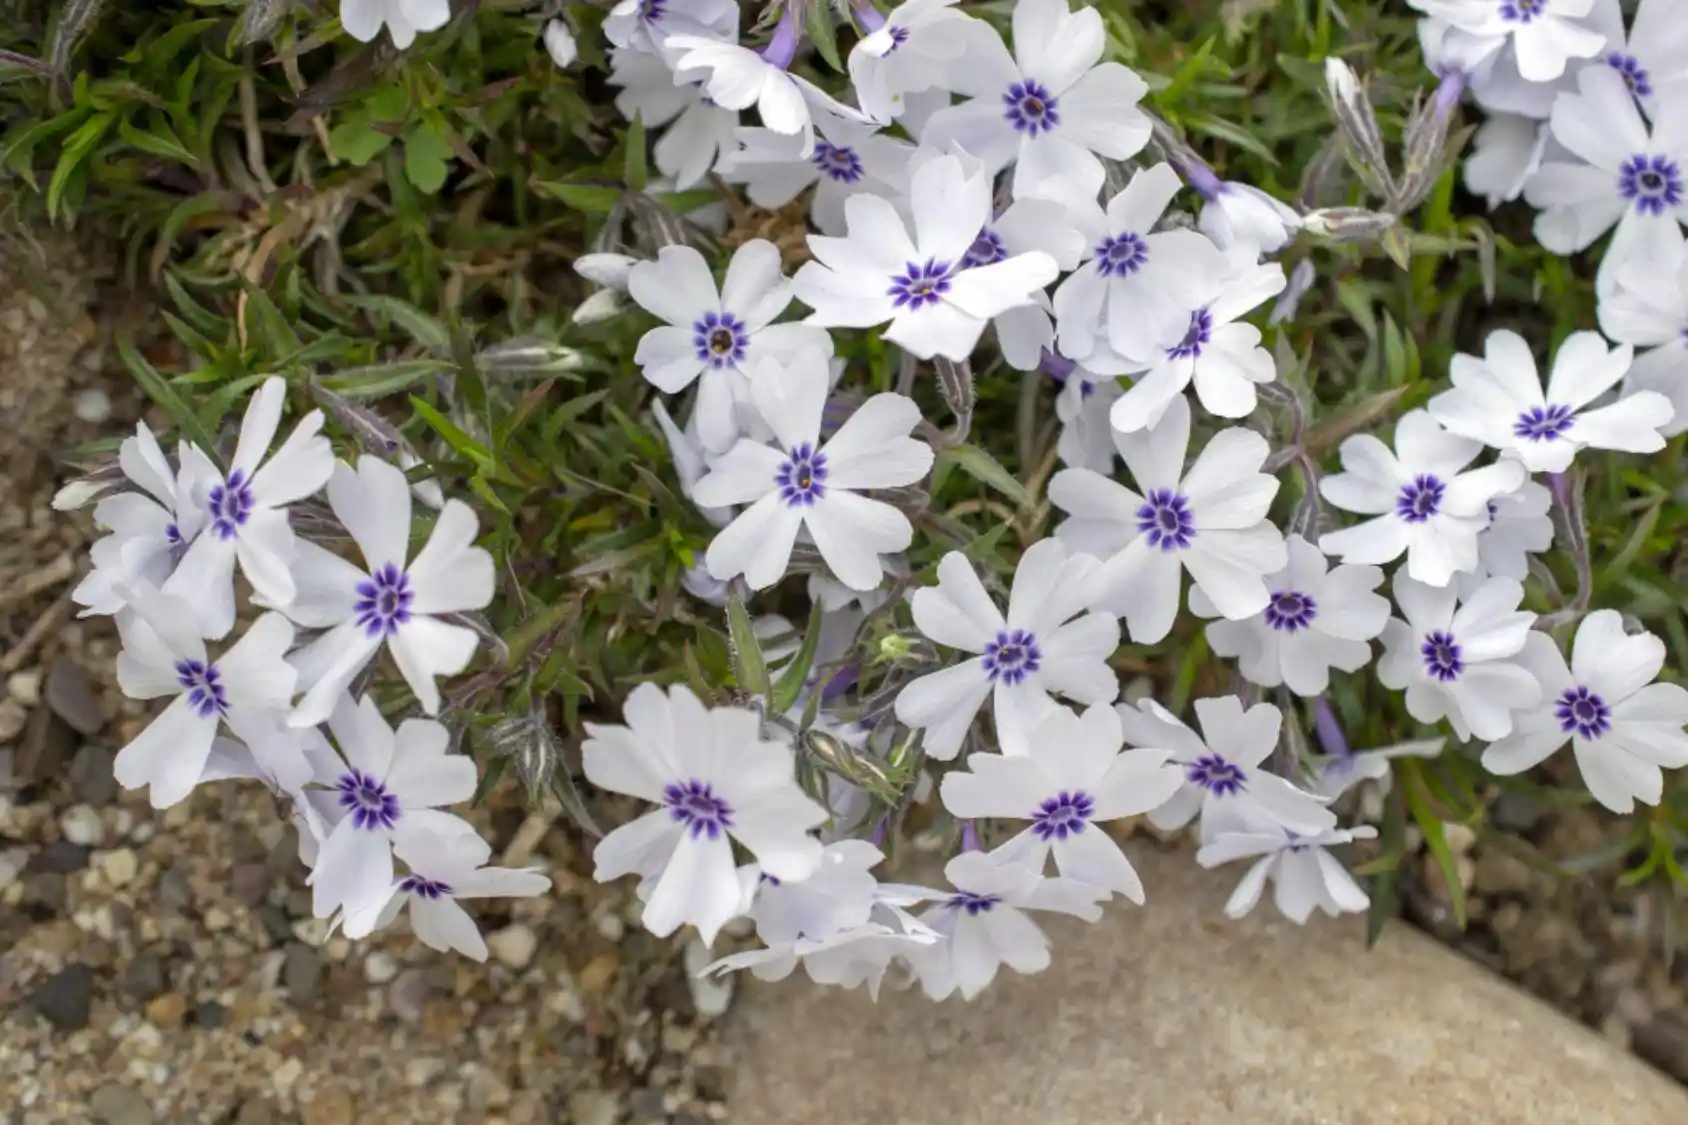
Phlox can bloom in white, lavender, pink, red, or blue-purple shades. Now, we will go into how to grow and care phlox:
| Useful Fact: Phlox (both creeping and tall varieties) is non-toxic. So, don't worry if you have kids or dogs and cats (and other pets) in your house. |
Light
Phlox loves the sunlight. I always plant mine in areas that receive at least 6 hours of direct sunlight every day. A little afternoon shade is okay, especially during those super-hot summer days.
Too much shade? Nope. The phlox will give fewer blossoms, and the leaves will even turn yellow.
Water
Phlox, particularly creeping phlox, prefers soil that is damp but not soggy. I usually use my finger to check the top inch of soil; if it feels dry, it's time to water.
I also make sure to give them plenty of water once a week during hot, dry weather.
| My Tip: Do not overwater your phlox. Too much water will make their leaves turn yellow. |
Temperature & Humidity
What I really appreciate about phlox is how tough it is. Mine endures the moist, humid days we have in the middle of the year, as well as early spring frosts.
However, the blooms won't be as happy if the temperature drops below 40°F for a long time. Although I don't typically cover mine in the winter, I always check for pests and pull weeds carefully before the cold reaches.
Soil
I've tried to grow phlox in many areas of my yard, and the best soil for phlox I found is well-drained and slightly acidic. Soil that contains organic materials, such as compost, is also great for phlox.
However, if you use too much nitrogen-rich fertilizer, the leaves will grow too much while the flowers will…not.
Fertilizer
Trust me, phlox isn't too picky. I only fertilize my flowers once in the early spring or late winter with a simple, slow-release fertilizer.
I follow exactly the instructions on the label, and it’s been enough to keep my plants blooming like crazy.
Manage Weeds
I always watch and remove all those stubborn weeds around my phlox. This prevents weeds from competing for nutrients and moisture in the soil with your plants.
How to Pot & Repot Your Phlox
Most people grow creeping phlox as ground cover. I must say that it also looks stunning in hanging baskets and pots. Those little blossoms that pour over the sides are really lovely, and I've had a few on my porch.
How To Grow Phlox in Pots?
When I want to grow phlox in a pot, I grow them from seeds or buy small plants from a nearby garden center. If you'd like to start from seeds, remember to sow them inside around 6 weeks before your last spring frost.
In this way, your tiny seedlings will be prepared for their new home when the cold has passed.
Transplant The Seedlings to Pots
Choose a pot with at least 1 decent drainage hole. I always use a commercial potting mix that is lightweight, and of course, don't forget to add some fertilizer to help the plants settle in.
Right after planting, you need to give them a nice drink of water, but don’t drown them!
Time to Repot Your Phlox
After a few years, it's essential to repot your phlox if your phlox outgrows the pot or the soil begins to seem worn out. I usually do this in early spring before the big bloom starts.
Tips on Propagating Phlox
One thing I really love about phlox is how easy it is to multiply them. You can divide the plants you already have instead of buying new ones every year! I usually do this every few years when the plant gets a little too thick or messy.
The best time to divide your phlox is right after it’s finished blooming. I use a small shovel and carefully dig up the entire phlox plant.
Try your best to save the roots. Next, I split the root ball into two (or perhaps even three) portions by cutting straight through it with a sharp knife.
Then, put your new small plants in your favorite place – pots, hanging baskets, or the ground. And of course, never forget to water them well so that they can settle in.
| My small piece of advice: Don't wait too long after you dig up the phlox. The sooner you get them back in the soil, the happier they’ll be. |
That's it: simple, quick, and incredibly satisfying. Before you know it, phlox will be popping up everywhere!
How To Encourage Your Phlox to Bloom More
All your phlox plants need to give better blossoms are proper light conditions and regular feeding.
Good news – They don't need pruning.
However, if you want to lengthen the blooming time a little bit, you can prune it. I only do this after my plants finish blooming.
Quick Look
I sum up some of the most important information about phlox here, so that you can easily catch up:
| Common Names: | Moss phlox/ Creeping phlox |
| Full-mature Size: | 4 – 6 inches |
| Sun Exposure: | Full to Partial Shade |
| Soil Type: | Well-drained & Moist |
| Soil pH: | 6 – 8 |
| Bloom Time: | Spring |
| Hardiness Zones: | 3B – 10 |
| Water & Maintenance Needs: | Low |
Final Words
That's my little secret garden secret on how to grow and care phlox! It's funny how something so basic can transform an empty pot or dull corner into a carpet of vibrant flowers.
And those beautiful phlox blossoms don't ask too much. A little water, a little sun, a bit of your attention — and in return, it gives you a show worth watching.