Growing and Caring for Bee Balm Plants was not on my radar until a hummingbird nosed around my sad herb bed one June. I planted one tiny pot on a whim; two months later the yard looked alive. If you want that buzzing, fluttering energy too, here’s what I actually do at home. I’ll share the wins, the fails, and the quick fixes I wish I knew sooner.
Growing and Caring for Bee Balm Plants
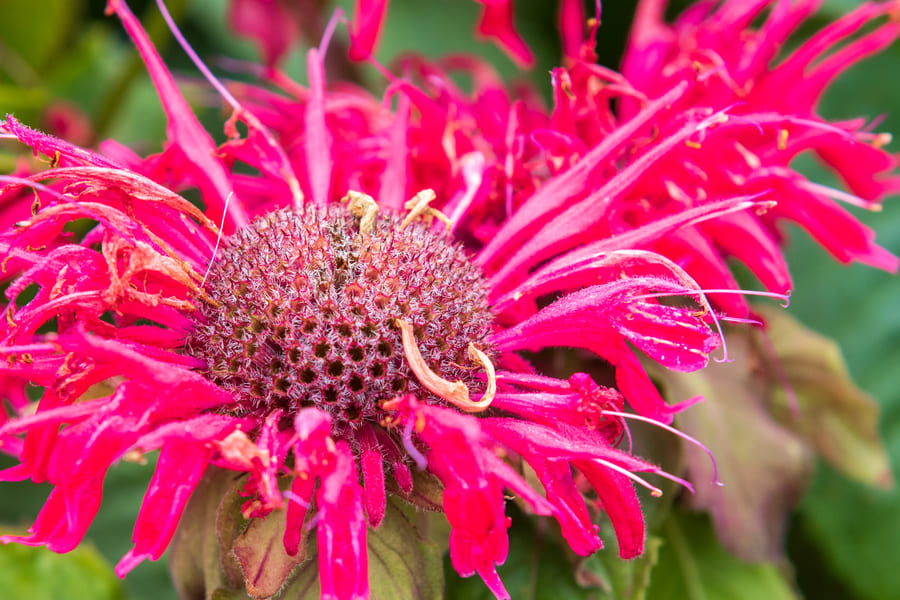
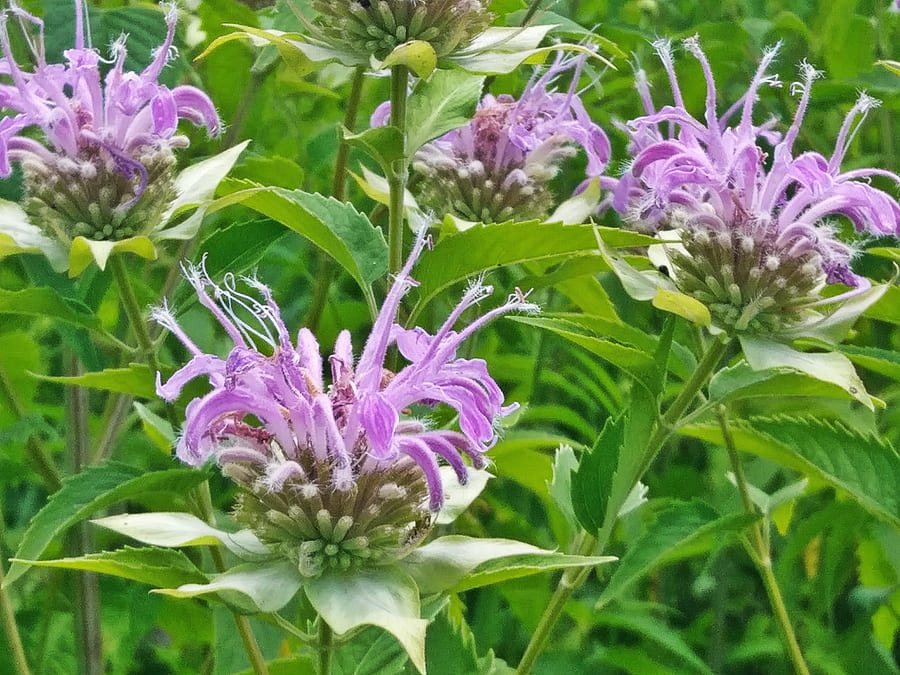
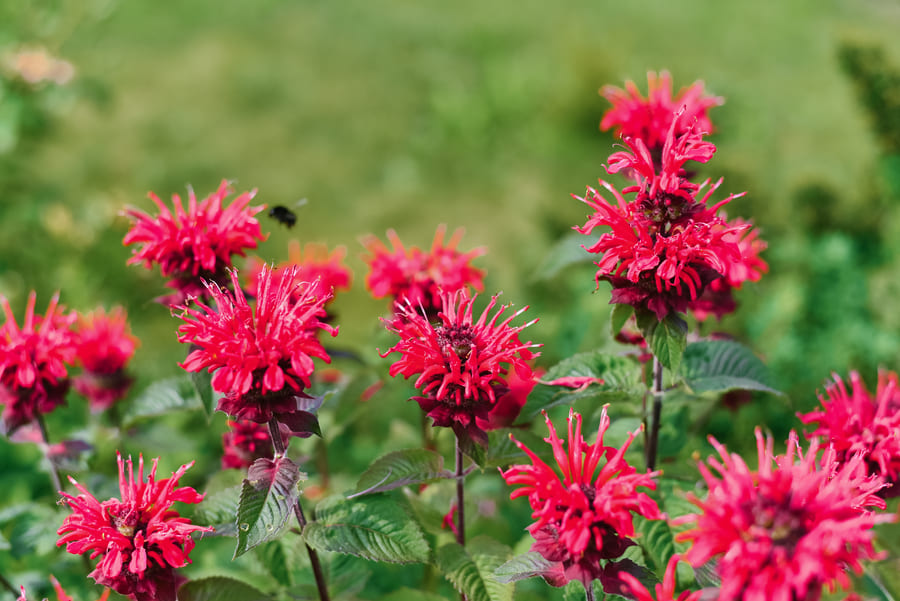
Bee balm is a mint-family perennial that comes in red, purple, pink, and white. It smells fresh and a little spicy. Pollinators love it. I grow it in zone 6, but it handles zones 3 through 9 just fine. Most varieties top out around 2 to 4 feet, so they’re tall enough to show off without taking over your whole view.
Quick start plan: pick a sunny spot, give the roots room, water deeply, then keep the plant tidy. That’s it. Now let me break it down so you don’t repeat my “why is it floppy and sad” phase.
Light and Temperature
Bee balm thrives in full sun. Where summers get blazing hot, I give mine afternoon shade so the leaves don’t scorch. When I forgot to do that one year, the blooms browned early and I felt silly.
- Aim for at least 6 hours of direct light.
- In intense heat, shade after 2 p.m. helps blooms last longer.
- It dislikes cold snaps below about 45°F during active growth. In winter it sleeps under the soil, so no stress there.
Pro tip: plant near a light-colored wall or fence. It reflects light and keeps the plant upright and full. I swear the patch by my white shed always blooms first.
Soil and Fertilizer
Bee balm hates soggy feet. It likes moisture but not muck.
- Use well draining soil. Sandy loam is great.
- Keep the pH slightly acidic, around 6.0 to 6.7. If you don’t have a test, don’t panic. Mix compost with bagged topsoil and you’ll be close.
- Fertilizer is optional. I mix in a scoop of organic compost when planting and call it good.
Pro tip: if your soil stays wet after rainfall, mound the bed 2 to 3 inches higher. That little lift saves roots from rot.
Watering Without Overdoing It
This plant wants consistent moisture. Not swampy.
- Water deeply once or twice a week, depending on heat and soil.
- Let the top inch dry out before watering again.
- In drought, leaves will droop first then perk up after a soak.
I made the classic mistake of shallow watering every day. The roots stayed near the surface and the plant wilted whenever the sun said hello. Deep watering fixed it fast.
Pro tip: mulch 2 inches with shredded leaves or wood chips. It keeps the soil cool and cuts your watering almost in half.
Pruning and Deadheading
Bee balm likes a haircut. If you don’t trim, it stretches tall and kinda lanky.
- When stems hit about 12 inches, pinch the tips. That encourages branching.
- Midseason, cut the plant back by one third. It looks harsh but you’ll get bushier growth and fresh flowers.
- Deadhead spent blooms by snipping right below the flower. New buds follow in a week or two.
At season’s end, I cut stems down to soil level. The clump rests through winter and pops back in spring.
Pro tip: save a handful of leaves. Rubbed on mild skin irritations, they feel soothing. My kid calls it the “bee balm balm.” Corny, I know.
Growing Bee Balm From Seed
Starting from seed takes patience, but it’s fun when budgets are tight.
- Cold stratify the seeds. Place them in a bag of slightly damp sand and refrigerate for 30 days.
- Sow in early spring on the surface of seed mix. Press gently. They need a bit of light to sprout.
- Keep moist but not wet. Germination takes 10 to 40 days. Mine usually pop around day 18.
- Transplant seedlings when they have 2 or 3 true leaves and the risk of frost is gone.
Pro tip: seed trays dry out fast. Slip the trays inside a clear storage bin to make a mini greenhouse. Lid off during warm days, on at night.
Propagating From Cuttings
Cuttings are not the most common method, but it works.
- Snip 6 inch tips from fresh spring growth.
- Remove the lower leaves and dip the stem in rooting hormone.
- Plant in a small pot filled with peat mixed into potting soil.
- Water, then cover the pot with a loose plastic bag to hold humidity.
- In 2 to 3 weeks, tug gently. If it resists, roots formed. Remove the bag and keep growing.
Pro tip: give young cuttings a fan on low nearby. The air flow reduces mildew and encourages stronger stems.
Keeping Mildew Away
Powdery mildew can show up like a bad surprise. I’ve been there.
- Space plants at least 18 to 24 inches apart for air flow.
- Water the soil, not the leaves.
- If mildew appears, trim affected leaves and spray a simple mix of 1 tablespoon baking soda plus a drop of mild soap in a gallon of water. Weekly until clear.
Choose resistant varieties like ‘Jacob Cline’ or ‘Marshall’s Delight’ if mildew is common in your area.
Harvest and Uses
Bee balm is not just pretty. It’s useful.
- Snip flowers for bouquets in the morning when they’re cool.
- Steep fresh leaves for a bright herbal tea.
- Dry a few stems upside down for winter crafts.
- Mix chopped leaves with coconut oil for a quick comfort rub. Not medical advice, just what I do.
Pro tip: cut stems at a slant and dunk them in water right away. Blooms last longer in the vase.
My Simple Bee Balm Care Calendar
- Early spring: clean up dead stems, divide crowded clumps, work in compost.
- Late spring: pinch tips at 12 inches, mulch, and set a deep watering schedule.
- Summer: deadhead weekly, give afternoon shade if leaves crisp, watch for mildew.
- Early fall: final round of blooms, trim plants by one third to tidy.
- Late fall: after frost blackens foliage, cut to soil level and top with fresh mulch.
Final Thoughts and a Tiny Oops
The first year I grew bee balm I stuck it under a big maple tree because the dirt was already bare. Bad call. Too much root competition, hardly any blooms. I moved the clump to a sunny bed by the fence and wow, bees, butterflies, hummingbirds, even my neighbor who never talks waved at me. Gardening wins don’t have to be perfect. Try one plant, learn what it likes, then add more.
If you’ve been curious but also nervous, you’re not alone. Start with one pot, follow these steps, and tweak as you go. You’ll be Growing and Caring for Bee Balm Plants like a pro in no time, and your yard will hum like a tiny concert every sunny afternoon.